
Managing Shots
Create a Shot
Create your first shot
It's time to create shots for your production.
WARNING
Shots are linked to Sequences in Kitsu. This means you must create a sequence and then populate this sequence with shots.
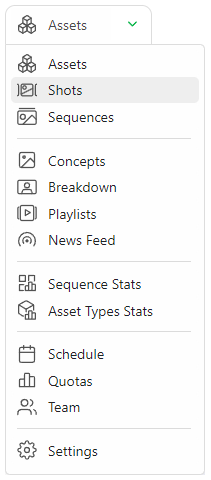
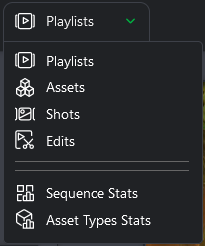
You need to go to the Shots page: you can use the dropdown menu and click on the SHOTS.
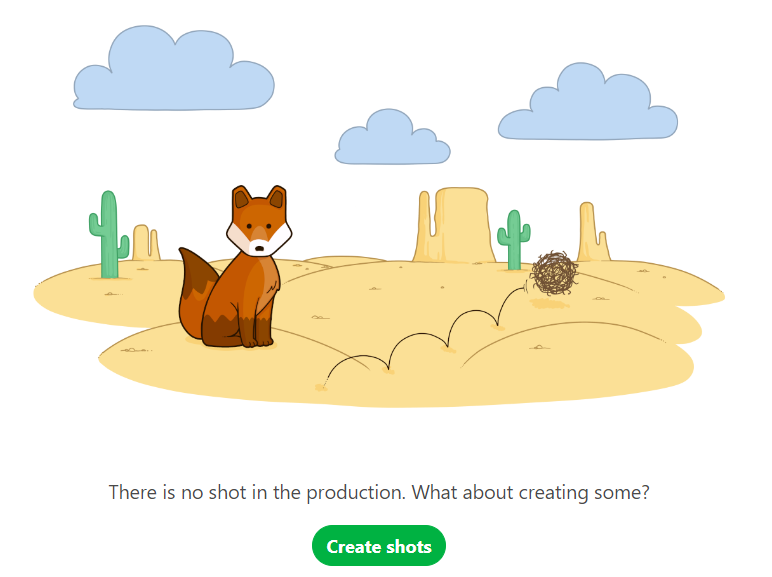
Click on the Add shots button to start with the shot creation.
WARNING
When you create a shot, the task workflow you have designed will be applied, and all the tasks will be created at the same time as the shot.
A new pop-up opens for the creation of the shots. You can now create the sequences and the shots.
Enter the first sequence, for instance, sq01, then add.
Now, you can see your sequence has been created. To add shots to this sequence, select it and create your shots.
For example, type sh0010 on the shots column, then again add. You can also define padding for your shots.
TIP
If you want to name your shots ten on ten as SH0010, SH0020, SH0030, etc, set the Shot Padding as 10
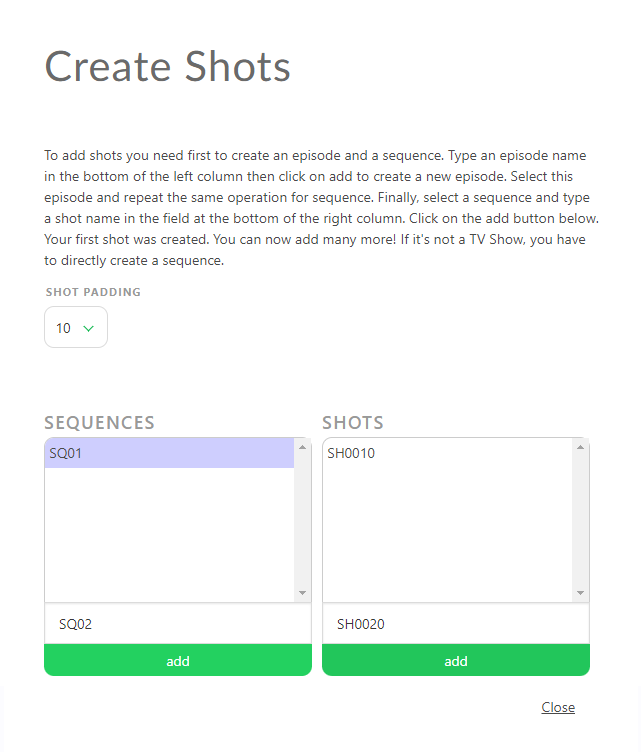
You can now see that new shots are listed and linked by their sequence. You have created the first shot of the first sequence.
Now, let's add more shots than just one! As you can see, the box already contains your name code but incremented, so you have to continue to click on add to create more shots.
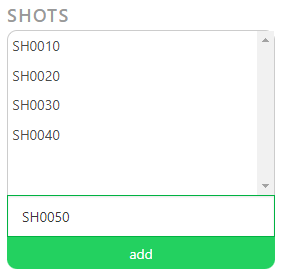
To add more sequences, go to the left part, type the name of your new sequence, and then click on add. Your second sequence is selected, and you can now add shots.
TIP
If a shot is misplaced on a sequence, you have to edit the shot  , and change the sequence.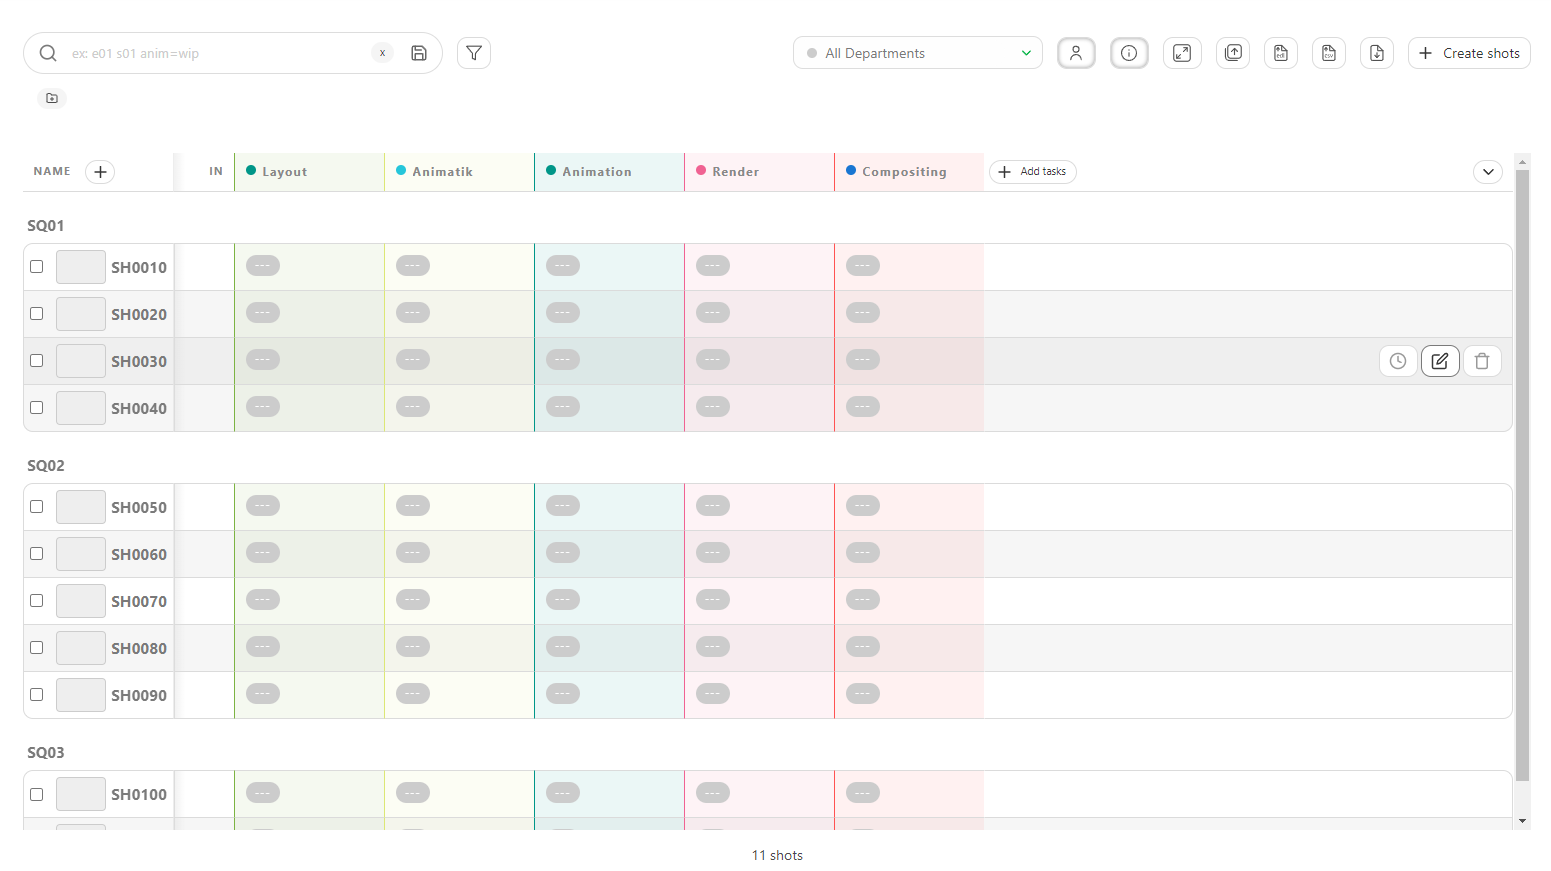
Create Shots from an EDL File
You may already have your shots list ready in an EDL file. With Kitsu, you can directly import your EDL file to create the sequence, shot, number of frames, Frame in and out, and more.
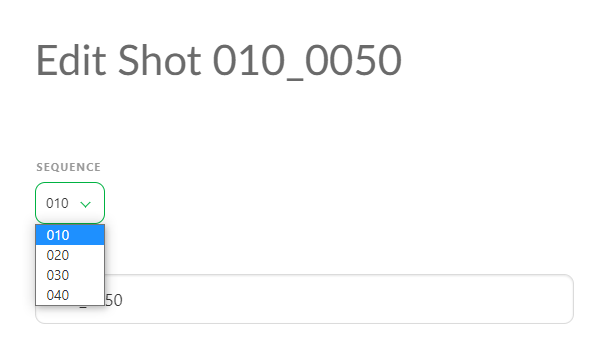
On the Global Shot Page, you will see an Import EDL button.

You can select the naming convention of the video file used during the editing on the pop-up.
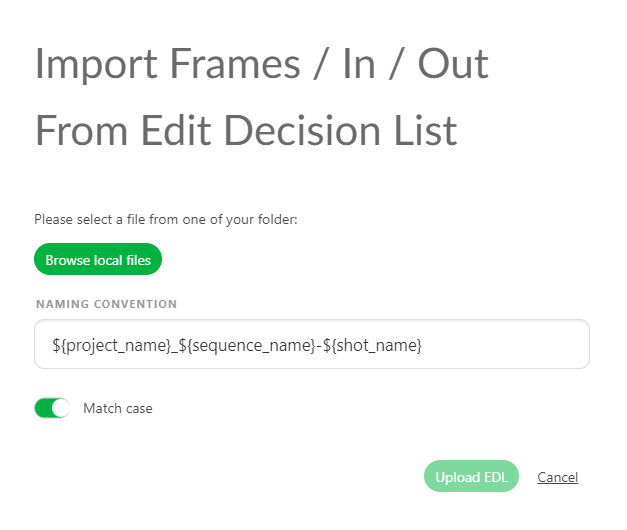
It means the video clip on the editing is named as project_sequence_shot.extension.
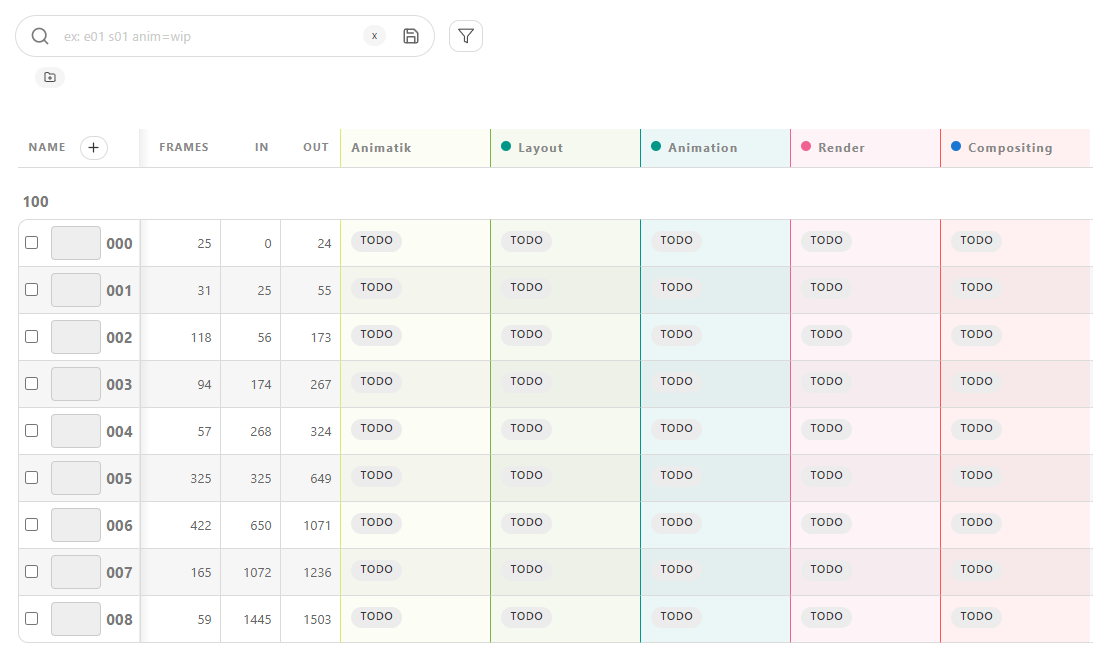
Here is an example of an EDL for the LGC production.
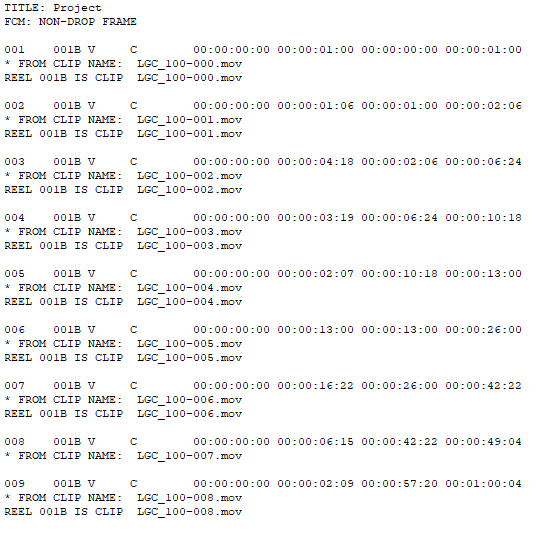
The video files are named LGC_100-000.mov, which means LGC is the production name, 100 is the sequence name, and 000 is the shot name.
You can import the EDL file once you have the naming convention.
Then click on Upload EDL
Then Kitsu will create the shots.
 :::
:::
Create Shots from a CSV Spreadsheet File
You may already have your shots list ready in a spreadsheet file. With Kitsu, you have two ways to import them; the first is to import a .csv file directly, and the second is to copy-paste your data directly into Kitsu.
First, save your spreadsheet as a .csv file.
Then, return to the shot page on Kitsu and click the Import icon. 
A pop-up window Import data from a CSV opens. Click on Browse to pick your .csv file.
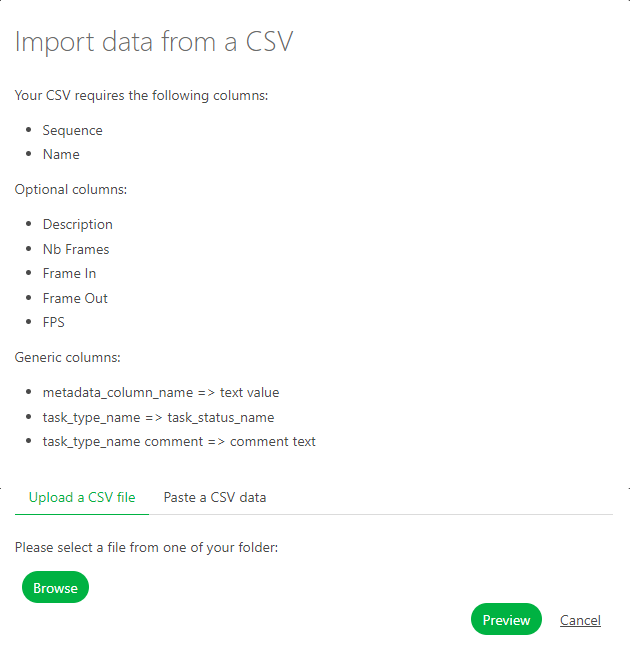
To see the result, click on the Preview button. You can check and adjust the name of the columns by previewing your data. NB: the Episode column is only mandatory for a TV Show production. 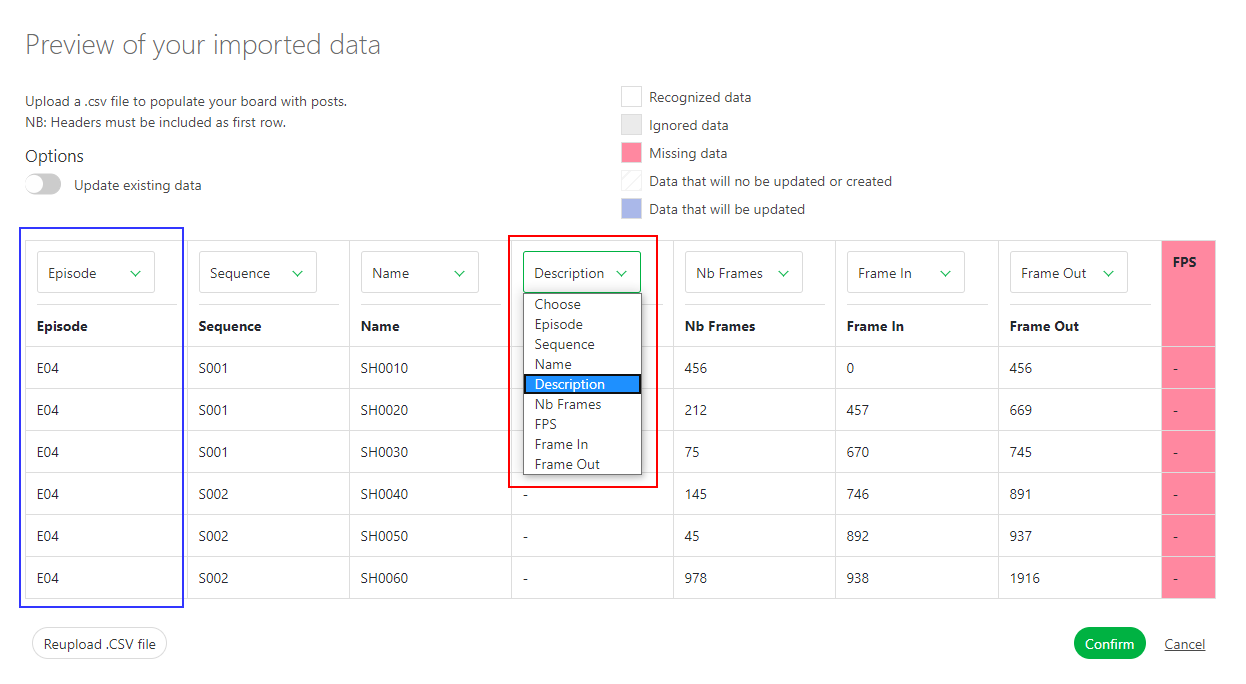
Once everything is good, click the Confirm button to import your data into Kitsu.
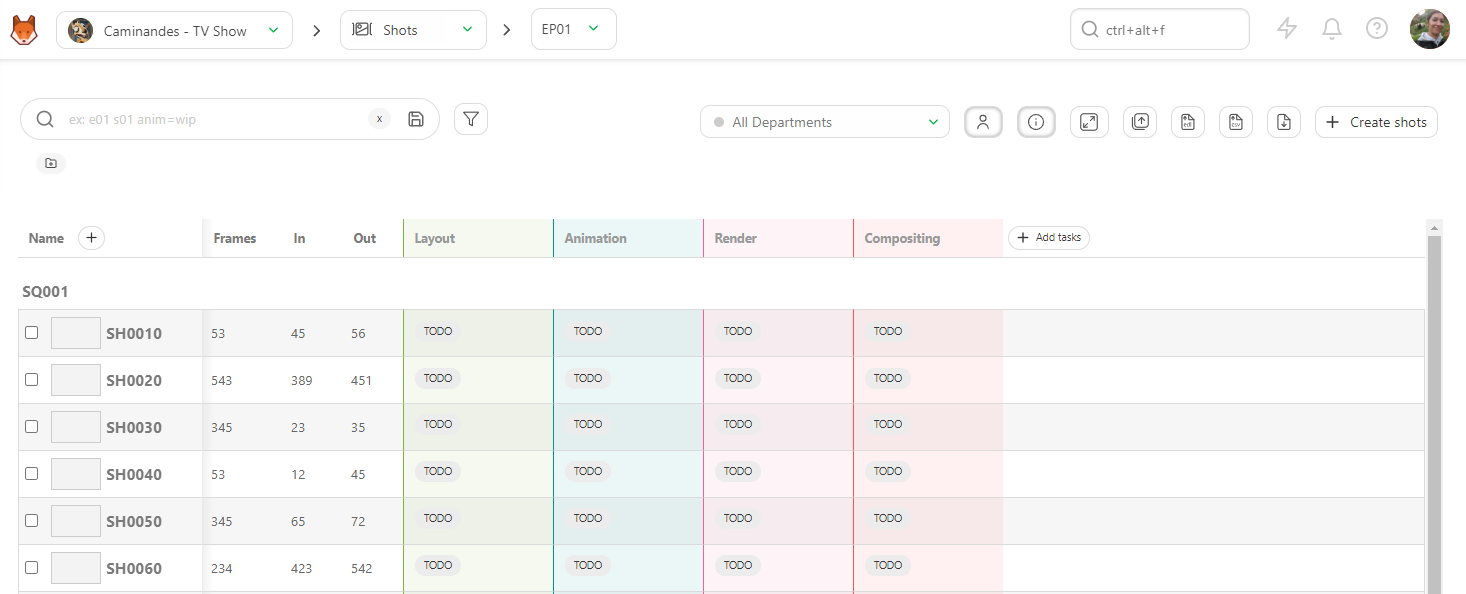
All your shots are imported into Kitsu, and the task is created according to your Settings.
Create Shots by Copying / Pasting a Spreadsheet File
Open your spreadsheet, select your data, and copy them.
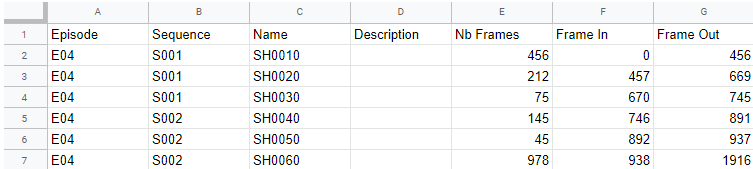
Then, go back to the shot page on Kitsu and click on the Import icon .
A pop-up window Import data from a CSV opens; click on the Paste a CSV data tab.
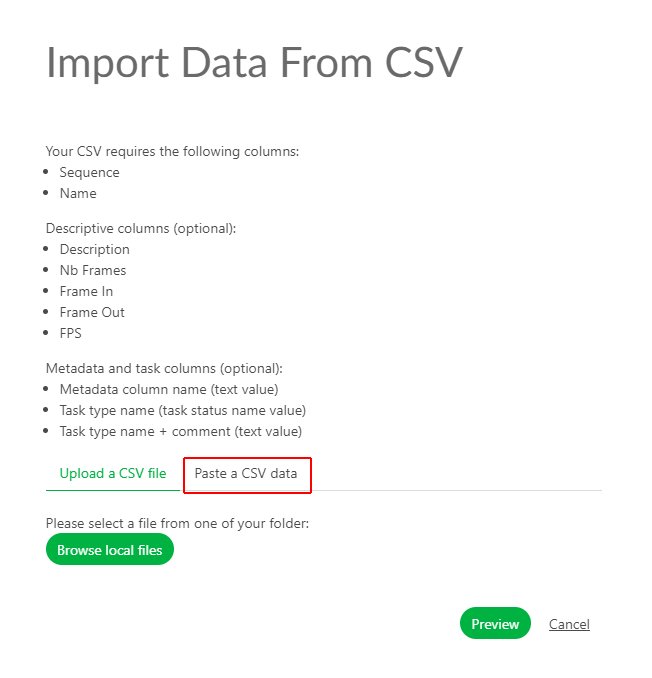 You can paste your previously selected data and see the result with the Preview button.
 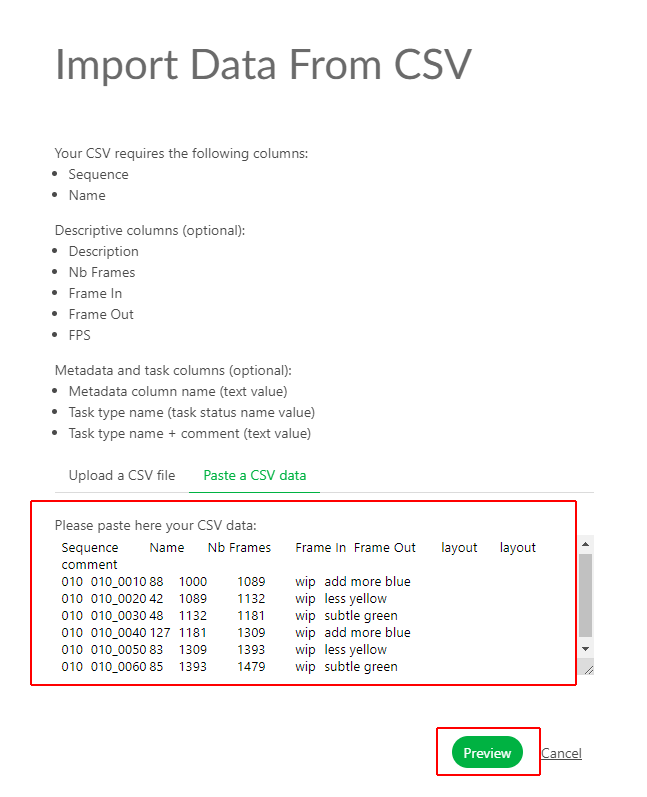 You can check and adjust the name of the columns by previewing your data. NB: the Episode column is only mandatory for a TV Show production.
Once everything is good, click the Confirm button to import your data into Kitsu.
All your shots are imported into Kitsu, and the task is created according to your Settings.
See the Details of a Shot
If you want to see the details of a shot, click on its name.
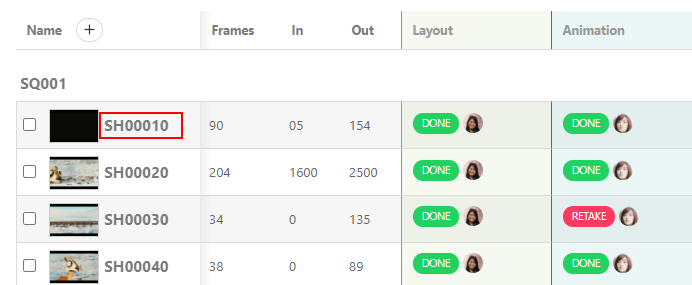
A new page opens with the list of the tasks, the assignation, and the status newsfeed on the right. You can navigate through each by clicking on the name of the tabs.
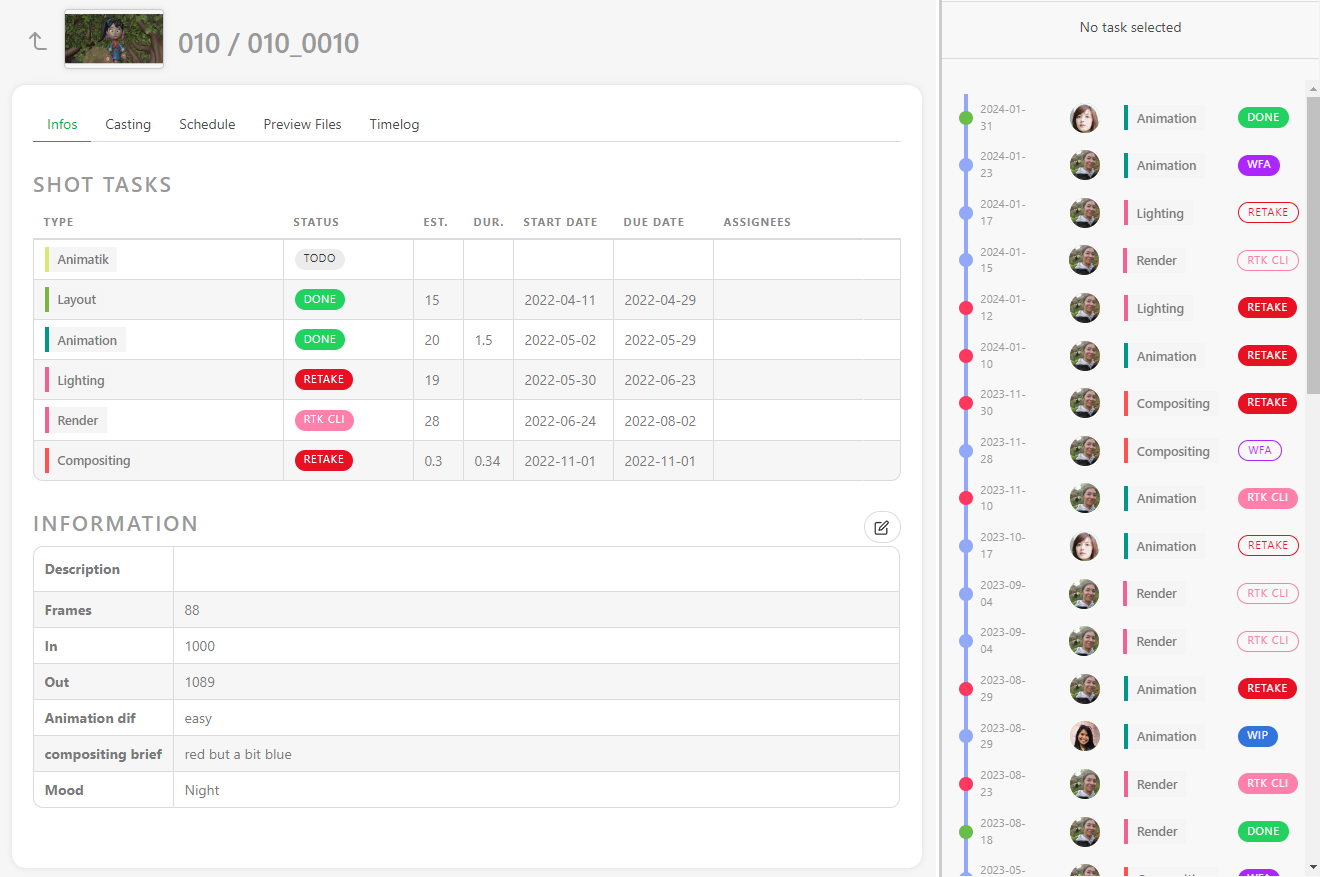
You can click on the status of each task to open the comment panel and see the history of the comments and the different versions.
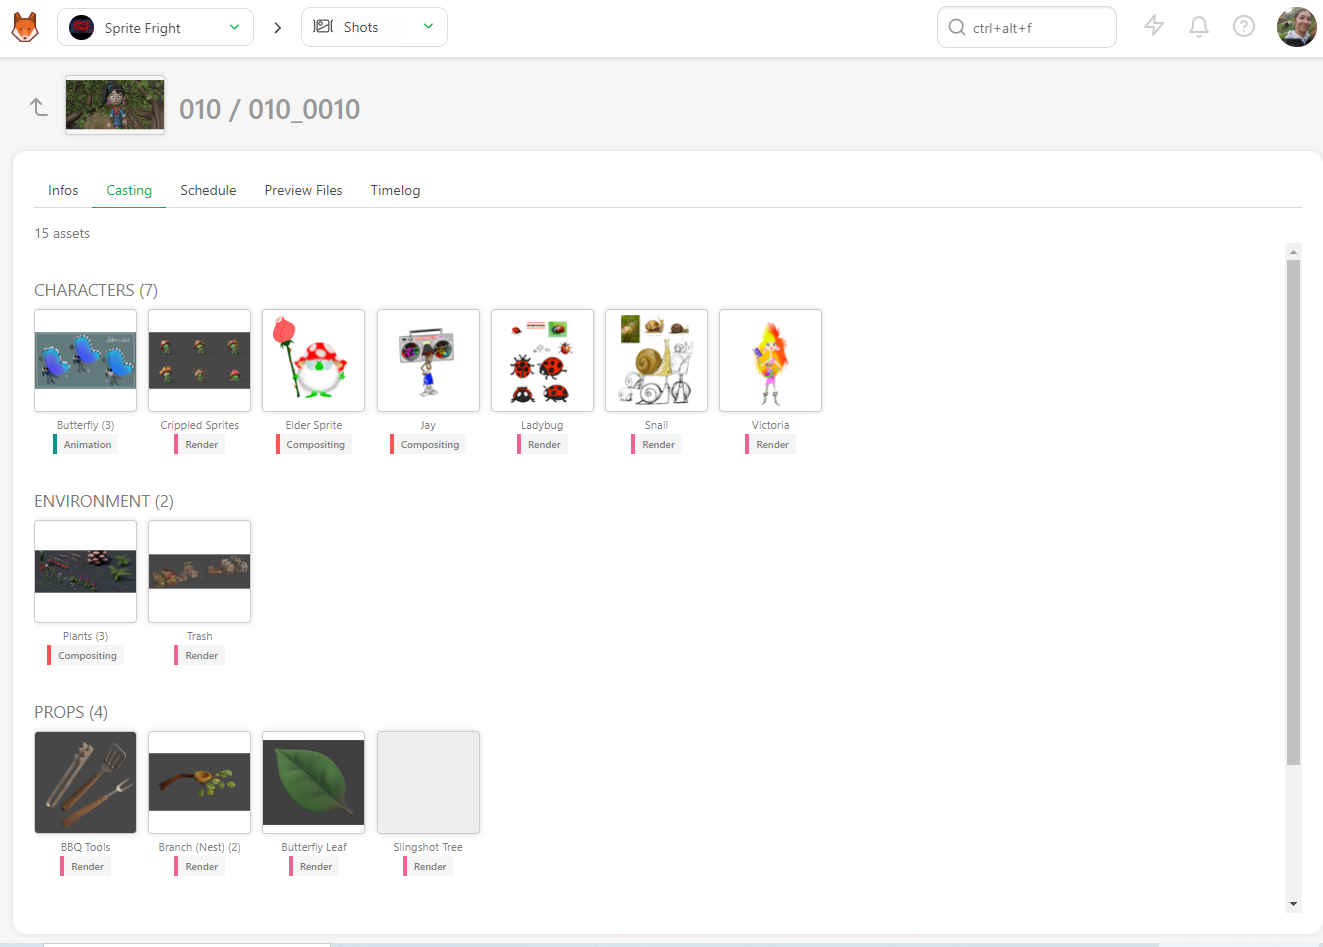
You can also access the Casting,
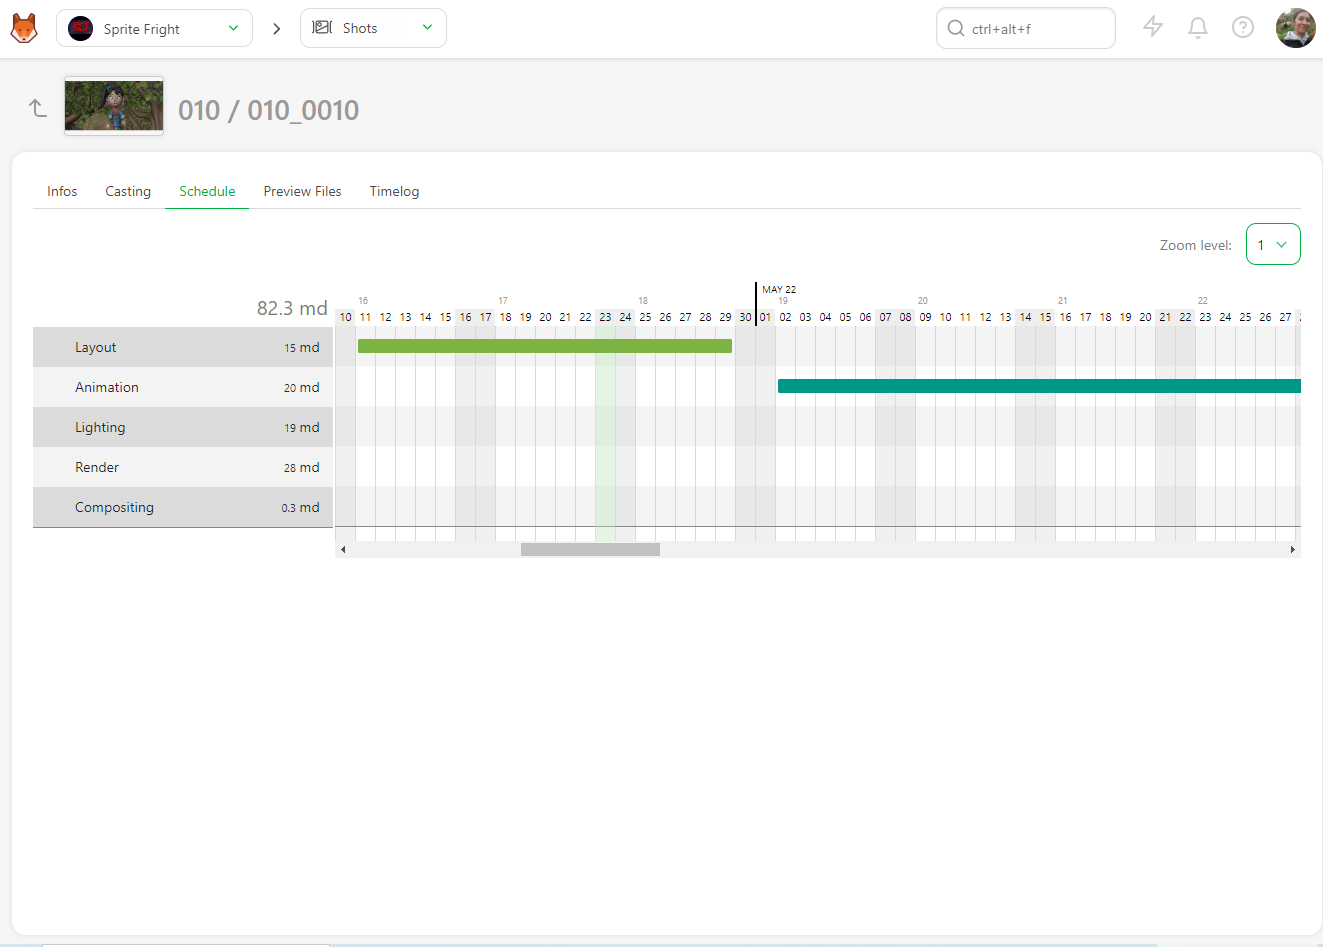
The Schedule is available if you have previously filled out the task type page data. If you have already filled out the data, you can modify them directly here.
the Preview Files uploaded at various task types,
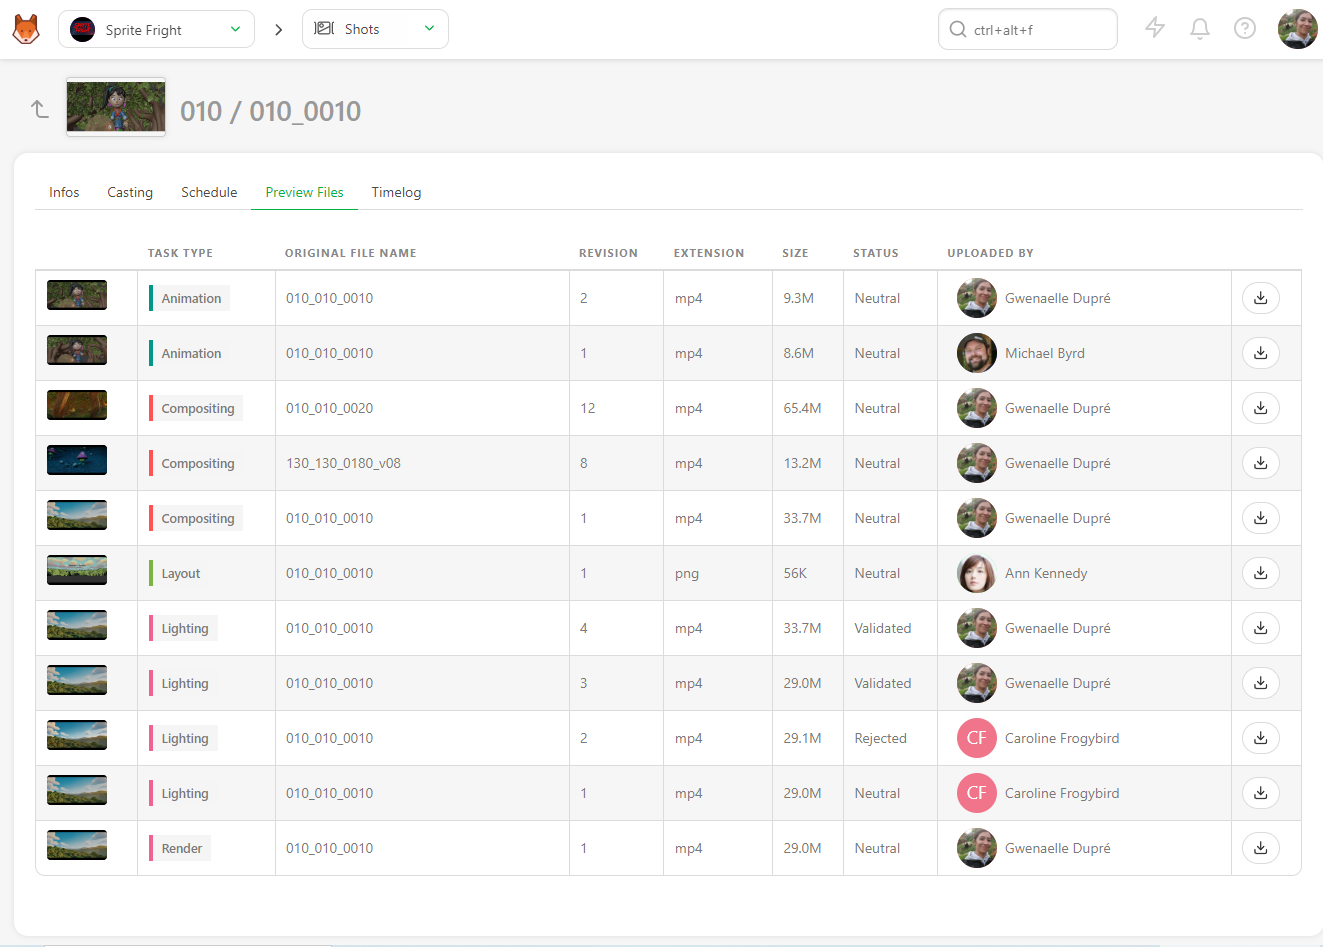
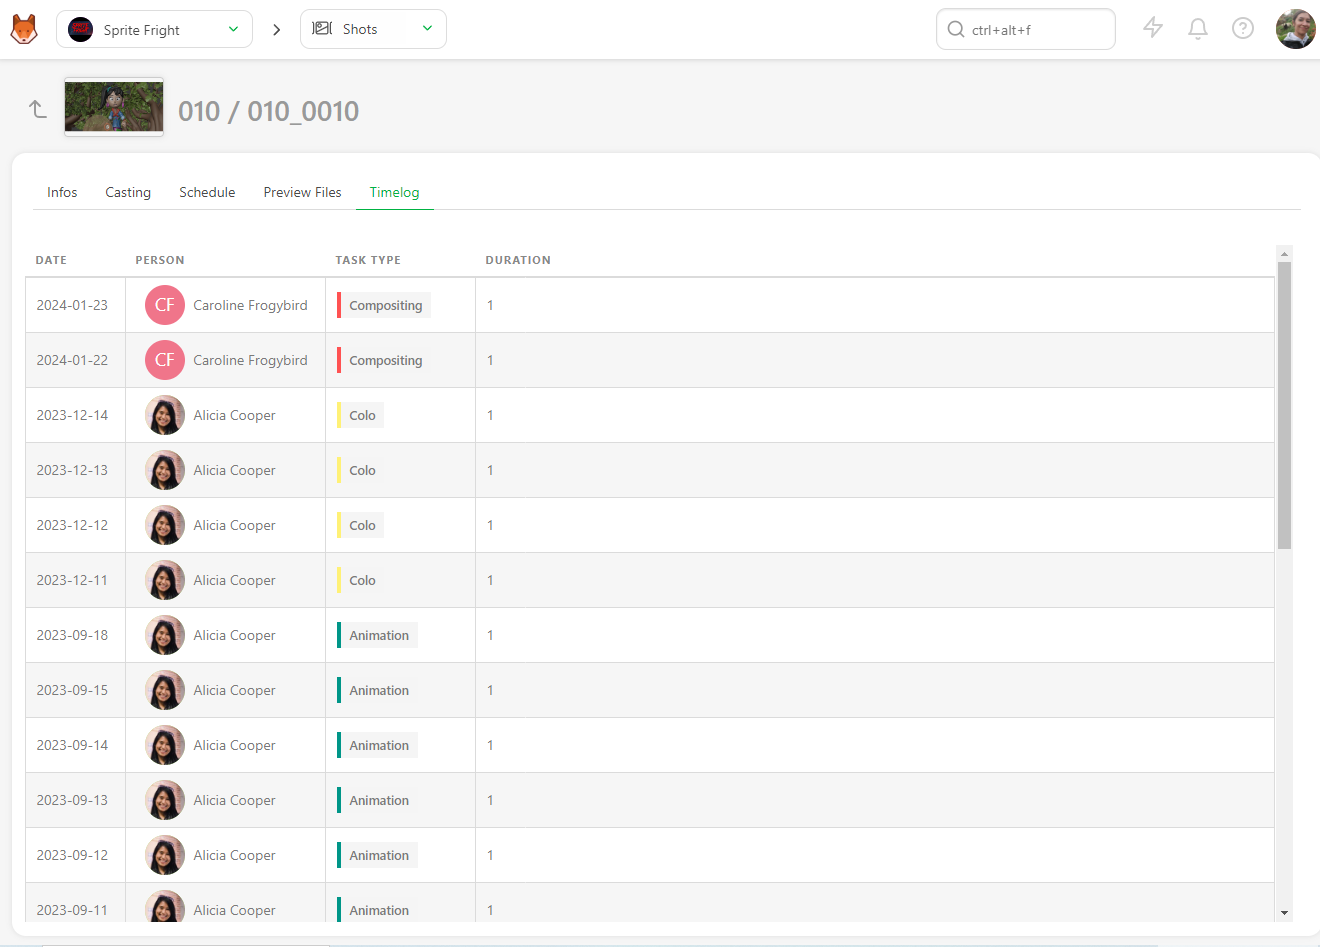
And the Timelog if people have filled out their timesheet on the tasks of this asset.
Add more tasks after creating the shots
If you realize after creating the shots that the task is missing, you can still add them.
First, ensure the missing task type is added to the settings page under the task type tab.
Then go back to the shot page and click on + Add tasks.
Update your shots
You can update your shots at any point, change their names and sequences, modify their descriptions, and add any custom information you added to the global page.
You can edit shots by going to the shot page, hovering over the shot you want to modify, and then clicking on the edit button (1) on the right side of the line.
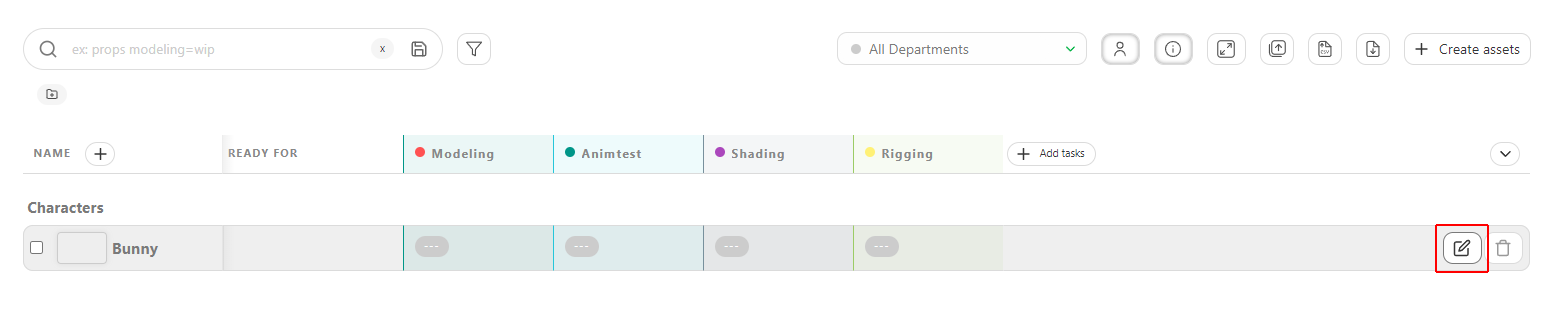
To extend the description on the main shot page, click on the first words (2), and a pop-up with the full description will open.
Update Shots Information with CSV Import
You can use the CSV Import to update your data as the NB Frames, Frame IN, Frame Out, or any custom Metadata column.
You can update the Assignationthe Status of tasks and add a Comment.
Open your spreadsheet, select your data, and copy them.
Then, go back to the shot page on Kitsu and click on the Import icon .
A pop-up window Import data from a CSV opens; click on the Paste a CSV data tab.
You can paste your previously selected data and see the result with the Preview button. You need to switch on the Option: Update existing data. The updated shots will be in blue.
NB: the Episode column is only mandatory for a TV Show production. 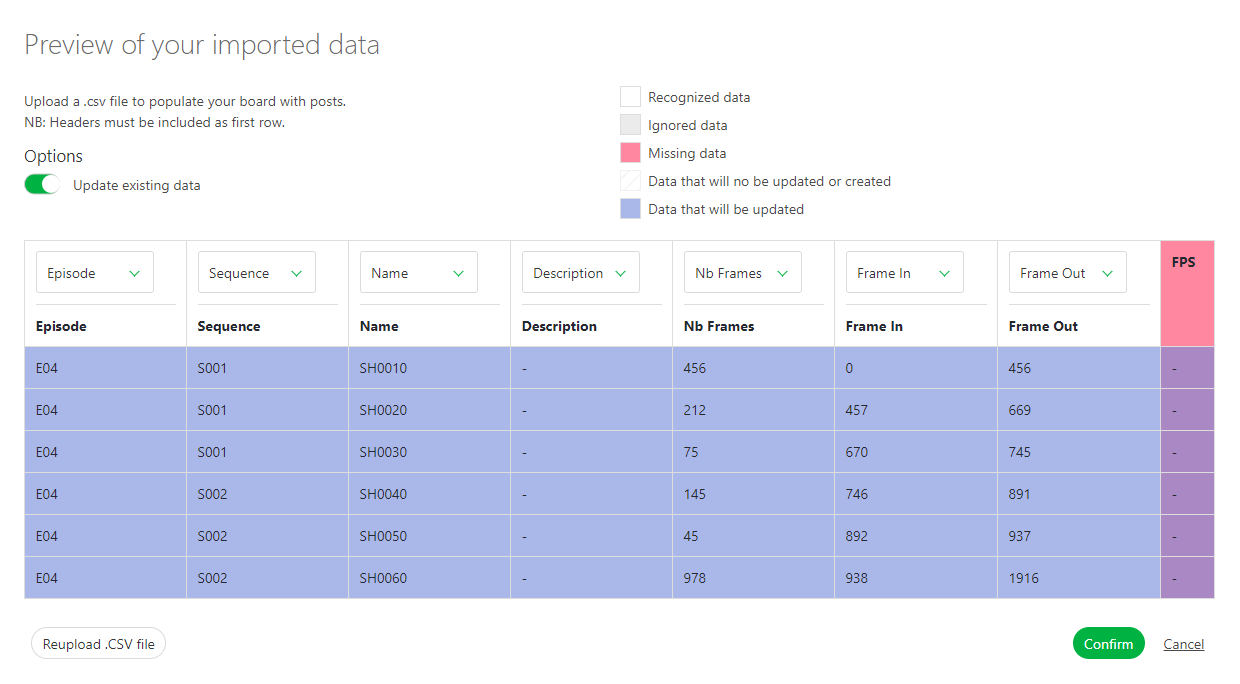
Once everything is good, click the Confirm button to import your data into Kitsu.
All your shots are imported into Kitsu, and the task is created according to your Settings.
Add the number of Frames and Frame ranges to the shots
At this stage of the production, the animatic should be done. This means you have the length (number of frames, Frame range In, and Frame range Out) for each shot. You can add this information to the spreadsheet. This way, you are sure that all the frames are calculated and none are missing or over-computed.
WARNING
If you have created your shots and sequence by hand, the Frame column will be hidden. You must edit at least one shot and fill in the number of frames to display the Frame column. The column will be displayed if you have created your shots and imported the number of frames with a CSV/spreadsheet.
You need to edit the shots to fill in the frame range information. Click on the edit button on the right side of the shot line.
You can enter the shots In and **Out ** in the new window. Then, save by clicking the Confirm button.
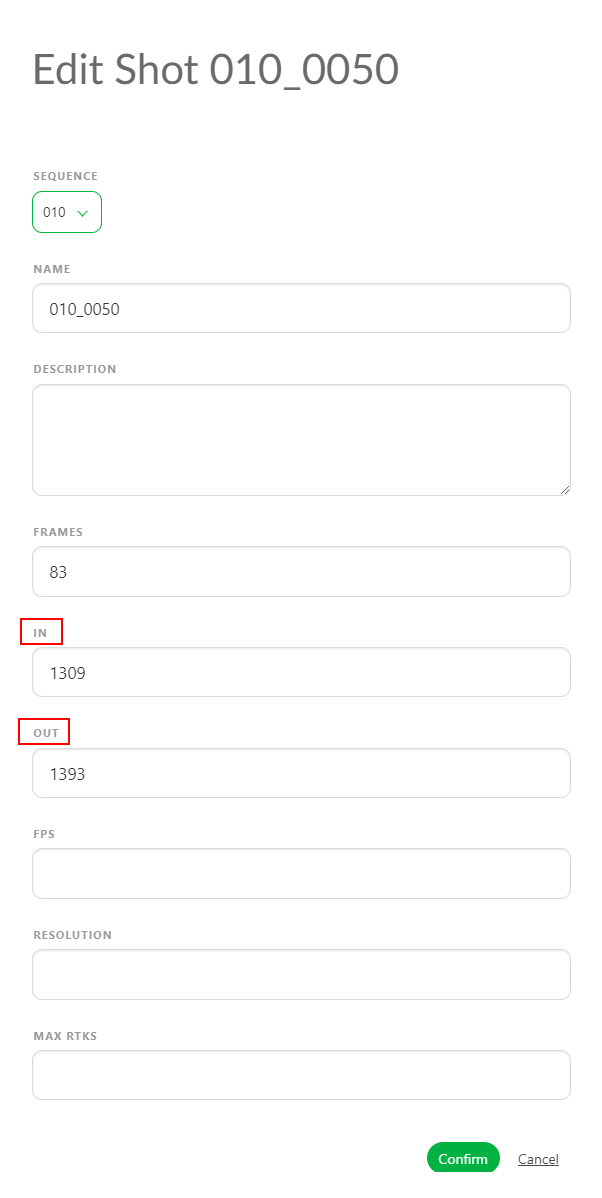
Now, the frame range appears on the general spreadsheet of the shot page.
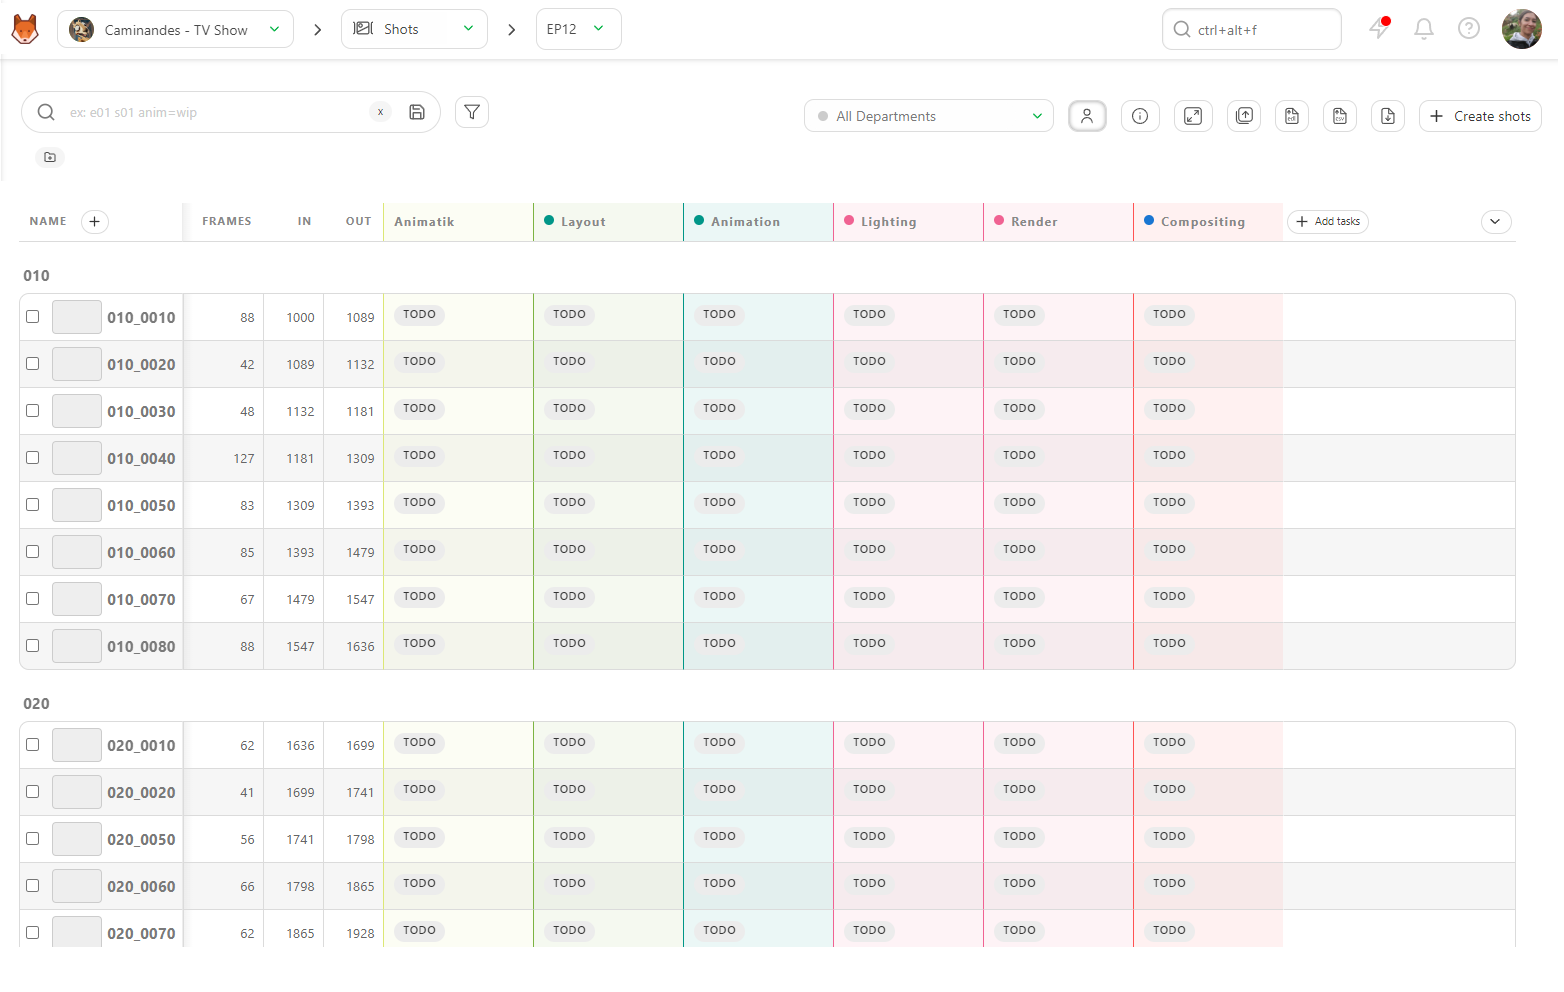
Now that you have unlocked the Frames, In, and Out columns, you can fill them directly from the global shot page.
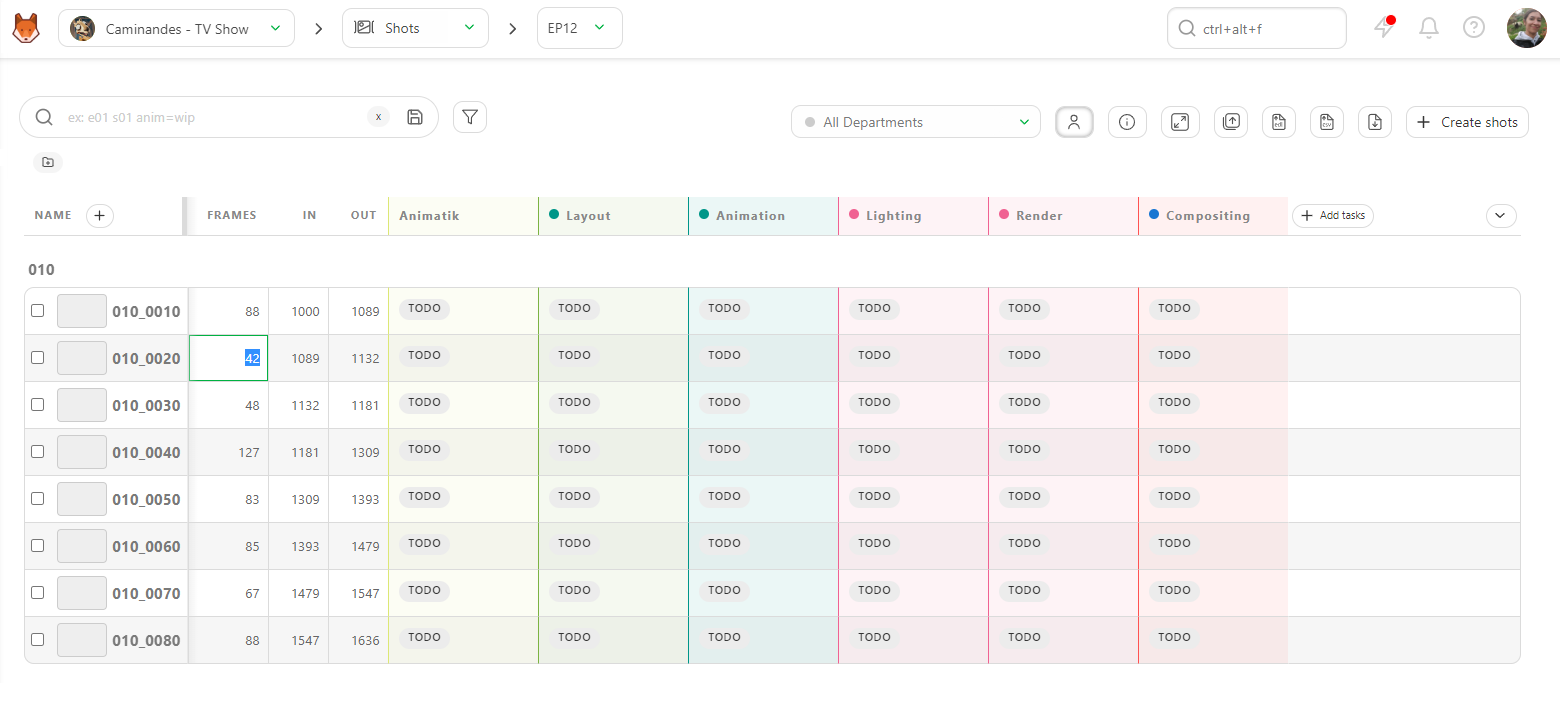
Click on the case you want to fill in and add the data.
TIP
If you enter the Frame In and Frame Out, Kitsu automatically calculates the Number of Frame.
You can also use the CSV Import to update your frame range quickly. Update Shots information with CSV Import
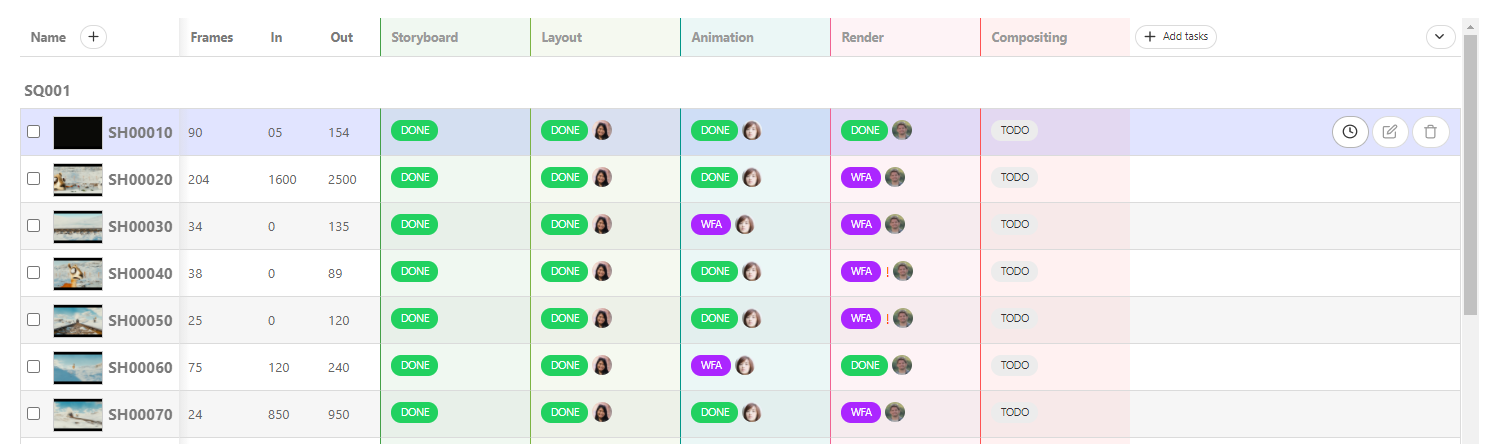
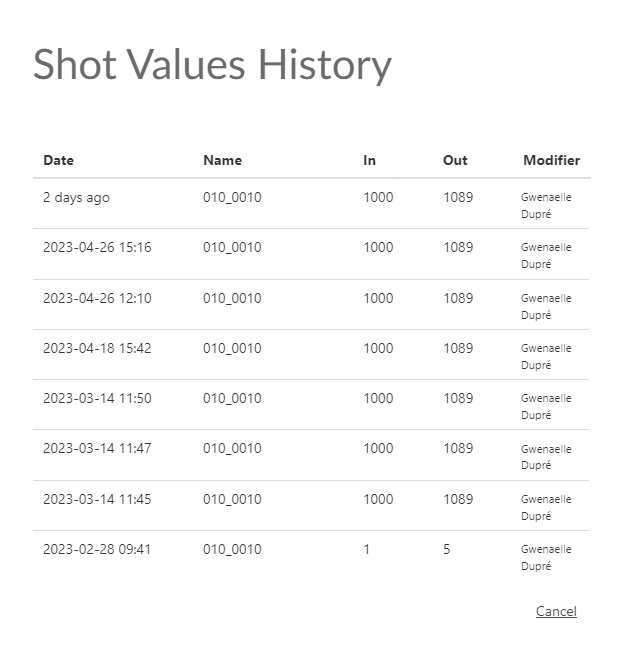
You can also access the history of shot values.
Global View of the Shots
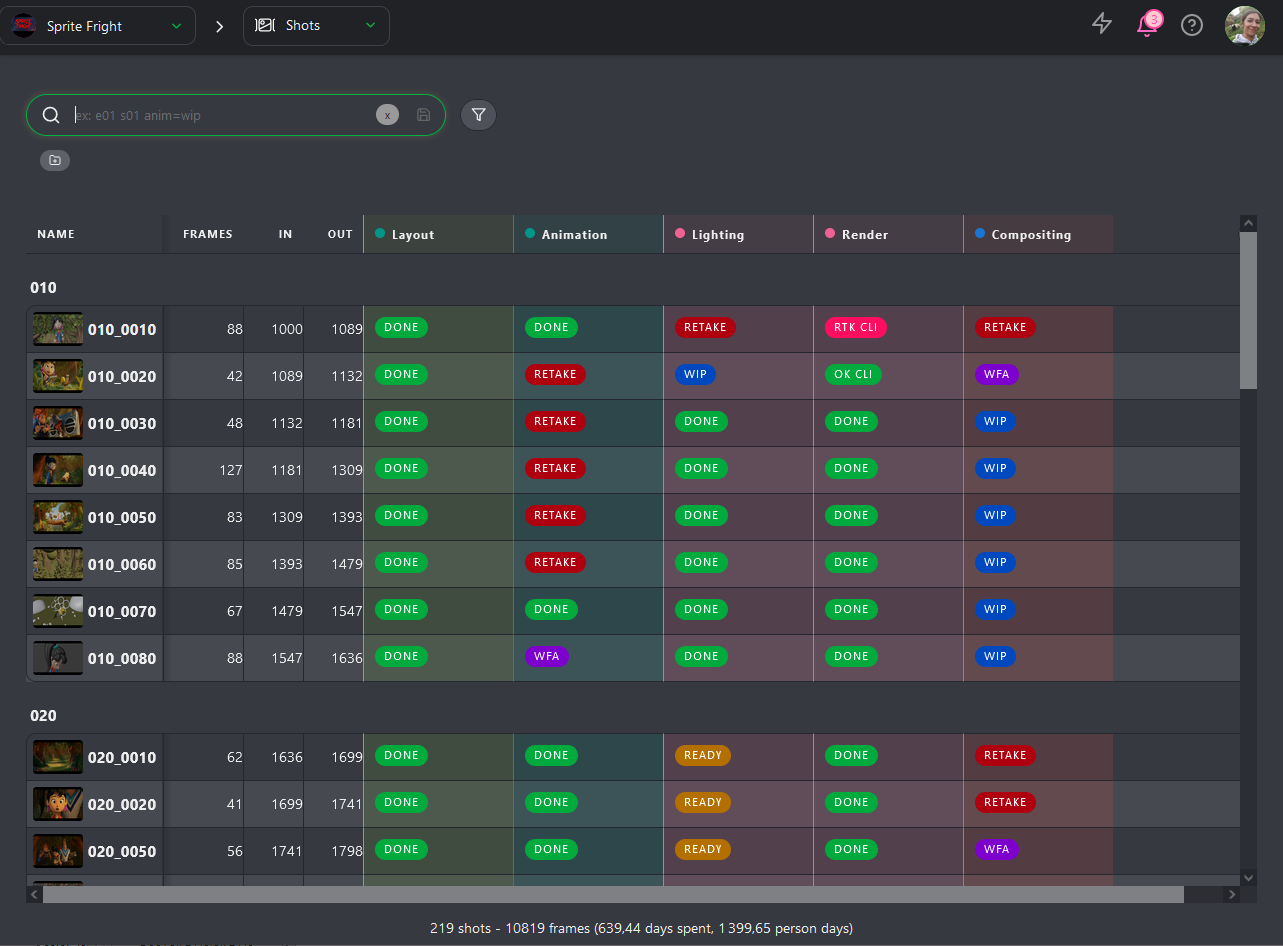
As a client, you can go to the global page of the shots with the drop-down menu on top of the screen.
On the global page, you will be able to see all the statuses of the different steps of the shots.
Remove Shots
Hover over the shot row you wish to remove in the list and click the Delete icon.