Managing Productions
Create a New Production
Now that you have designed your workflow in Kitsu and invited more people, it's time to create your production.
Click on the Create a new production button.
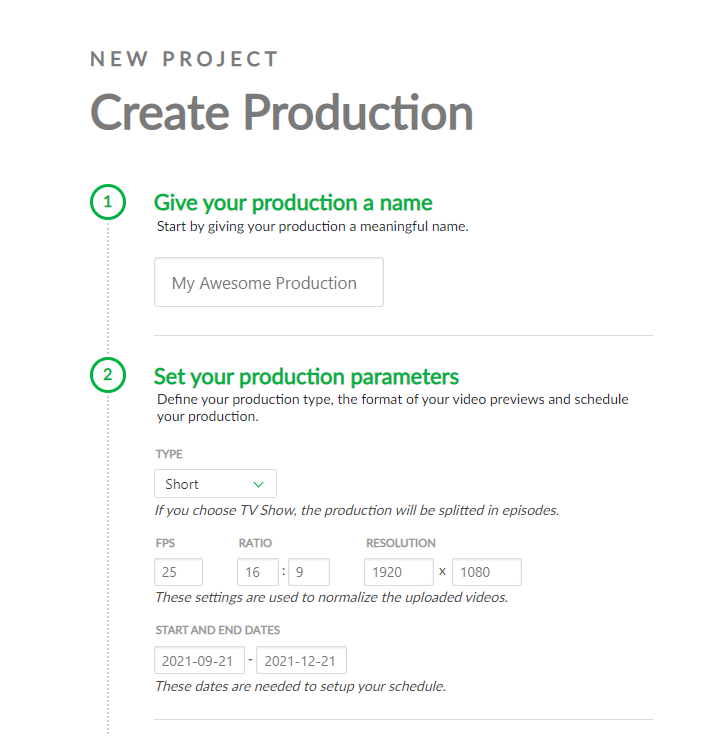
Enter your production name, choose a type, and select your production style (2D, 3D).
Pick the type "TV Show"Pick the type "Feature Film"Pick the type "Short"Pick the type "Only Shots"Pick the type "Only Assets"Pick the type "Only Assets"Pick the type "Short"Pick the type "Short"Then, you must fill in technical information, such as the number of FPS, the Ration, and the Resolution.
All these data will be used when Kitsu re-encodes the video previews uploaded.
Then, you need to define your production's start and end dates.
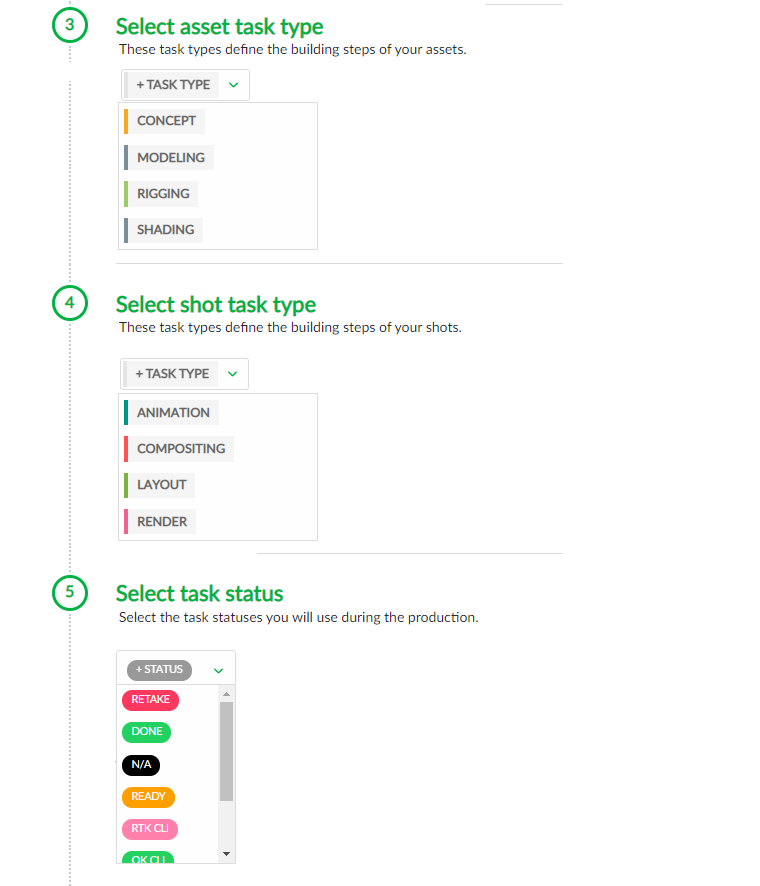
You can define your production workflow in the next part, 3 to 6.
You need to select your asset task type (3), shot task type (4), task status (5), and asset types (6).
TIP
To create your Production Workflow, you will select Task Types from the Global Library.
If you realize you missed some Task Types, you can create them later.
See the Studio Workflow section.
Then, 7 and 8 are the option parts. If you already have a spreadsheet with your asset/shot.
See the import CSV section for more details.
Validate everything with the  button.
Using Production Templates
Getting a new production set up often means repeating the same configuration steps over and over like choosing task types for shots and assets, defining task statuses, and adjusting project-wide settings to match your team's workflow.
With Project Templates, you can start from a predefined setup in one click:
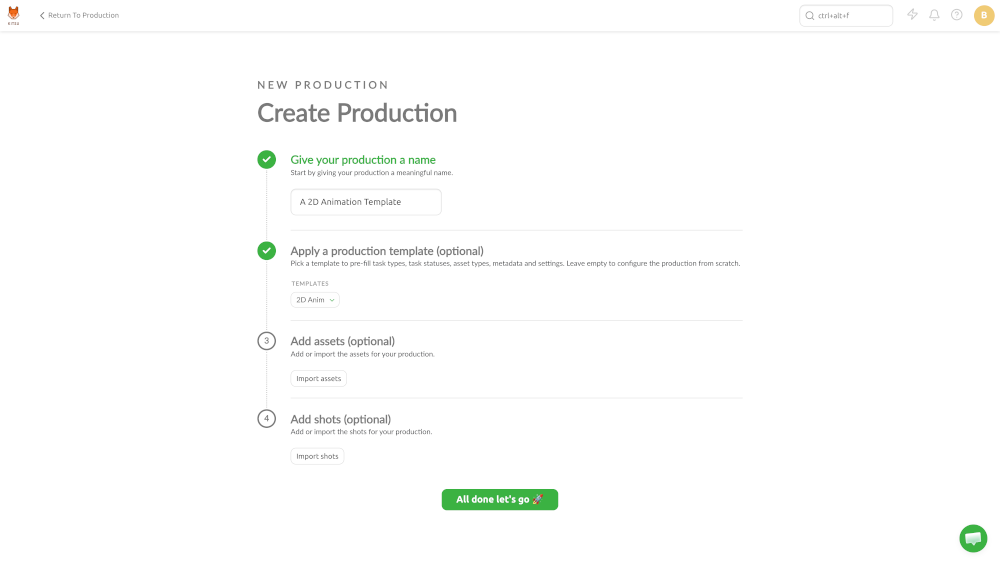
When creating a new production, simply pick a template and Kitsu will automatically apply your preferred settings.
In the example above, the template comes bundled with pre-configured asset types, task types, task statuses, etc. we don't need to pick manually from the Global Library:
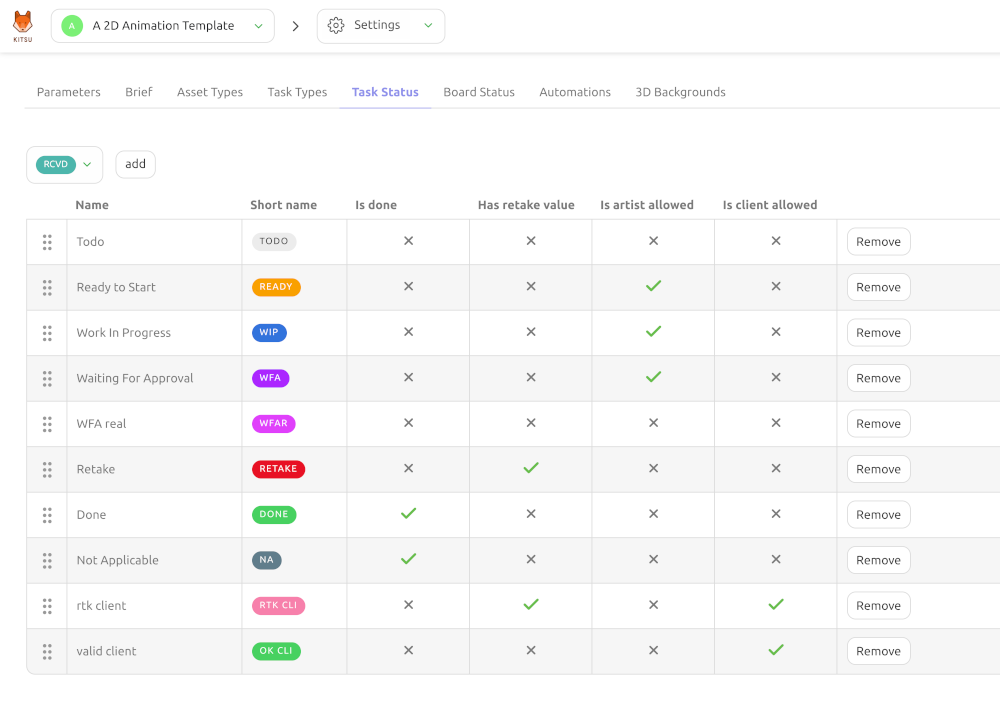
Configure Production-Specific Settings
From the Navigation Menu, choose on the dropdown menu the Setting.
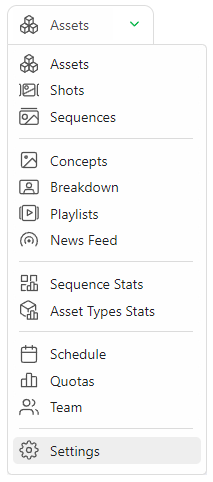
The first tab, Parameters allows you to change the Technical information of the production.
WARNING
If you change the FPS or Resolution after uploading previews, the changes won't be applied; you must reupload the first previews.
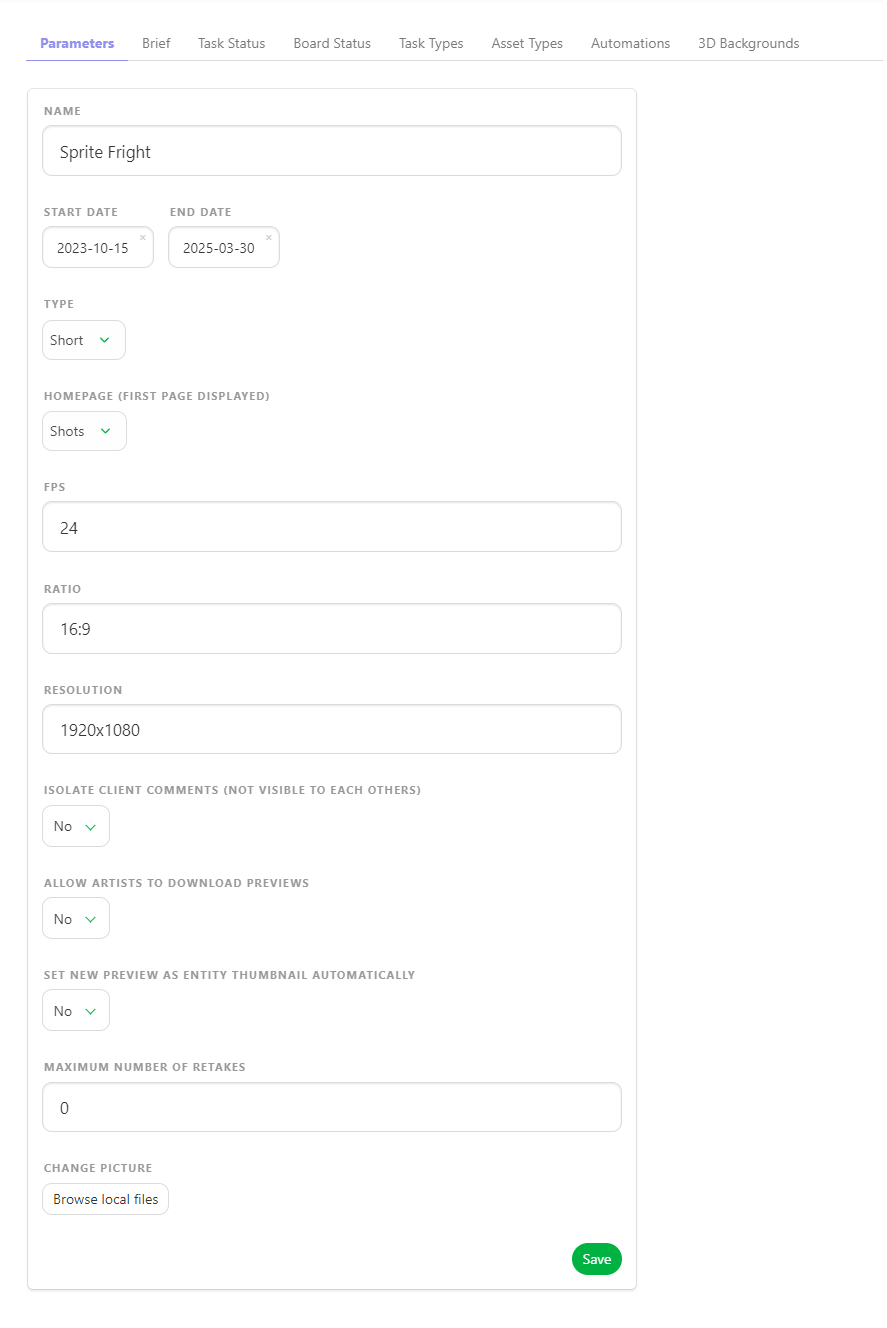
Here, you can enable specific options for the production as
Isolate Client Comments (Not Visible To Each Other)
Allow Artists To Download Previews
Set New Preview As Entity Thumbnail Automatically
You can also specify the Maximum Number of Retakes for this production.
TIP
You can also change the avatar of the production on the Parameters tab.
Delete a Production
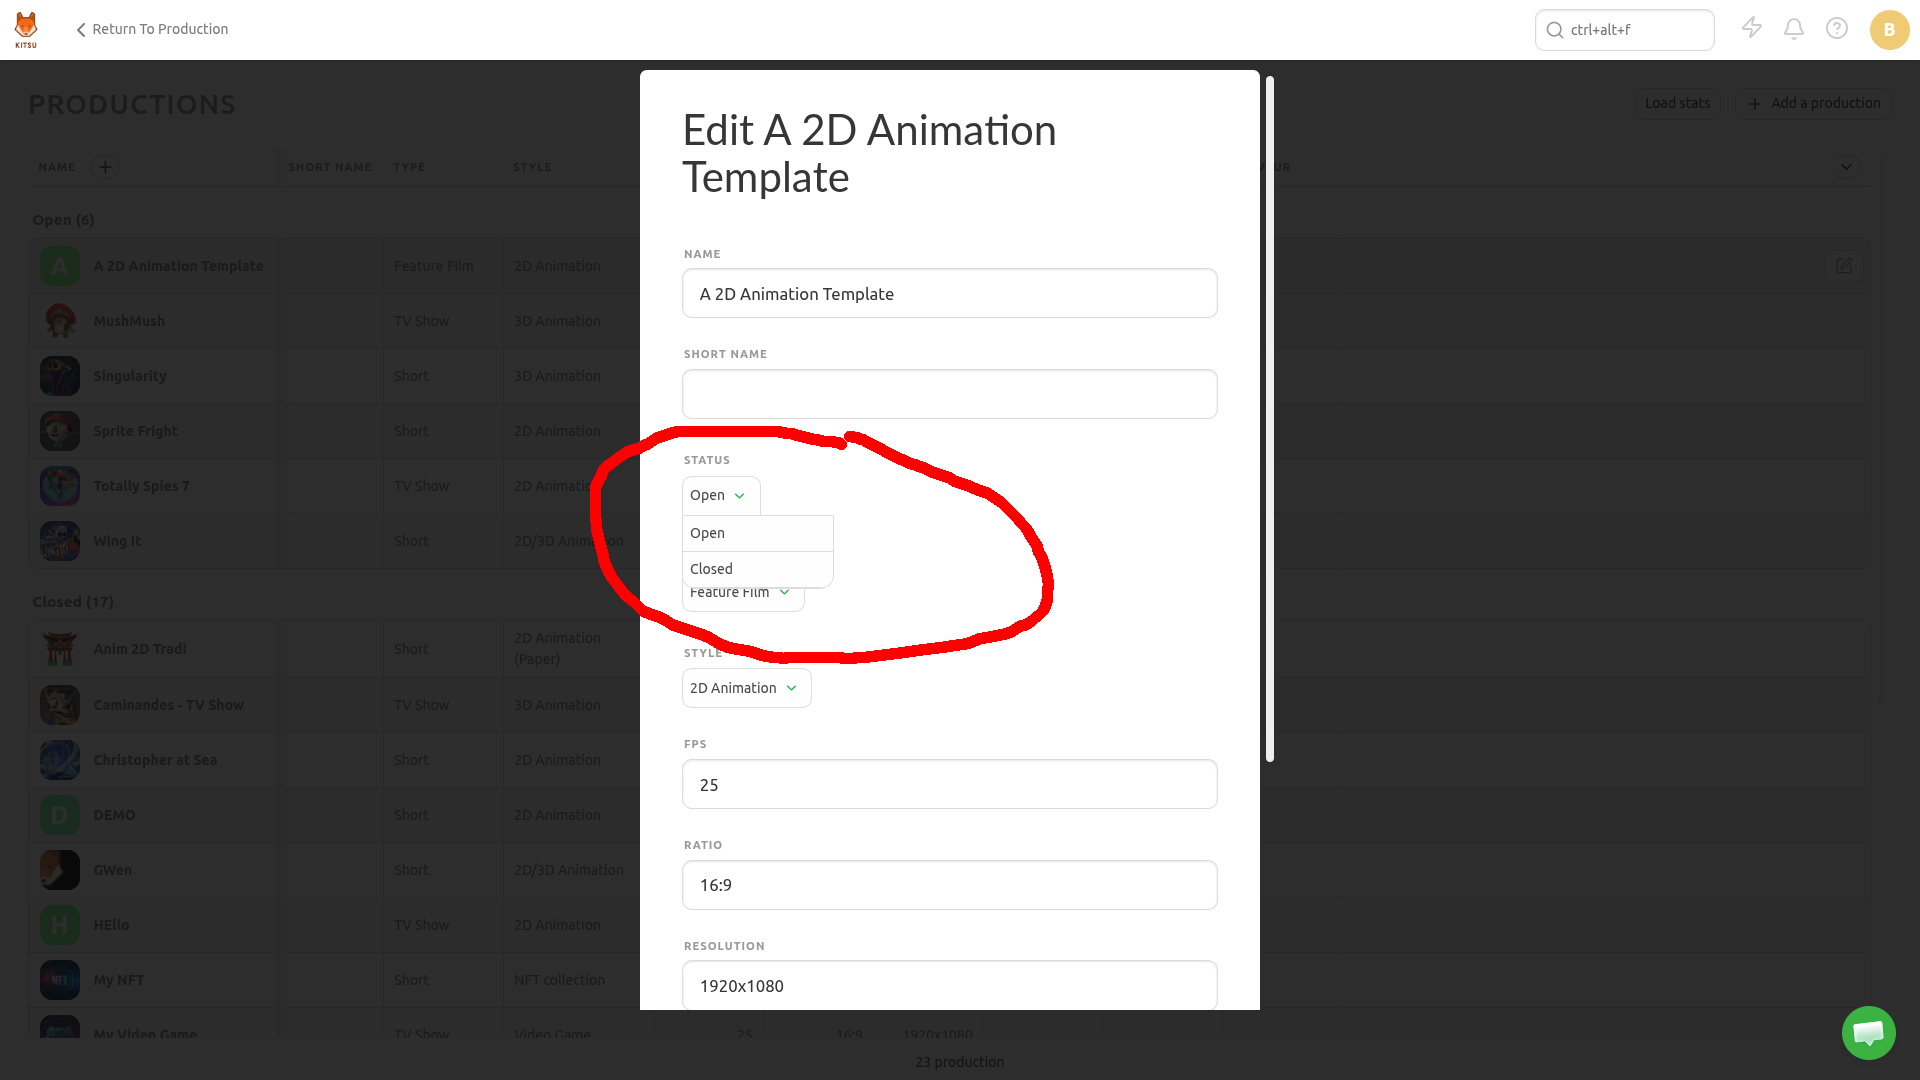
Deleting a production requires you close it first.
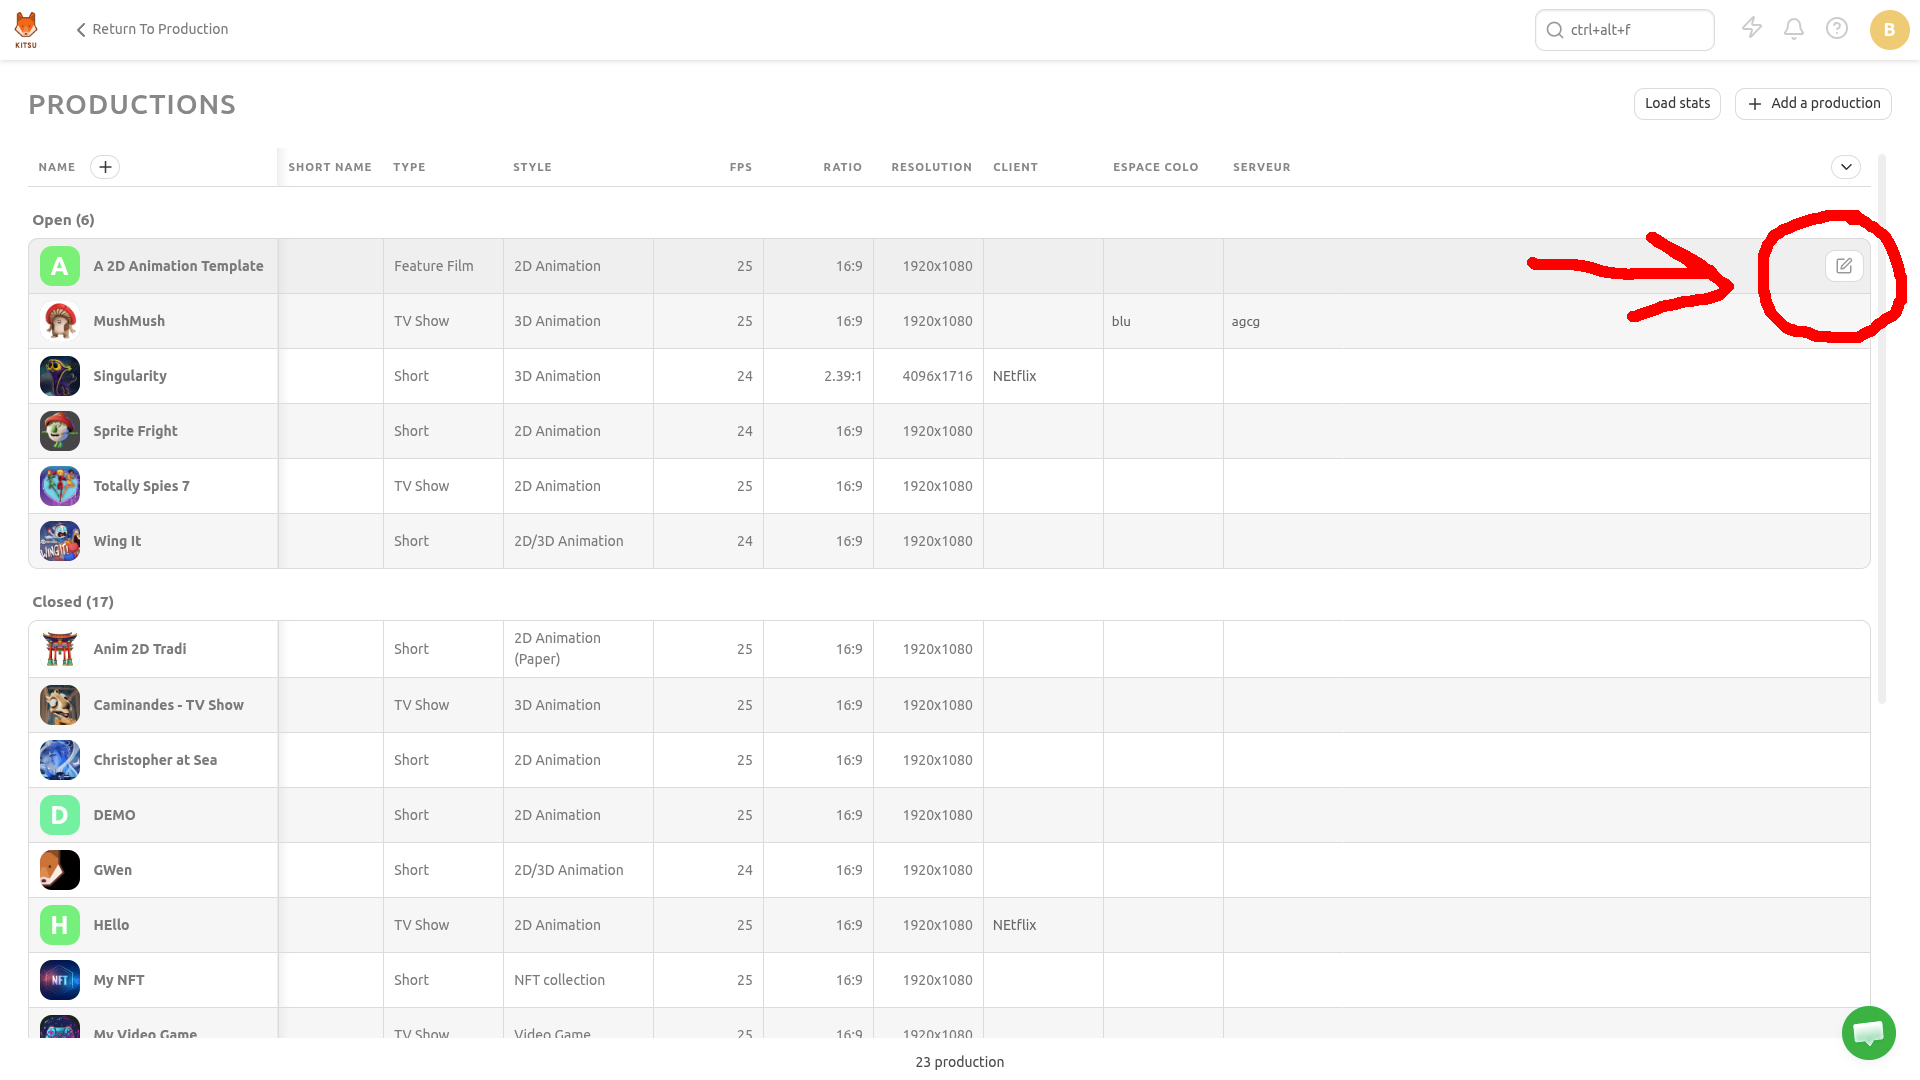
First, click on the Edit button for the target production in the Main Menu > Studio > Productions page:
In the dialog, select Closed for the production status and click Confirm:
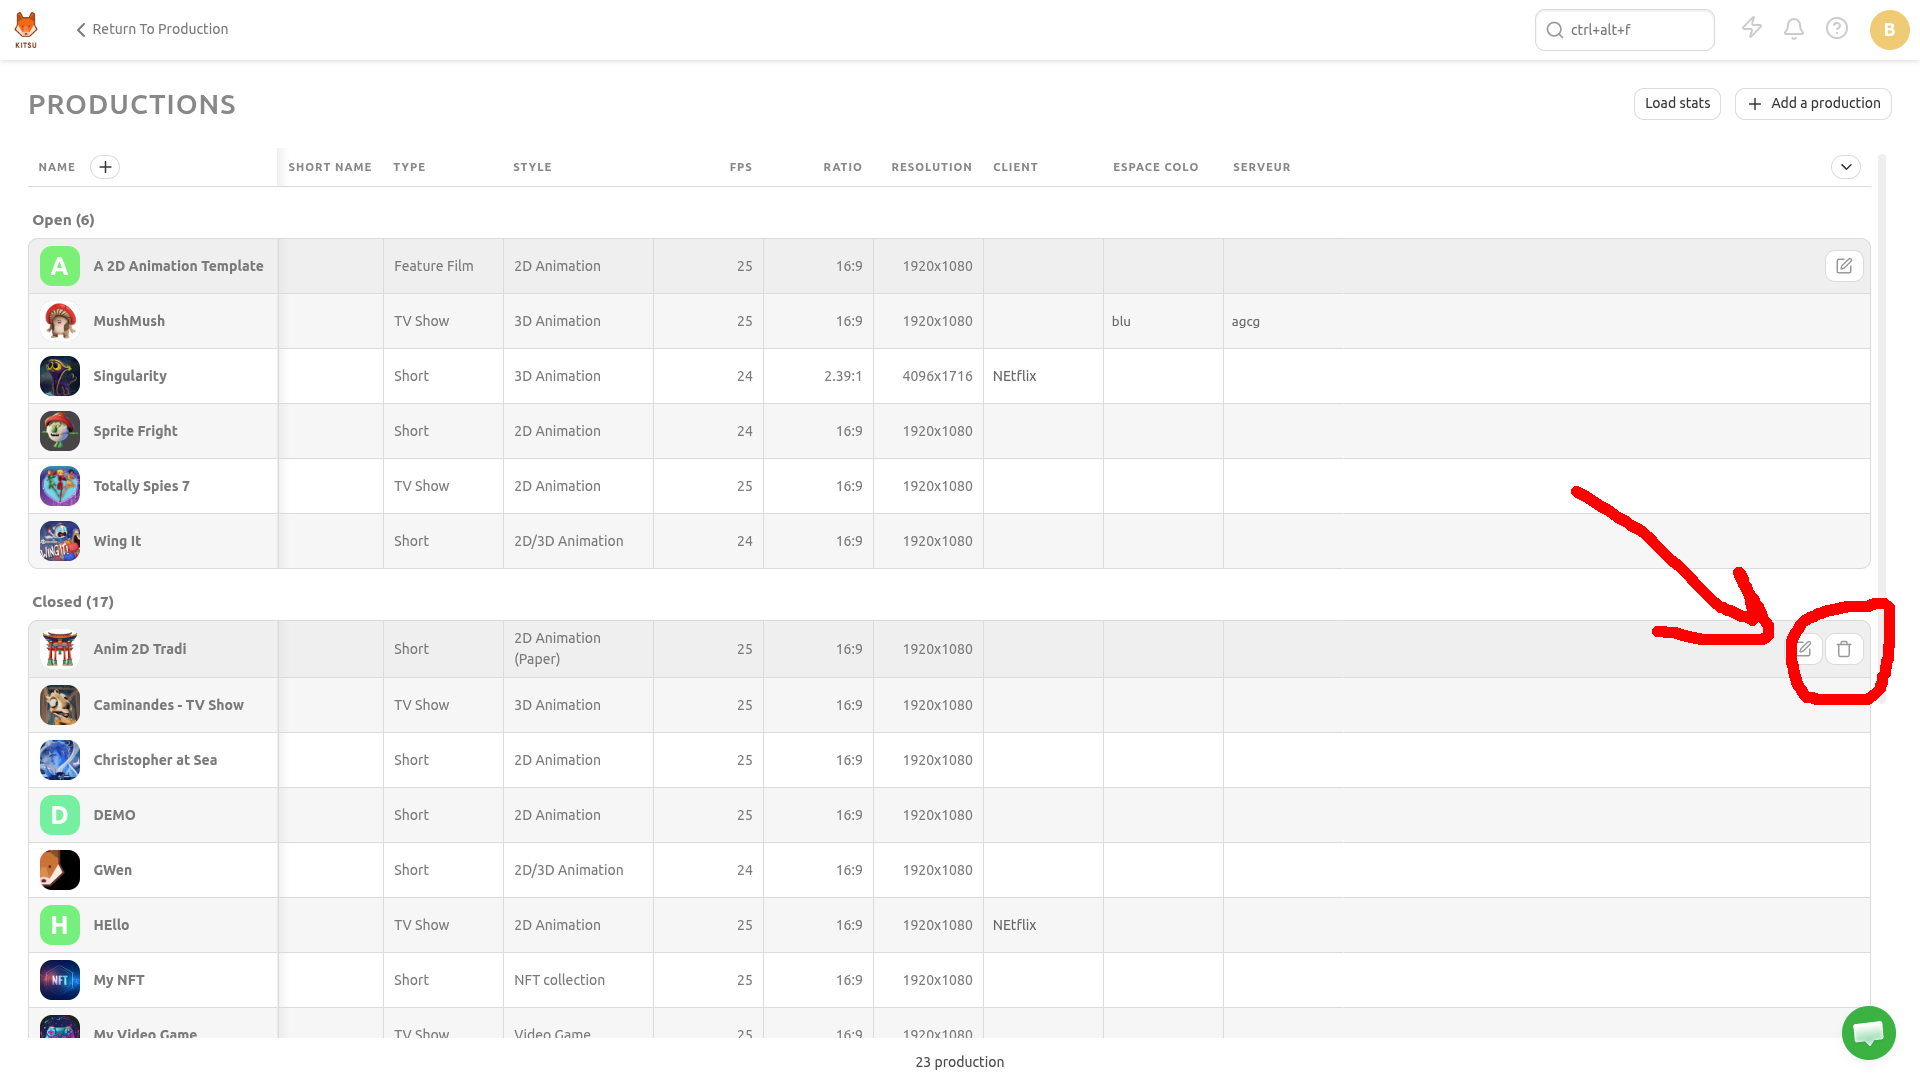
Your production is now listed as Closed.
Simply click the Delete button in the corresponding closed production list item and your production will be removed from your instance:
Archive a Production
TODO
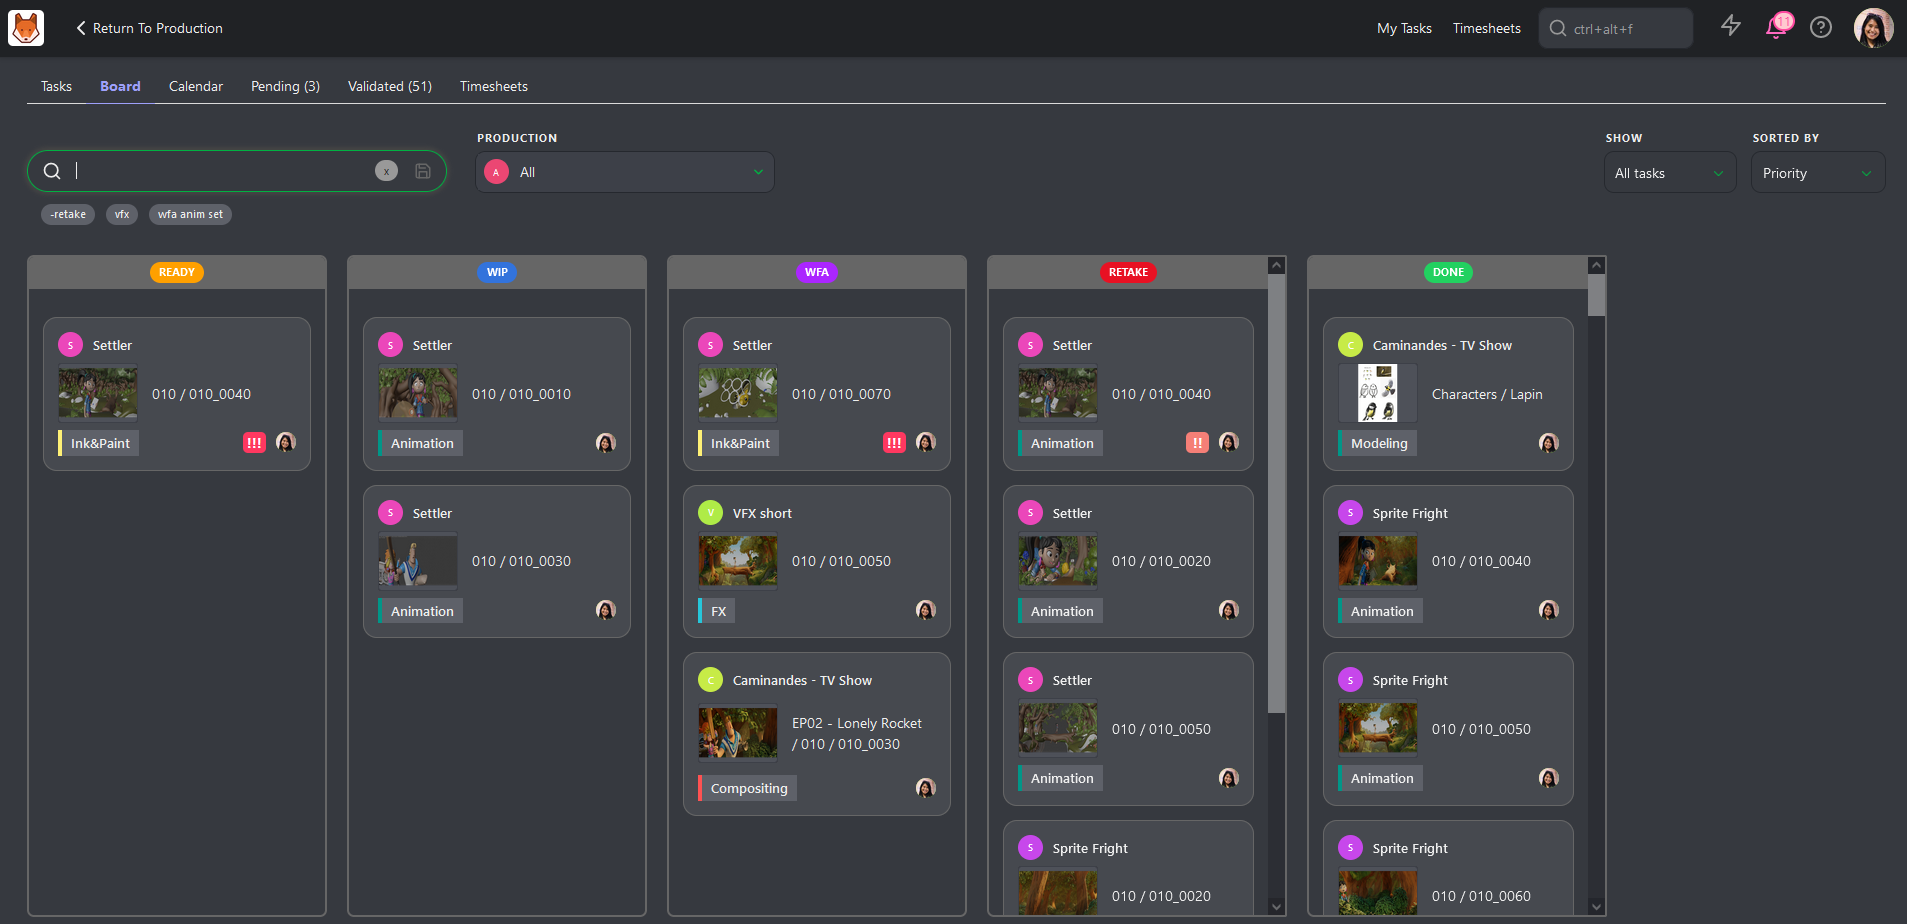
Artist Board
Artist Board Status Configuration
On the Navigation Menu, choose on the dropdown menu the Setting.
On the Task Status tab, you can reorder the status for the Board view.
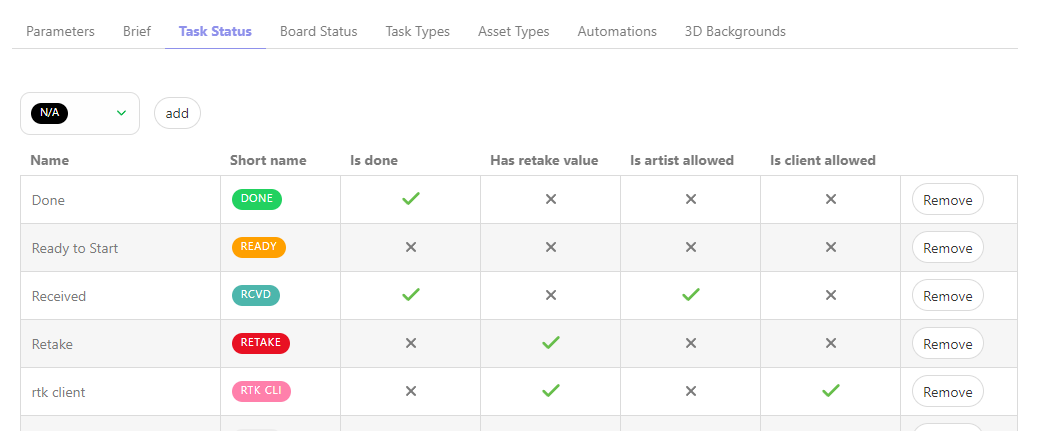
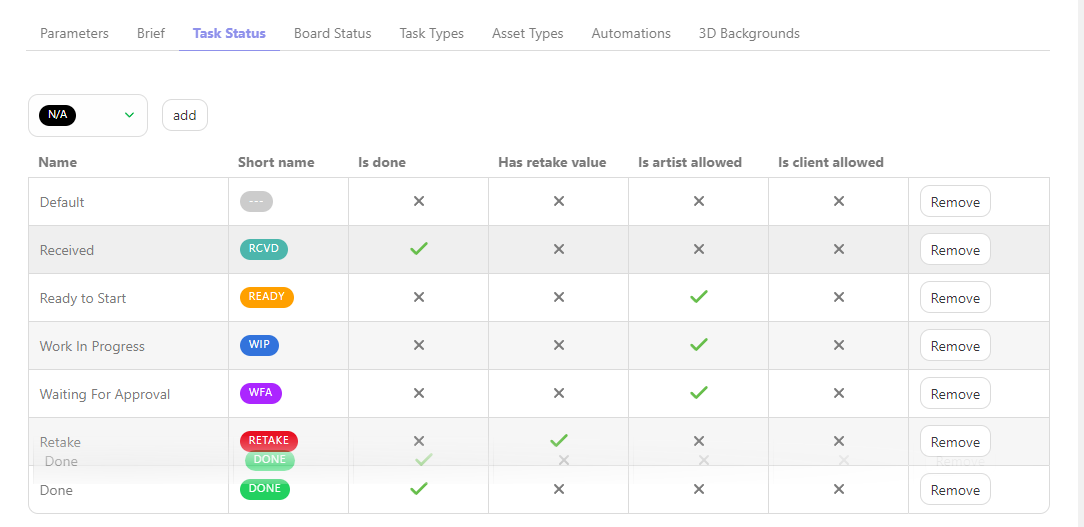
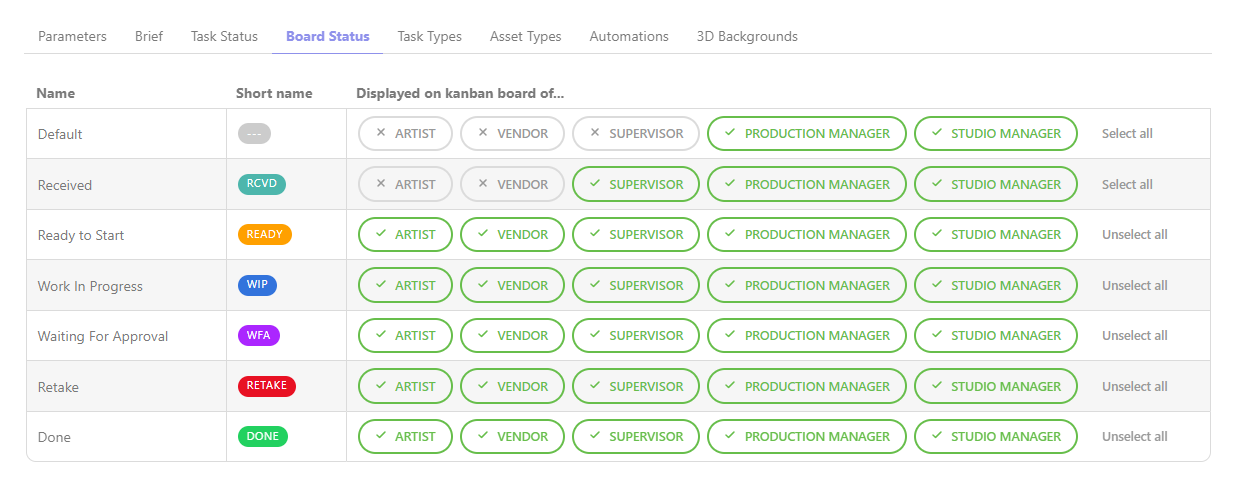
Once it's done, go to the Board Status tab.
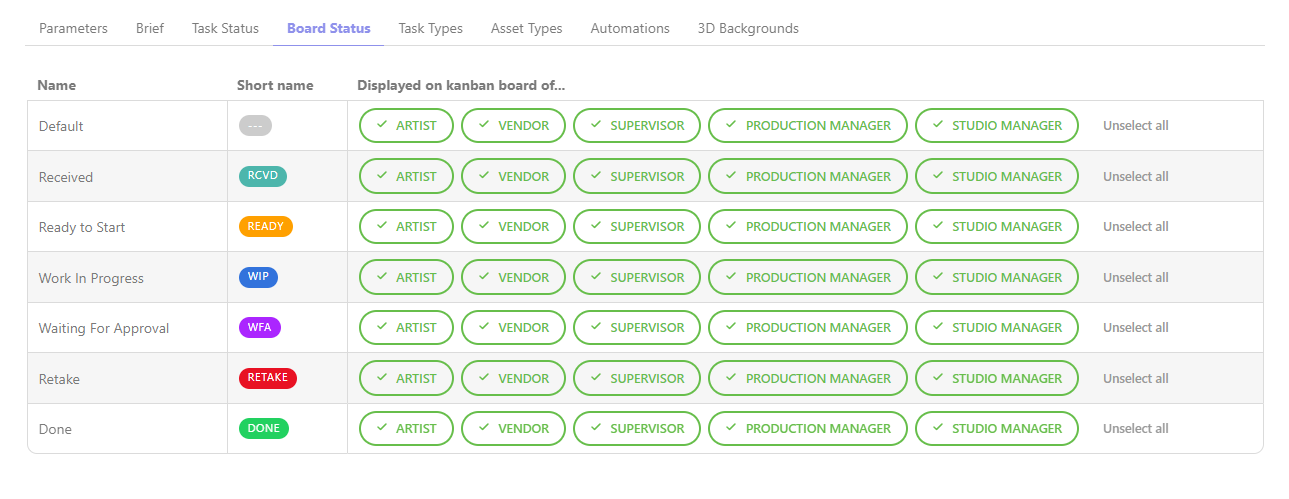
Here, you can choose who can see which status on the Board view
If you don't select the status properly, it can be overwhelming for the artists if they have too much choice.
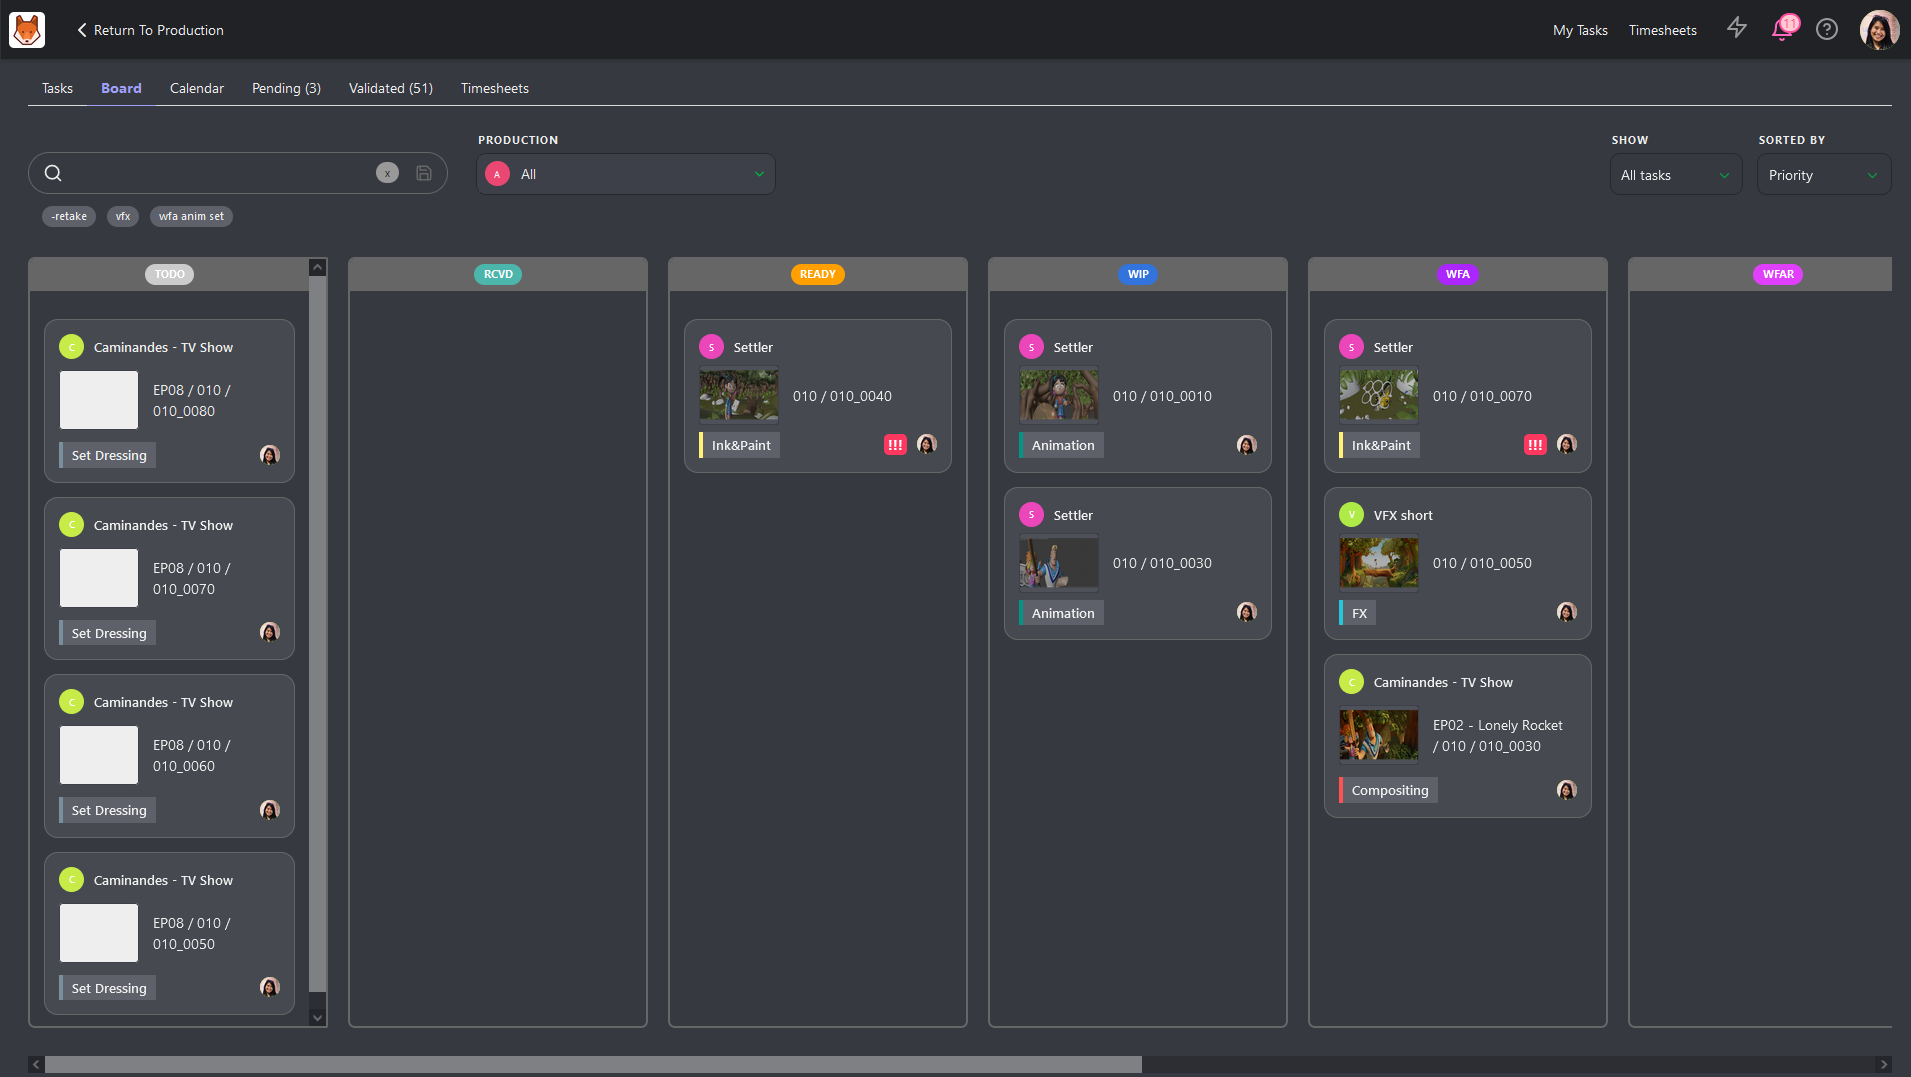
Selecting the Status properly will make it easier for the artists.