
Getting Started With Kitsu
Introduction
Kitsu is a production tracking tool built for studios working across 2D and 3D production, VFX, video games, and related fields. It's flexible enough to handle everything from a single still-frame ad to a full 3-hour feature film.
This page walks you through everything you need to get a studio up and running in Kitsu, in order:
- General Kitsu Settings: configure studio-wide settings like your logo, working hours, and chat integrations
- Studio Workflows: set up the task types, statuses, and libraries that define how work moves through your studio
- Preparing Your Team: invite users, assign them to departments, and grant permissions
- Create a New Production: links to quickstart guides for different production types (TV shows, feature films, shorts, video games, and more) and how to add teammates to a production
- Next Steps: role-specific handbooks to onboard your supervisors, producers, artists, clients, and developers
By the end, you'll have a configured studio, an onboarded team, and a clear path to launching your first production.
1. General Kitsu Settings
First, let's customize your Kitsu instance to match your studio culture.
Click on the Main Menu button in the top left corner:

Under the Admin section, click on the Settings page.
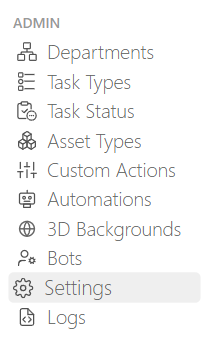
The page lists global settings that affect every production:
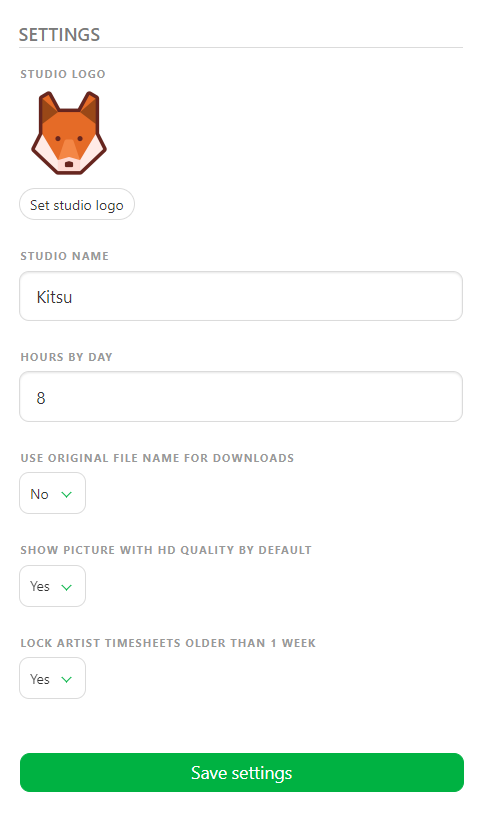
- Click on the Set studio logo button and select an image to replace the Kitsu logo
- Change the Studio Name to be used in your Kitsu instance
- The number of working hours per day for scheduling and reporting
The Preferences section depend on your tastes:
- You can opt to use original file names for downloads instead of automated names
- Display images in HD quality by default if you have a very fast internet connection
- You can also restrict artists from modifying timesheets older than one week
- Display durations in hours instead of days if you have varying day lengths
- Enable dark or light theme by default
Finally, you will also find a section covering various chat integrations. Please refer to the developer documentation's Chat Integration pages for more information on how to configure this.
WARNING
Remember to Save Settings at the end once you are finished.
2. Studio Workflows
Next, we need to define how work moves through your studio.
Understanding Studio Workflows
Definition
Workflow: the structured coordination of tasks constituting the operational processes within a production. For example, in a CGI production, an asset goes through a series of tasks like modeling, rigging, and shading.
The Workflow of your production is the sum of your Task Types and Task Statuses.
Definition
Task Type: a category of process, like modeling or shading
Definition
Entity: an individual object, e.g an asset or a shot
Definition
Task: a specific action or activity that needs to be done. Tasks are linked to entities and categorized by task type. Each task is then assigned to an artist.
Once the workflow for your tasks is defined, the next step is to establish an Approval Workflow: define all the task statuses used for communication in the team. Task statuses track the progress of your production.
Definition
Task Status: a specific stage or condition that a task must pass through as part of the review and approval workflow. Examples: Ready To Start, Work In Progress, Waiting For Approval, Retake, Done.
Just like you can define an asset workflow (for example: Modeling, Shading, Rigging), you can define a workflow for shots, sequences, etc.
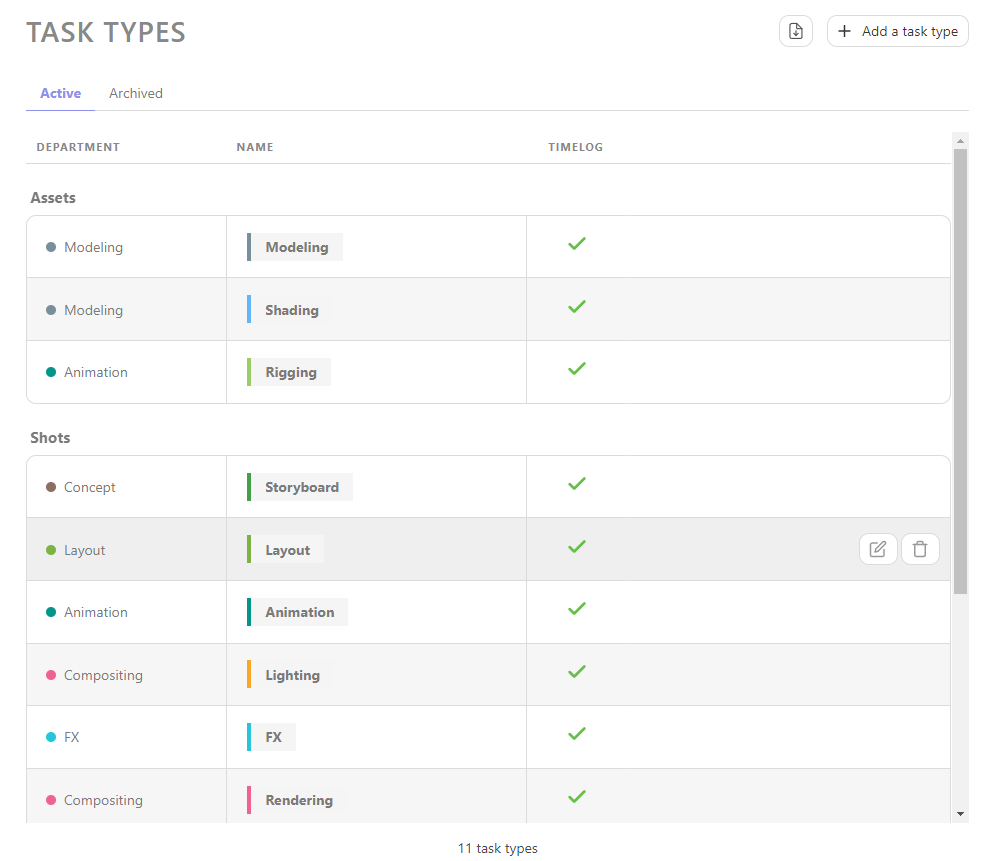
A library is a collection of reusable production elements that make up workflows; things like departments, task types, task statuses, and asset types, that you set up once and then apply across your projects, rather than recreating from scratch every time.
Global Library VS Production Library
Kitsu has two types of libraries:
| Library | Access | Purpose |
|---|---|---|
| Global Library | Studio manager only | Studio-wide source of departments, task types, task statuses, asset types, and status automations |
| Production Library | Per-production | Populated by selecting elements from the Global Library |
This separation allows each production to have its own workflow if need be.
First, we set up the Global Library:
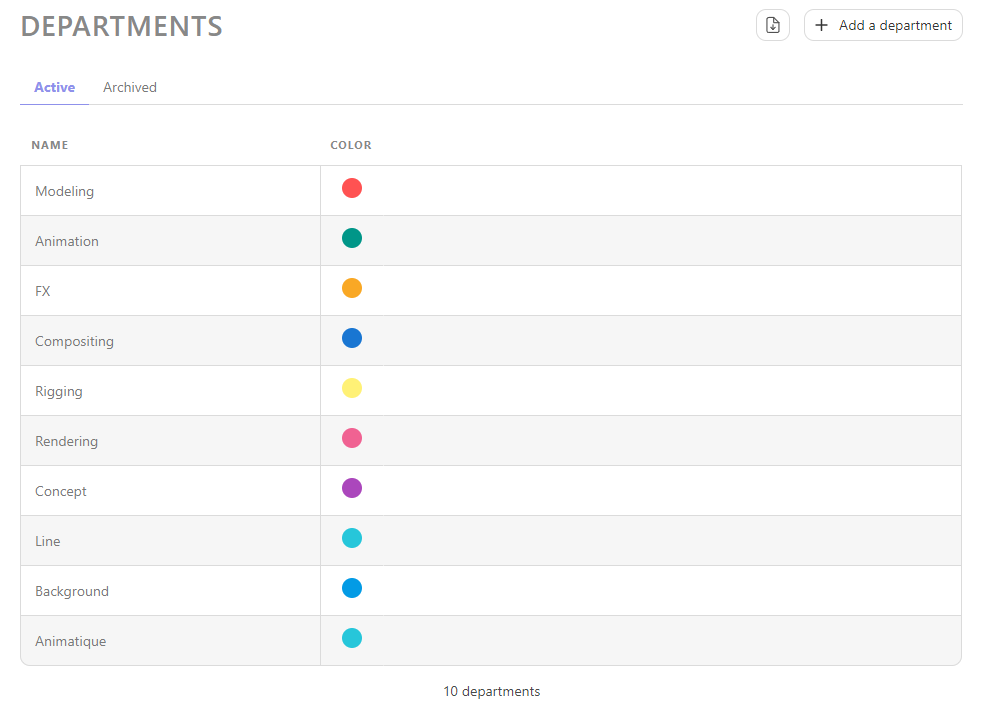
1. Department Setup

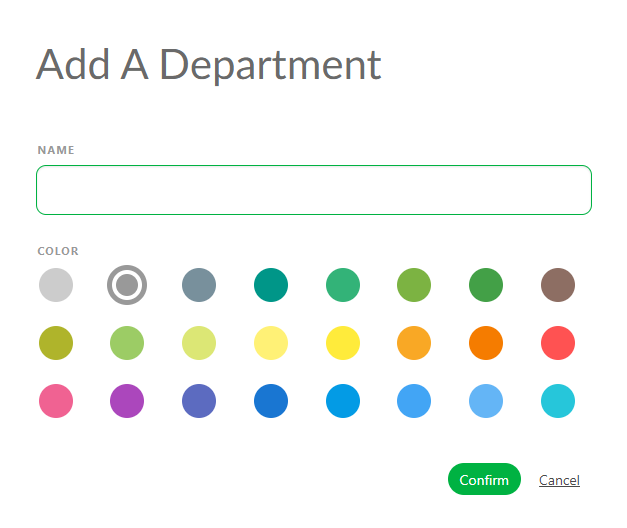
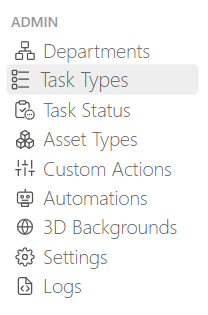
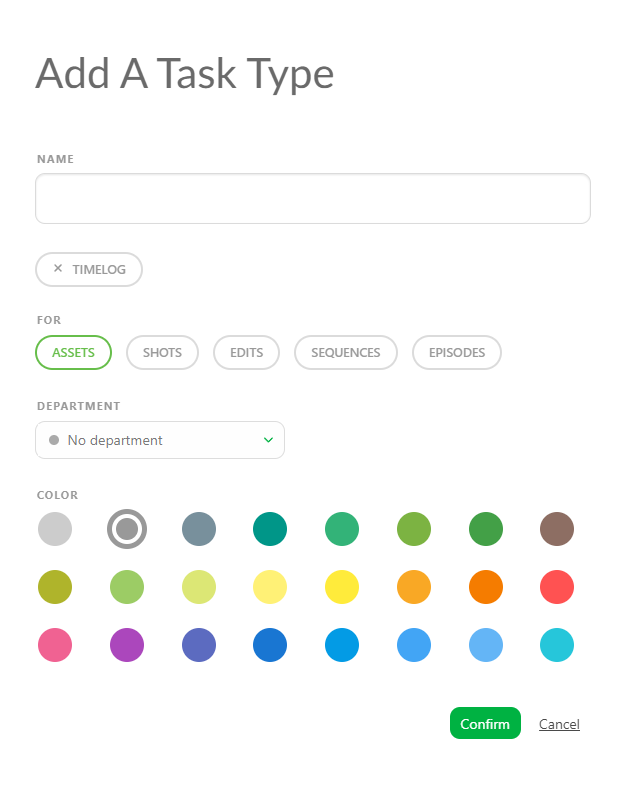
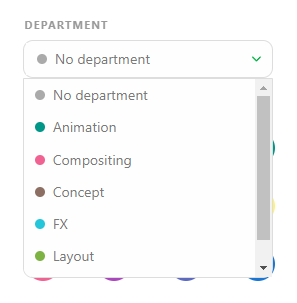
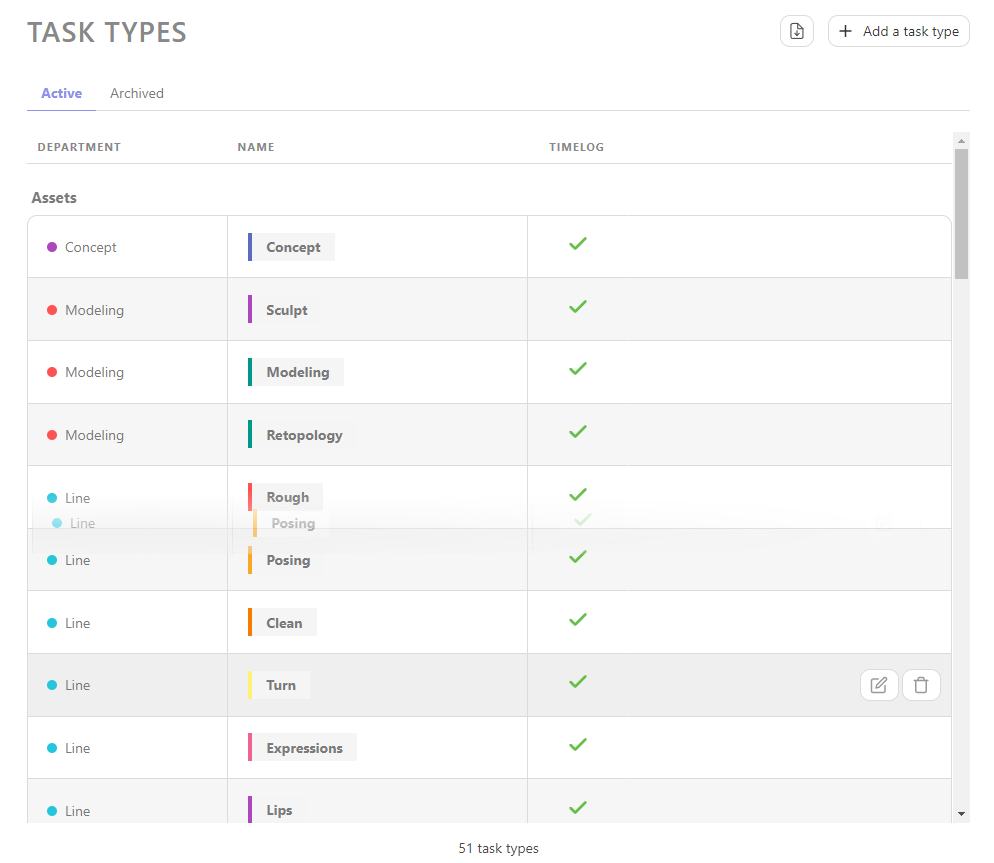
2. Task Type Setup

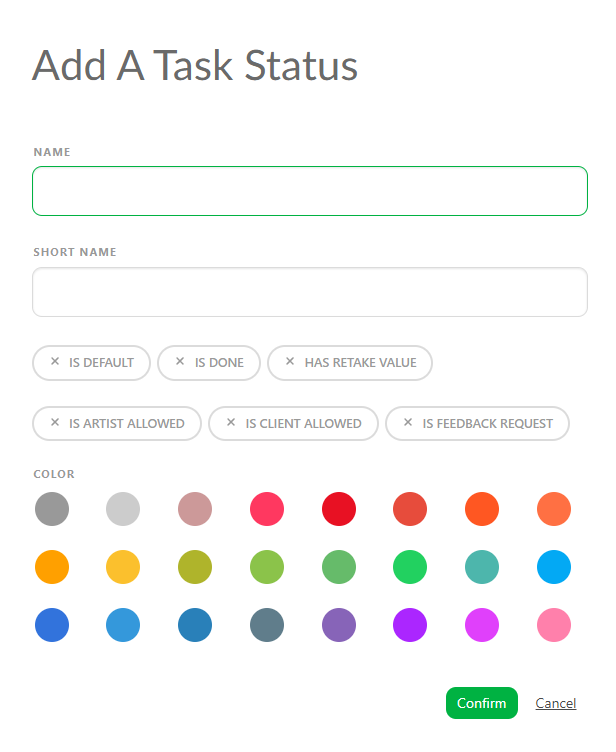
3. Task Status Setup


4. Asset Type Setup
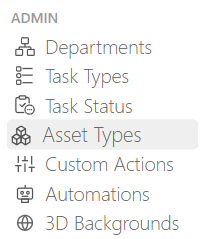
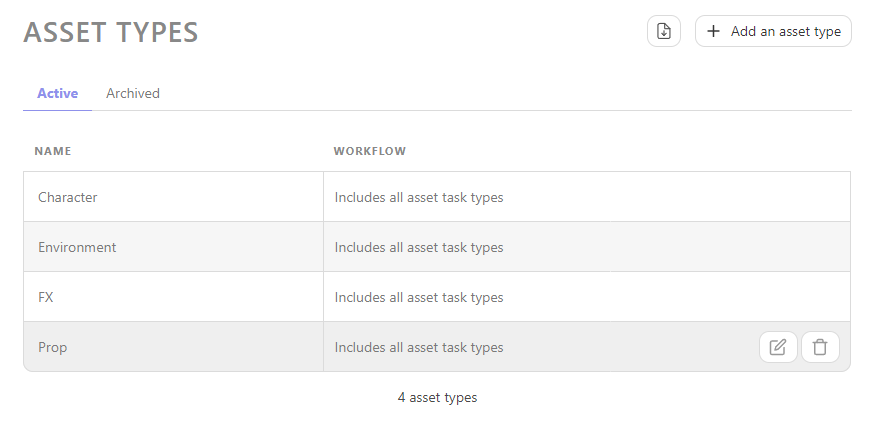
 button.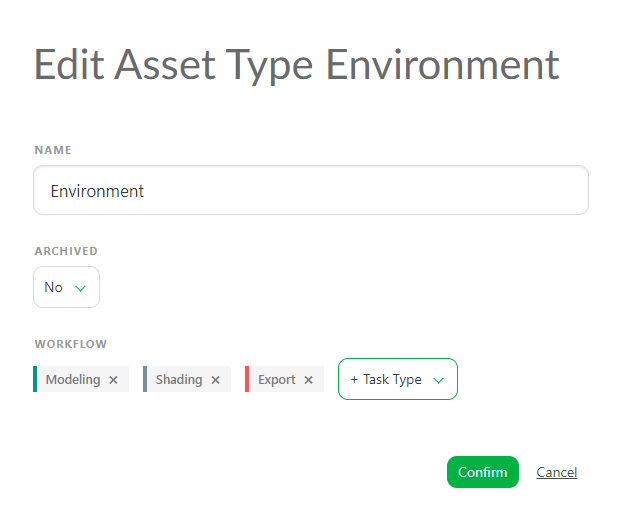
5. Status Automation Setup
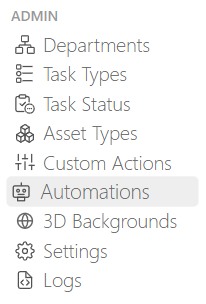
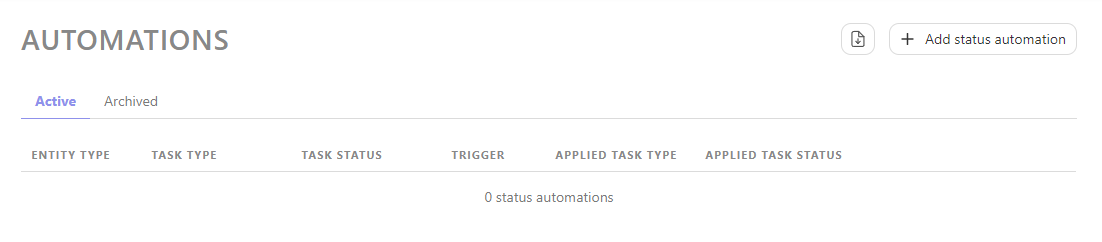
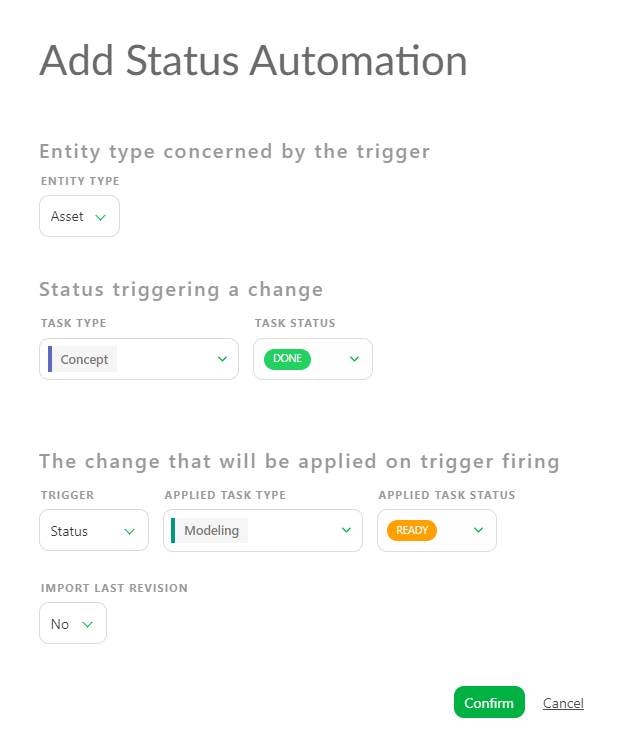
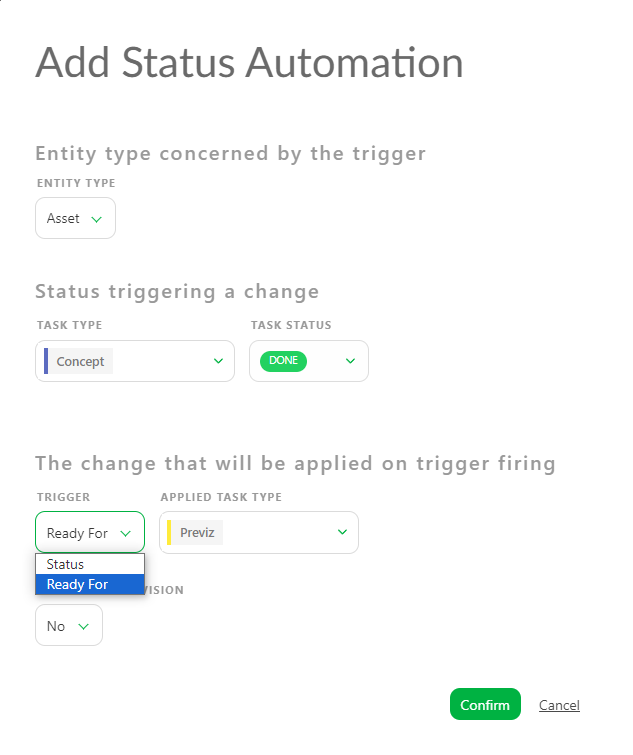
When you'll later create your first production, you'll fill out the Production Library with the elements from the Global Library.
3. Preparing Your Team
Now that you have defined your studio workflows, it's time to organize your team so you have people to assign tasks to.
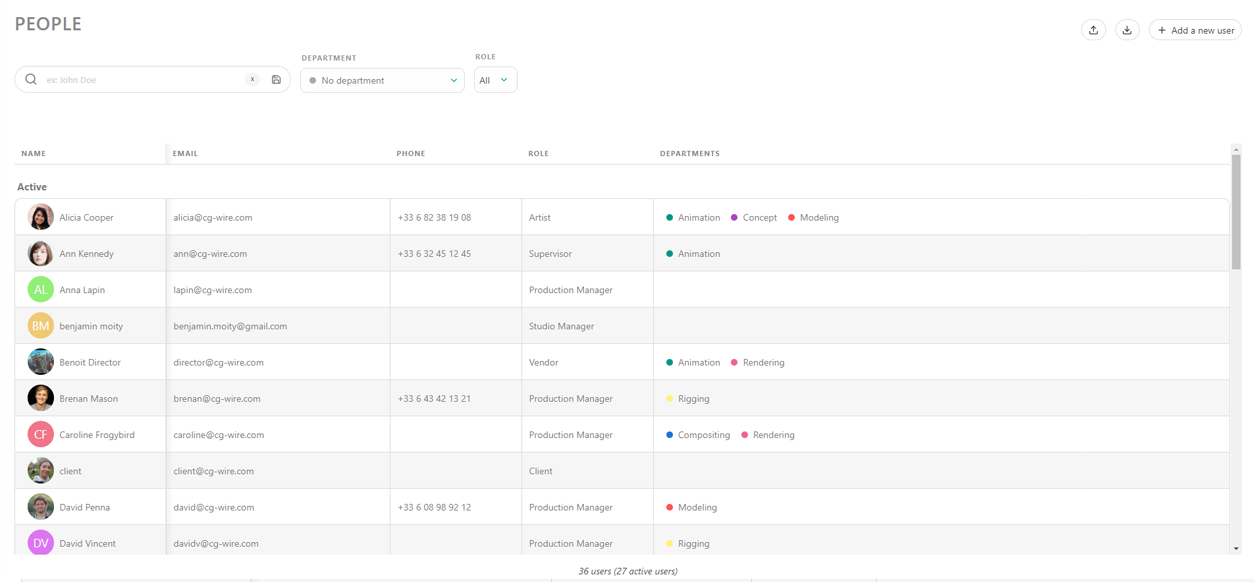
We will learn how to invite users to Kitsu, link them to departments, and grant them permissions:
Adding & Inviting Users
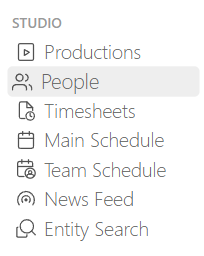
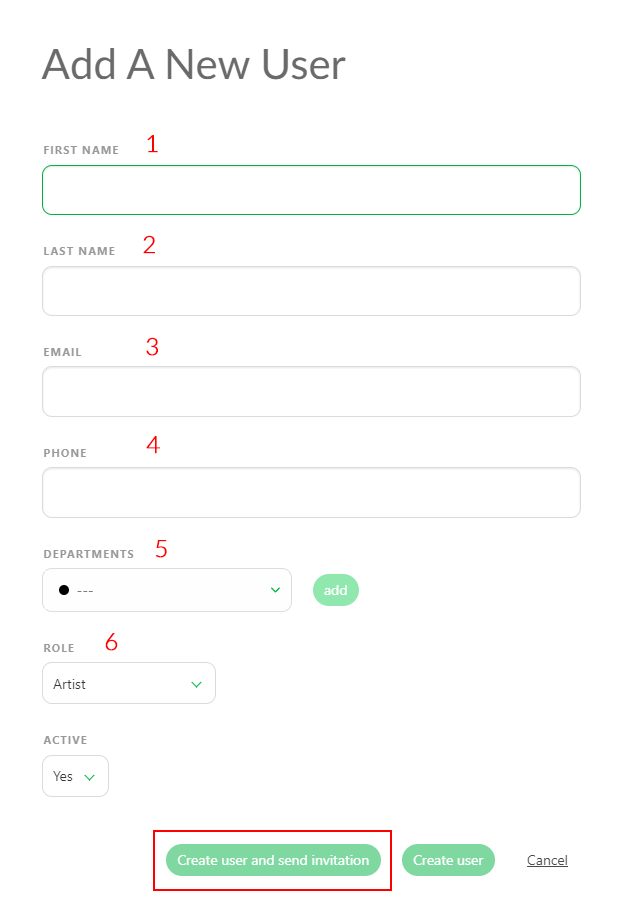
Later when creating our first production, we'll learn how to add teammates to a production team so that they can begin working on tasks.
4. Create a New Production
Now that you have designed your global workflow and invited more people, it's time to create your production:
- Quickstart for TV Shows
- Quickstart for Feature Films
- Quickstart for Shorts
- Quickstart for Video Games
- Quickstart for Shots-Only Productions
- Quickstart for Assets-Only Productions
The last setup step is to add studio teammates to the production:
Adding Users to a Production Team
5. Next Steps
- About Team Roles - An overview of the different team roles and corresponding permissions available in Kitsu.
- Kitsu for Supervisors - A list of the main workflows for supervisors.
- Kitsu for Producers - A list of the main workflows for producers.
- Kitsu for Artists - A list of the main workflows for artists.
- Kitsu for Clients - A list of the main workflows for clients.
- Kitsu for Developers - A list of resources for developers.