
Quick Interface Tour
Now that your Kitsu instance is correctly configured, you can spend time familiarizing yourself with the user interface.
Let's take a look at the global asset page.
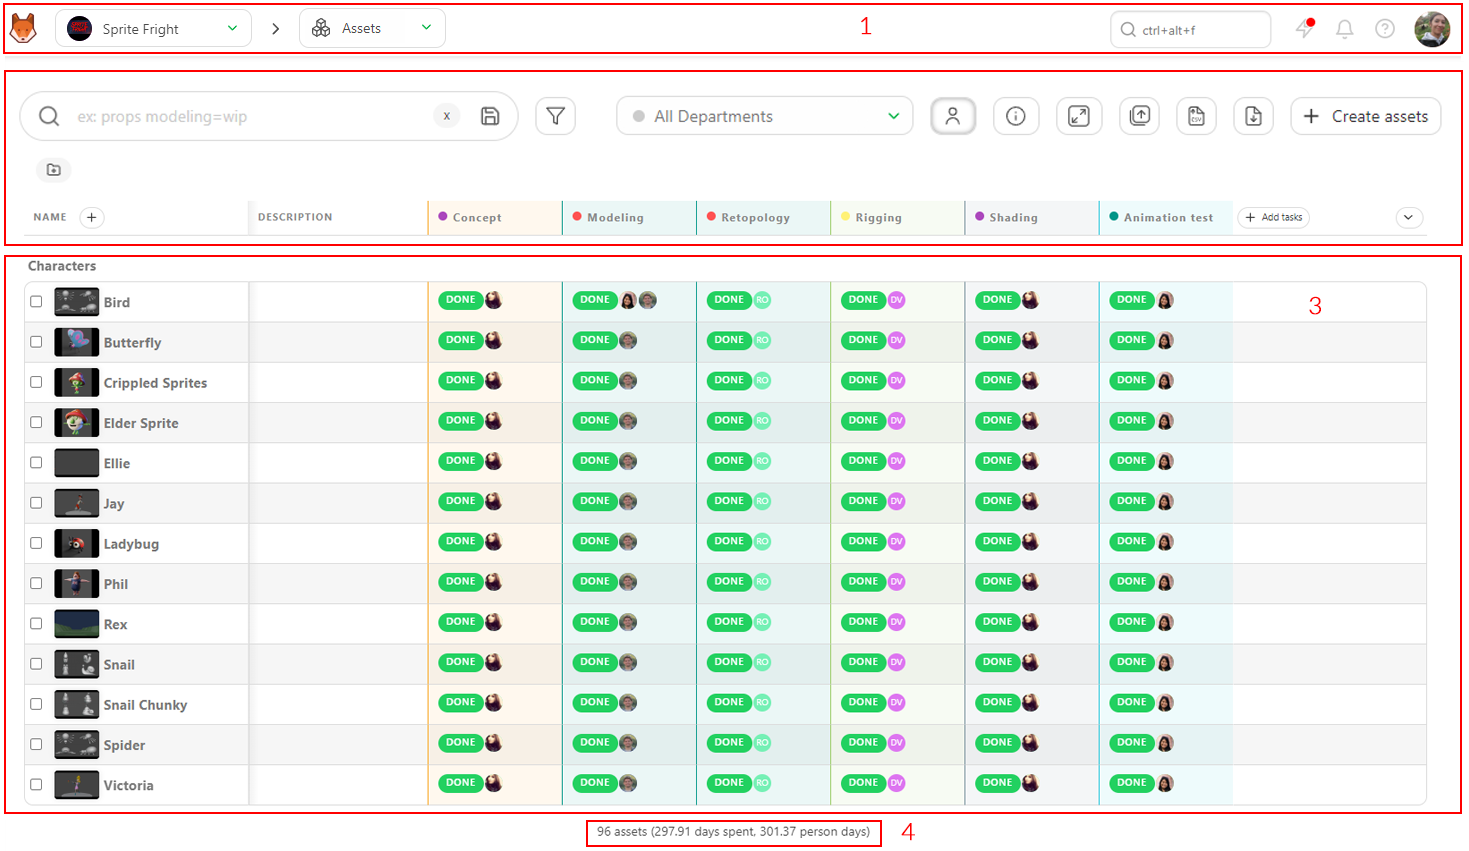
On the top part (1), you have the global navigation, which is always visible throughout all the production pages.
From left to right:
Main Menu
You open the main menu by clicking on the top left button, Kitsu (or your Studio logo).
You will find direct access to your assigned tasks, productions, global and team schedules, the workflow customization page, and the Kitsu settings on the main menu.
Main Menu Details
WORKSPACE
- My Tasks: your assigned tasks
- My Checks: All the tasks with status Is Feedback Request depending on your department(s)
- My Productions: Get back to the selection on the production page.
STUDIO
- Productions
- People
- Timesheets
- Main Schedule
- Team Schedule
- All tasks
- News Feed
- Entity Search
ADMIN
- Departments
- Task Types
- Asset Types
- Custom Actions
- Automation
- 3D Backgrounds
- Bots
- Settings
- Logs
Permission Visibility
The WORKSPACE section is enabled for all permissions except My Checks, which artists do not see.
Artist (and above) can also see their own Timesheets, and have access to the Entity Search
1.1. Navigation
You will see the navigation dropdown menu on the right of the main menu icon.

You can choose between productions. The name of the actual production and the actual page are always displayed.
You can use the dropdown menu to navigate from production to production (if you have several).
Once you have selected a production, the next dropdown menu will help you navigate through the different pages of this production.
Navigation details
The first section is about the tracking of your tasks:
- Assets
- Shots
- Sequence
- Edits (If you have created specific tasks)
The second section is more about the side of the production:
- Concepts
- Breakdown
- Playlists
- News feed
The third section is about statistics:
- Sequence Stats
- Asset Type Stats
The fourth section is related to Team Management:
- Schedule
- Quotas
- Team
The fifth section is about the settings of your production:
- Settings
TIP
You start with the asset page, but you can change your production homepage to other entities (see the settings page)
WARNING
If you realize you need an extra level of navigation, such as Episodes, you need to change your production Type to a TV Show.
If, on the contrary, you realize you don't need the assets or the shots, you also need to switch your production type to Only Assets or Only Shots.
1.2. Global Search, News, Notification and Documentation
You have the global search on the right of the navigation dropdown menu. It's a quick access search that will display the first four results. If you need more results and filtering options, see the Entity Search page.
The next icon is a direct link to our news and feedback page.
You can see all the new features with an animated gif and also add suggestions about the next feature you want to see in Kitsu.
Next, the bell icon displays your notifications (assignments, comments, tags). The number of unread notifications will be shown on the bell icon. There are various filters to help you stay on top of updates and revisit important ones when needed. You can easily mark notifications as read or unread or quickly filter by watching/non-watching to focus on what matters most and declutter your feed.
The last icon before your avatar is the documentation button.  , that you are reading right now!
1.3. Personal Settings
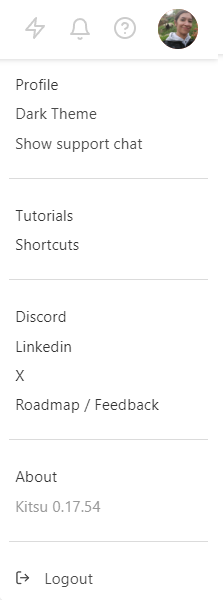
You can click on your avatar to open your menu (settings, documentation, etc.).
 .
.
2/3. The Tasks Spreadsheet
2.1. Filters
The first element on the left is the filter box. You can type anything you want for simple filtering, sequence, asset type, etc.
If you need more advanced filtering, please use the filter builder button.

You can then save all the filters and use them on your pages.
2.2 Simplify the display
On the right part of the screen, there are some buttons (from left to right) to hide or display the assignment, hide or display the extra column, enlarge or reduce the thumbnail, 
2.3. Import / Export
batch import thumbnail  , and finally import
  or export
  data.
data.
2.4. Metadata column
Below, you have the name of the column. the (+) next to Name  is here to create a new metadata column. Then, you have the name of the task type column.
2.5. Customize the view
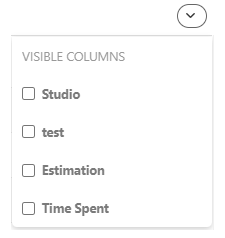
On the far right of the screen, next to the scroll bar, is the option to hide and display a text column
 .
.
3. Entity spreadsheet
The main part of the screen is common to all the entities (asset, shot, sequence, Edit). This is the global tasks spreadsheet.
Here, you see the status, assignment, priority, etc, for each task.
TIP
The spreadsheet's first line and column header always appear at the top of the page, even if you scroll down.
You can also Stick other columns to keep them visible at all times.
4. View Summary
The last part (4), at the bottom of the screen, is the summary of your displayed page. It'll mirror your filters.
You can see the number of elements (assets or shots), the total number of estimated days, and the total number of days already spent.