
Managing Assets
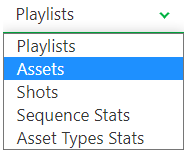
You can go to the Assets page using the dropdown menu on top of the screen:
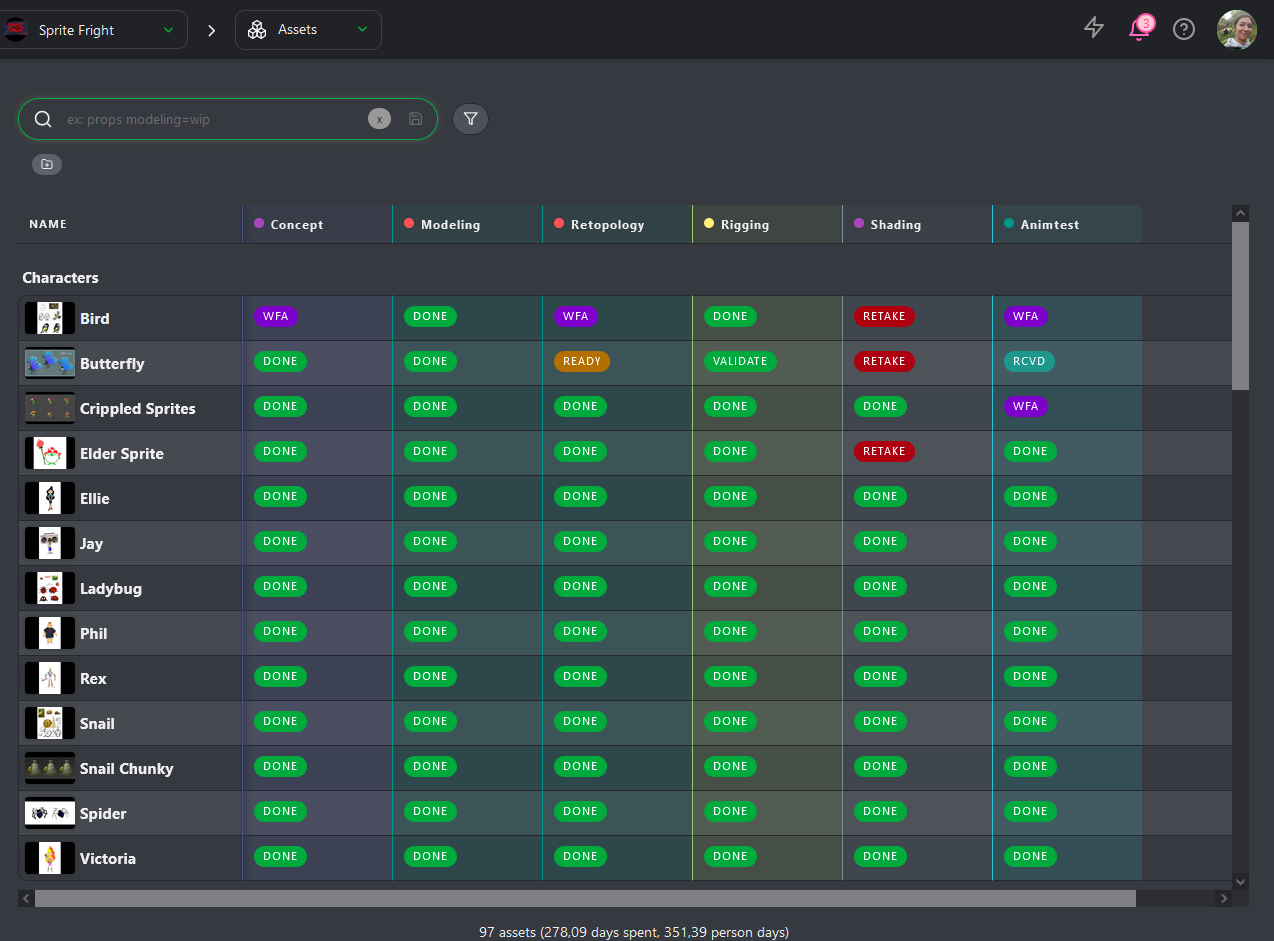
On the global page, you will be able to see all the statuses of the different steps of the assets.
Create an Asset
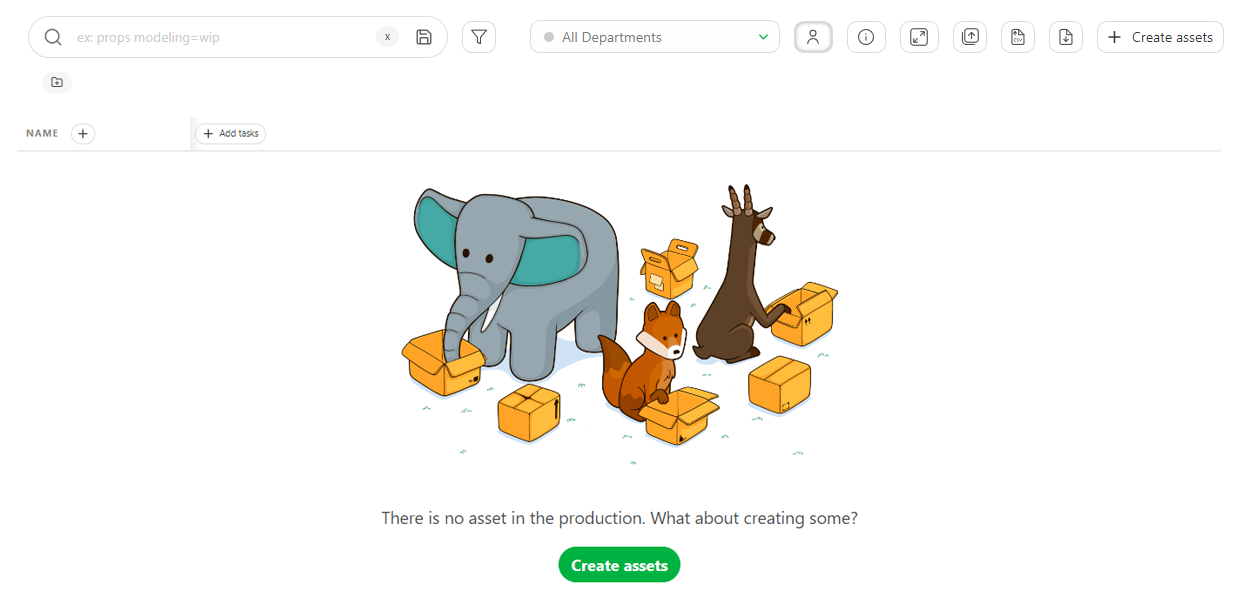
On the asset page, click on Add assets.
WARNING
When you create an asset, your task workflow will be applied, and all the tasks will be created simultaneously as the asset.
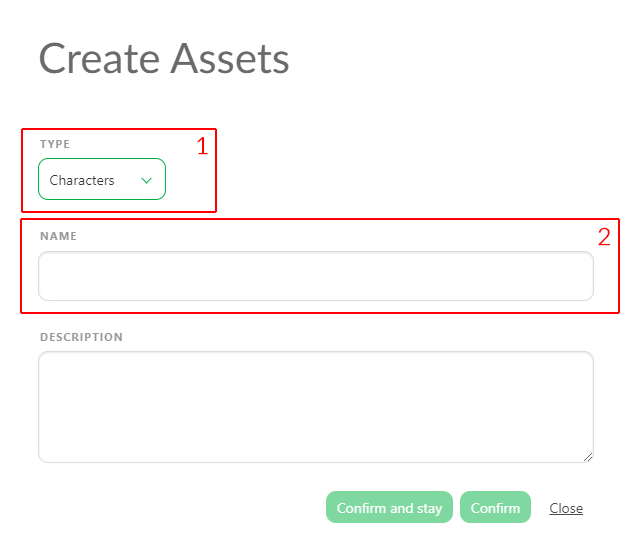
A pop-up window opens:
It asks you to choose the Asset Type (1). If you didn't add a new asset type, Kitsu will provide examples such as Characters, Environment, FX, Props, etc. Let's start with a character.
TIP
You can also customize the asset type list and the tasks pipeline. See the guide ( Customization of the workflow) for more details
We give it a Name (2) and enter a description that helps the Artist know what to do and quickly identify the asset.
Click on Confirm and stay if you have multiple assets to create.
You can change the asset type and keep adding assets.
TIP
The newly created asset appears in the background whenever you click on Confirm and stay.
After adding your last asset, click on Confirm. It will create the asset and close the window.
TIP
If you click on **Confirm and stay, ** realize you don't have more assets to add, and click on **Close, ** the window will be canceled.
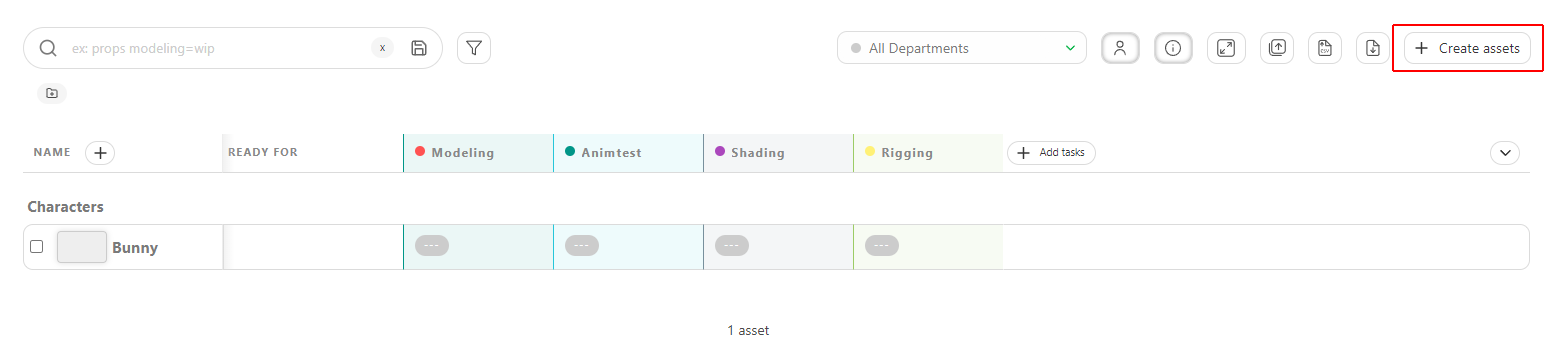
You will also see the tasks that are selected for your assets workflow are created at the same time.
If you need to add more Assets, click the + Create assets button.
Import Assets From a Spreadsheet
You may already have your asset list ready in a spreadsheet file. With Kitsu, you have two ways to import it: browsing to a .csv file, or copying and pasting your spreadsheet data directly into Kitsu.
Go to the asset page on Kitsu and click on the Import icon.

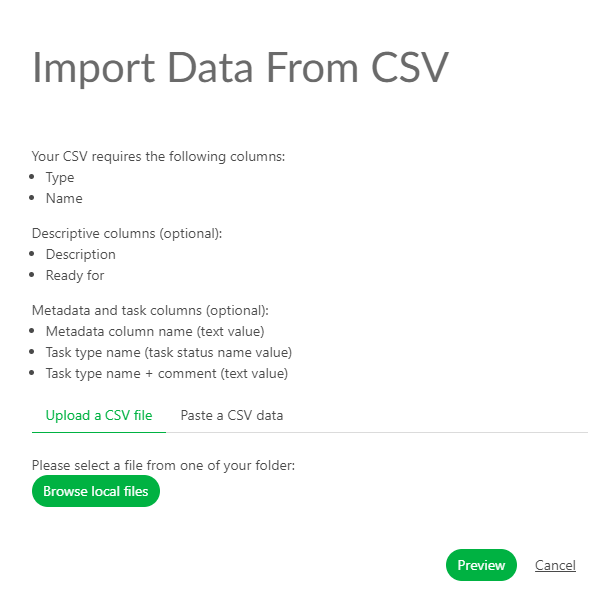
A pop-up window Import data from a CSV opens. From here, choose one of the two methods below.
Option 1: Import a CSV file
First, save your spreadsheet as a .csv file. Then click on Browse to pick your .csv file.
Option 2: Copy / paste a spreadsheet file
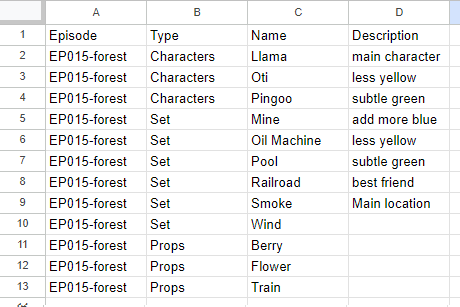
Open your spreadsheet, select your data, and copy it.
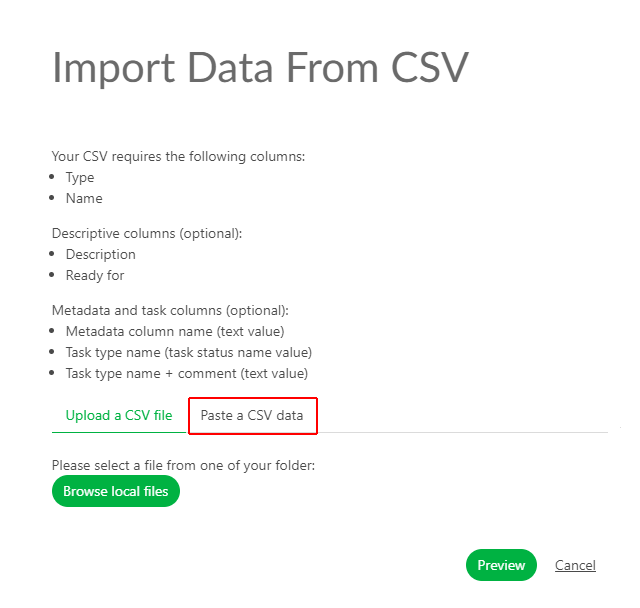
Back in the pop-up window, click on the Paste a CSV data tab.
Paste your previously selected data.
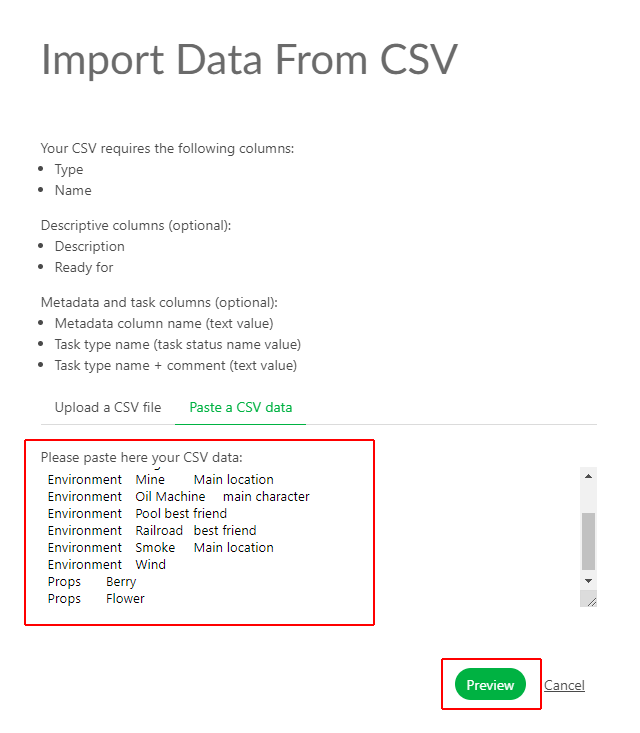
Finishing the import
To see the result, click on the Preview button. You can check and adjust the name of the columns by previewing your data.
NB: the Episode column is only mandatory for a TV Show production.
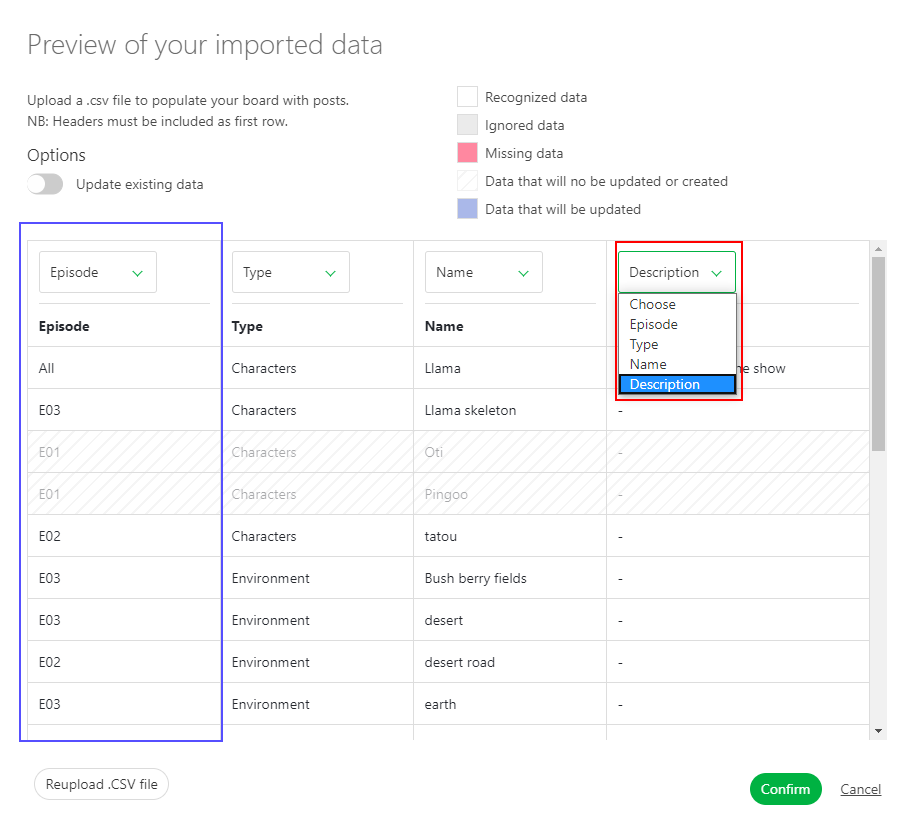
Once everything looks good, click the Confirm button to import your data into Kitsu.
You have imported all your assets into Kitsu and created the tasks according to your Settings.
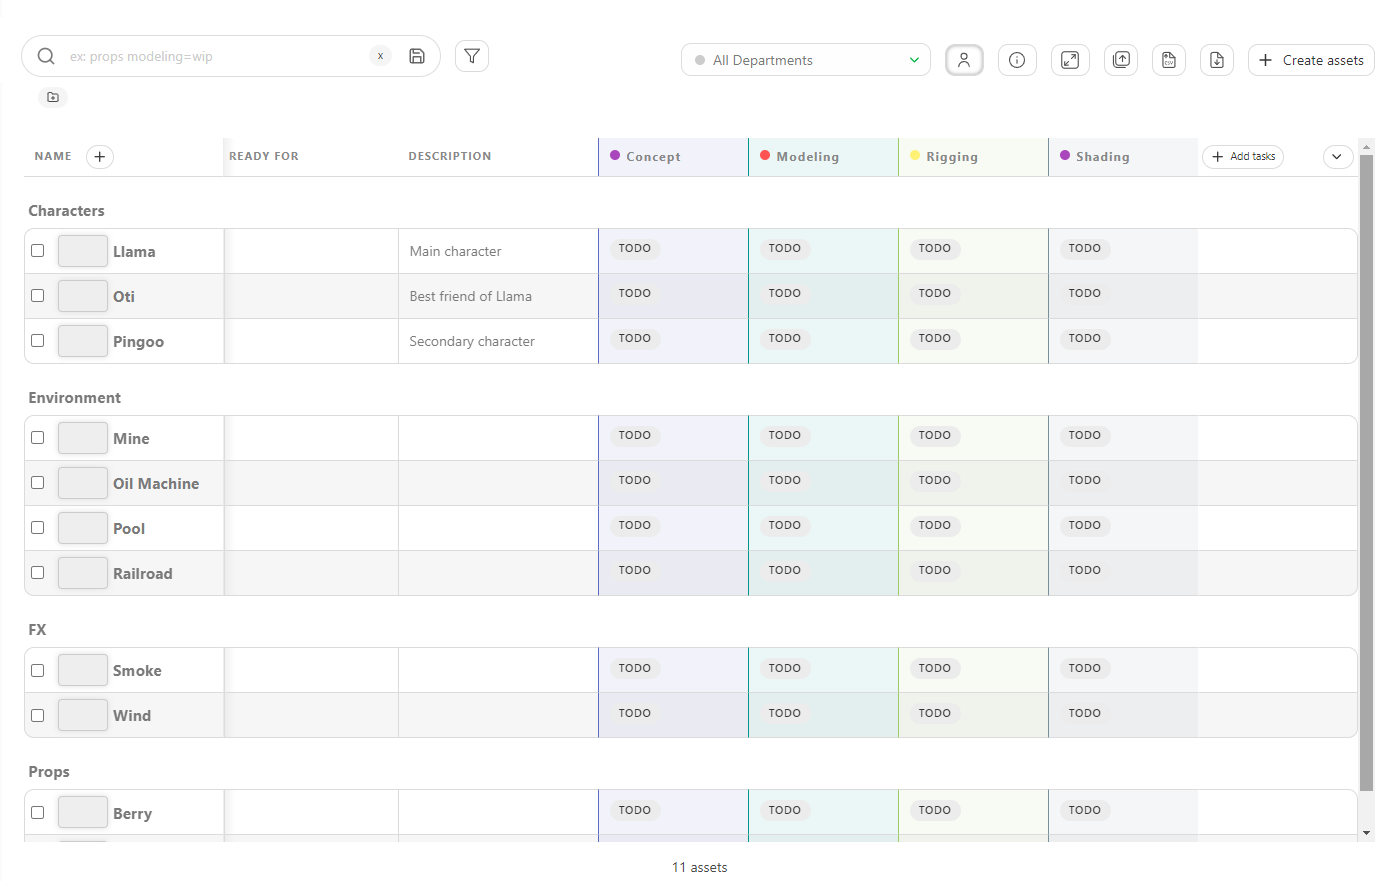
See the Details of an Asset
To see an asset's detail, click on its name.
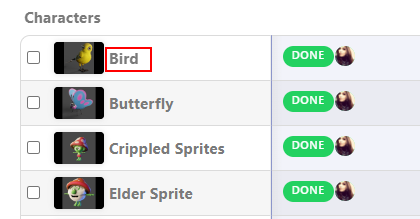
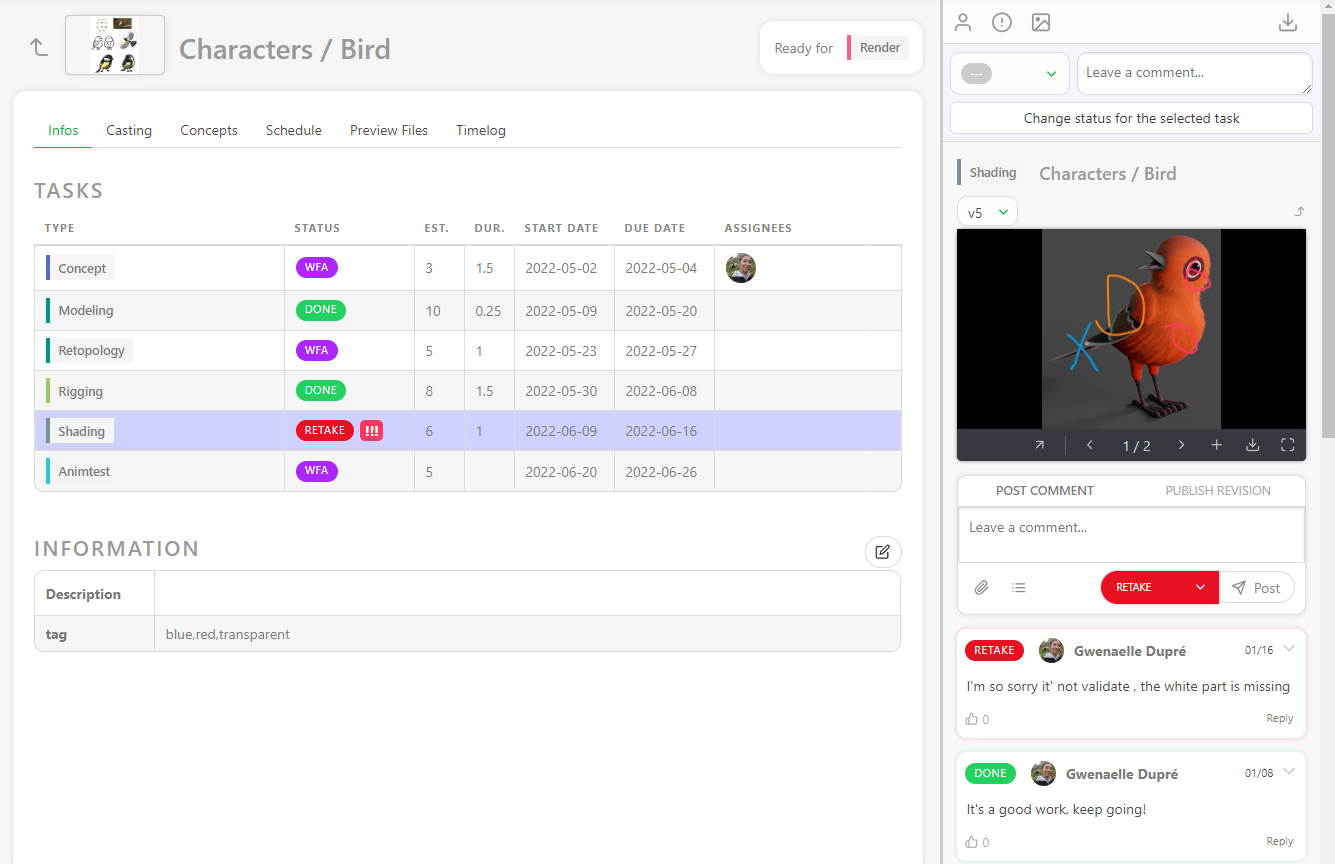
A new page opens with the list of the tasks, the assignation, and the status newsfeed on the right.
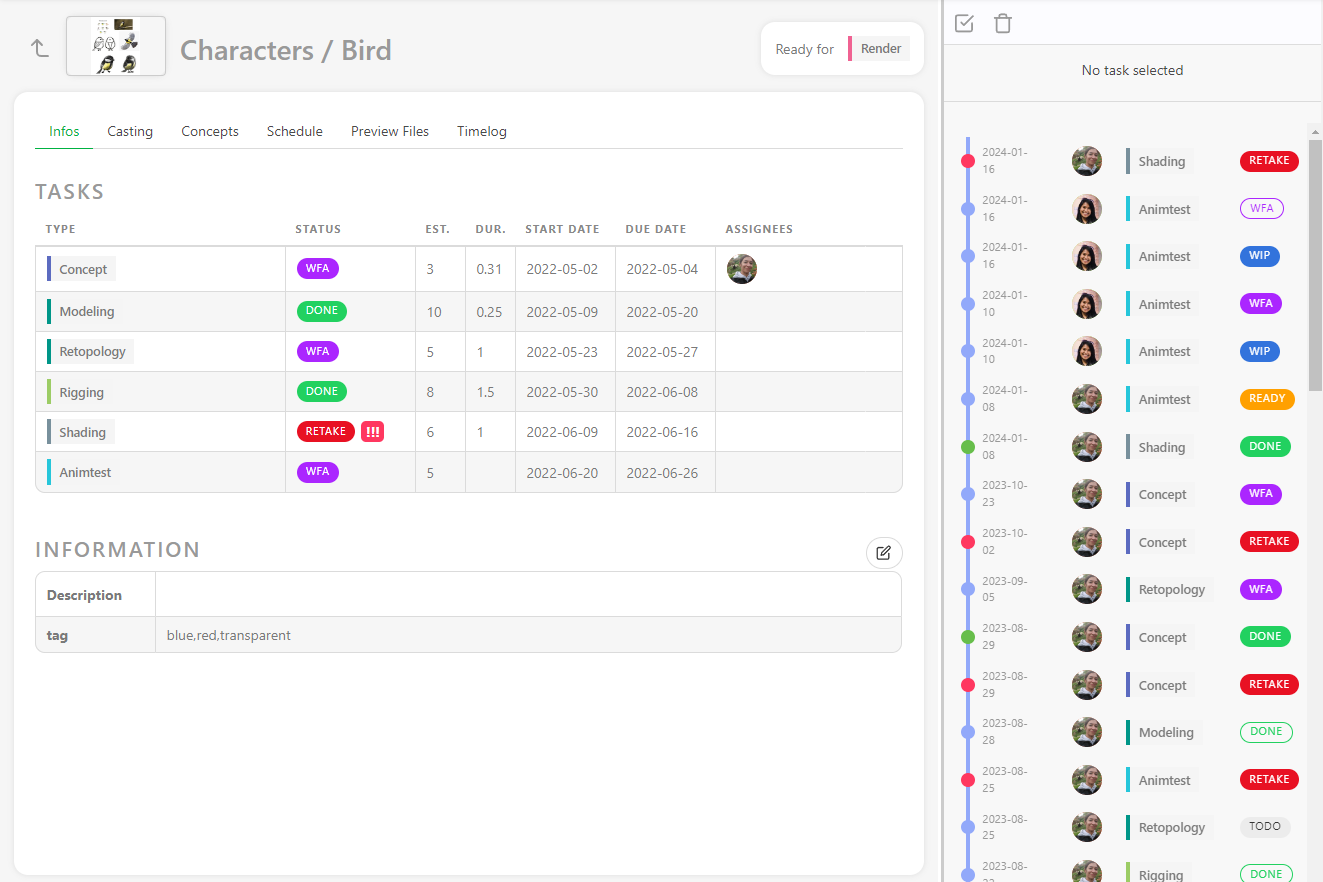
You can click on the status of each task to open the comment panel and see the history of the comments and the different versions.
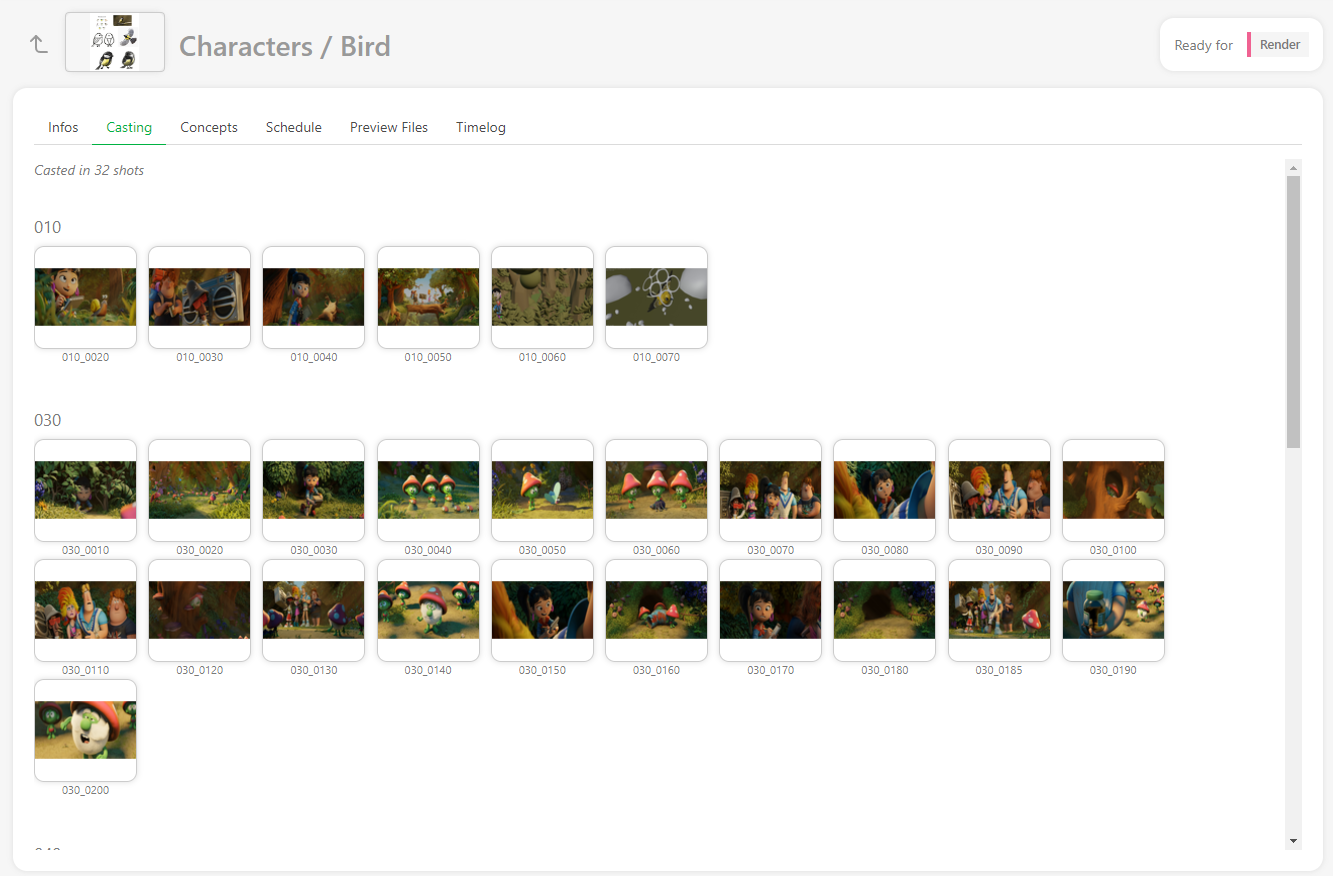
You can also access the Casting,
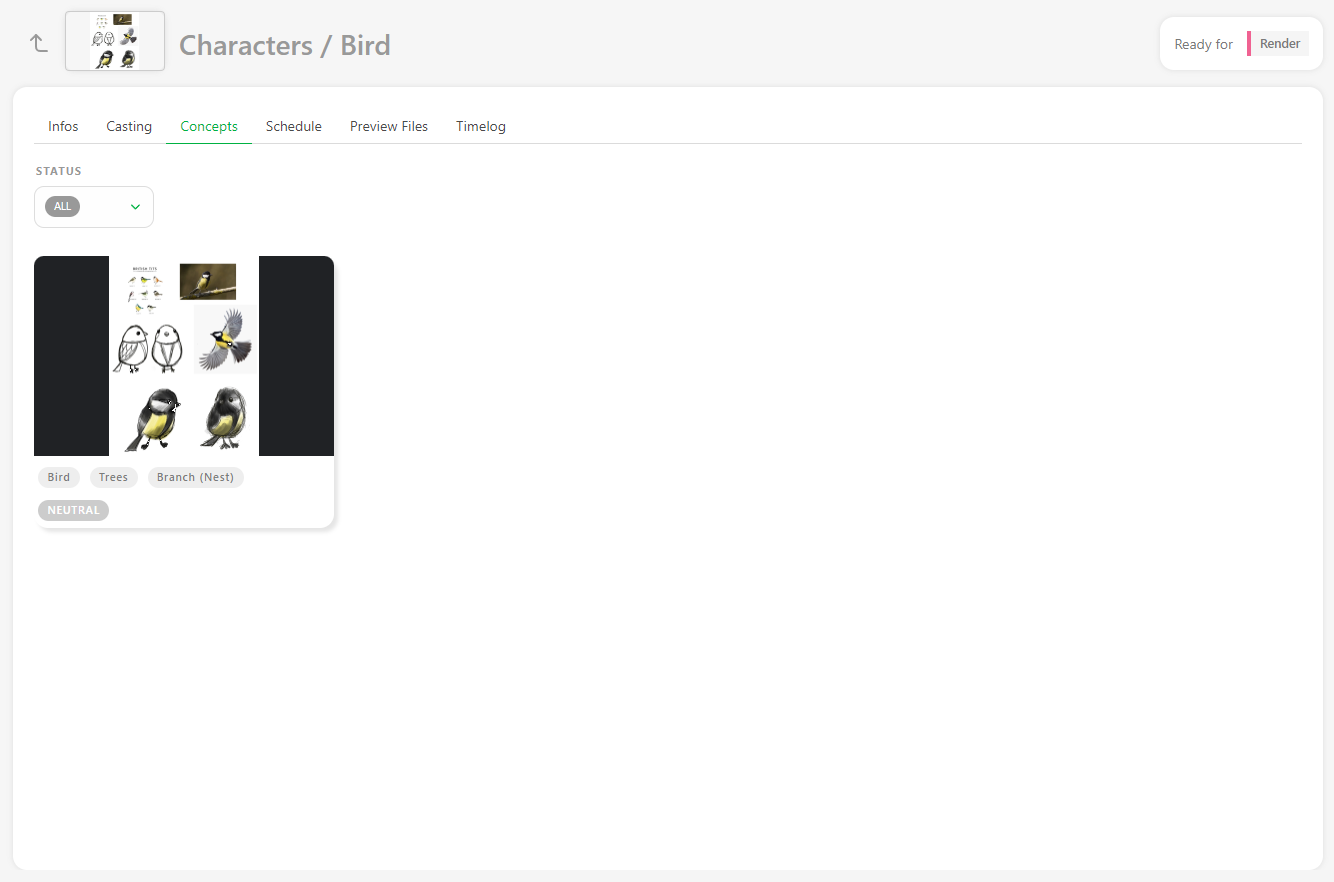
concept linked to this asset,
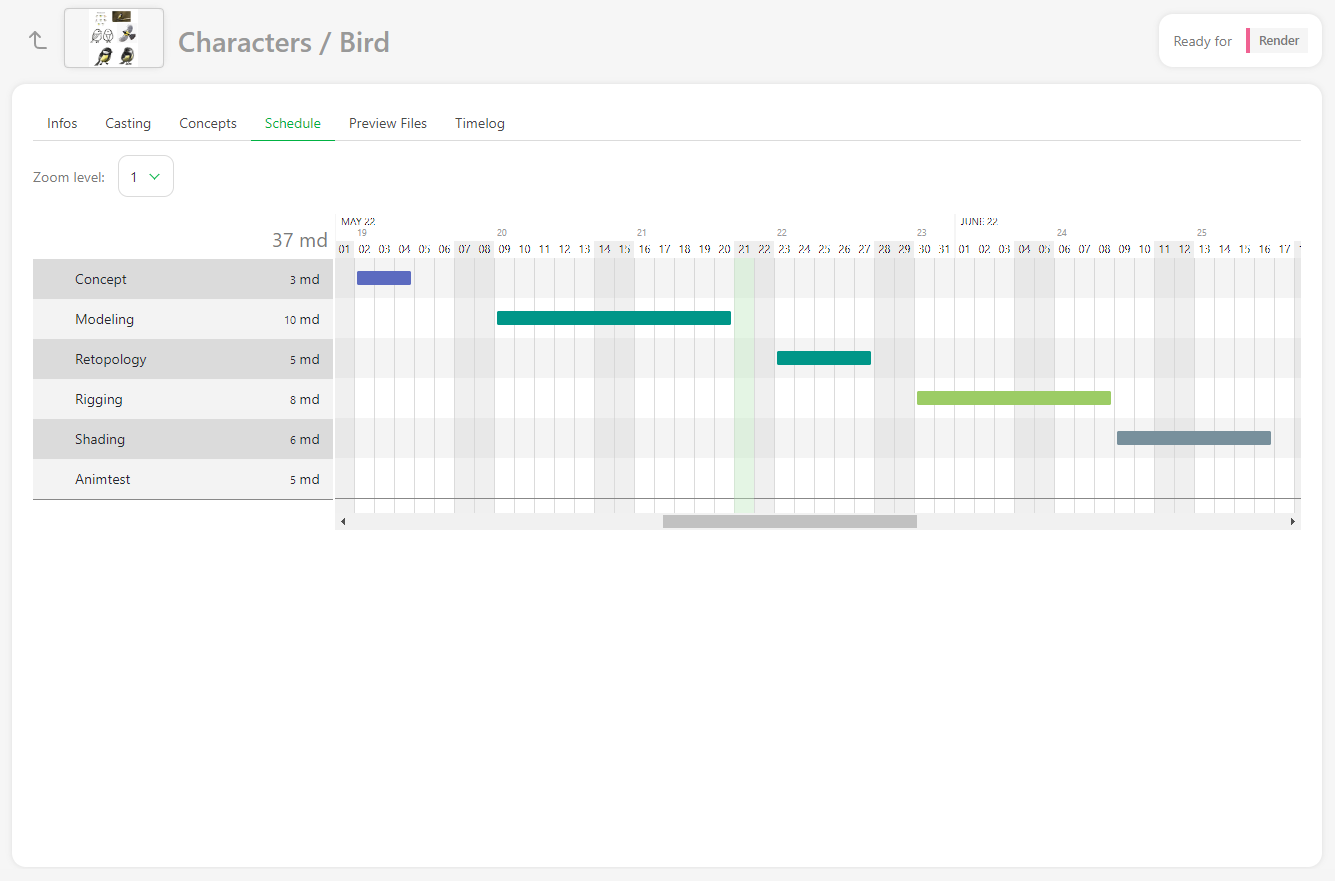
The Schedule is available if you have previously filled out the task type page data. If you have already filled out the data, you can modify them directly here.
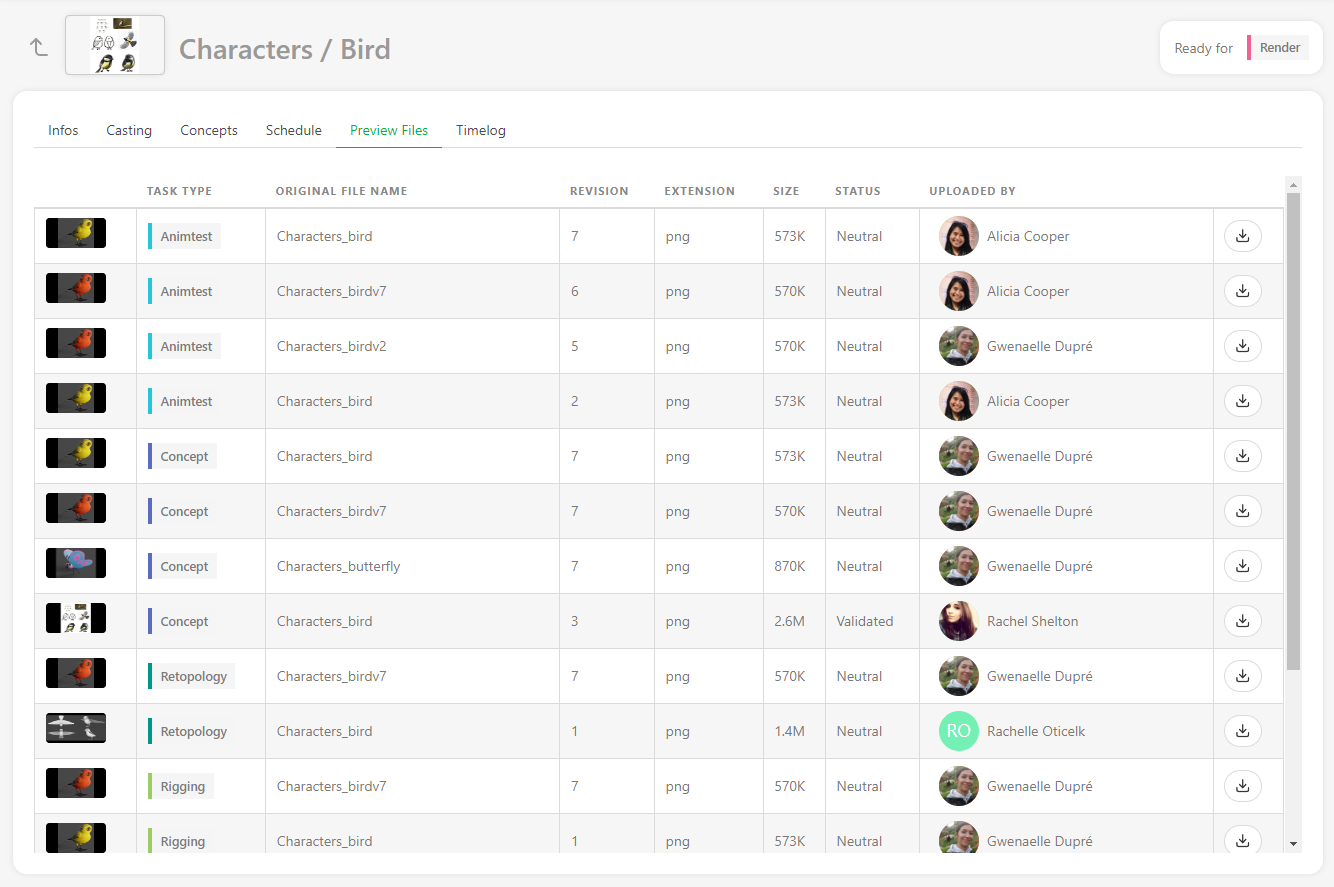
the Preview Files uploaded at various task types,
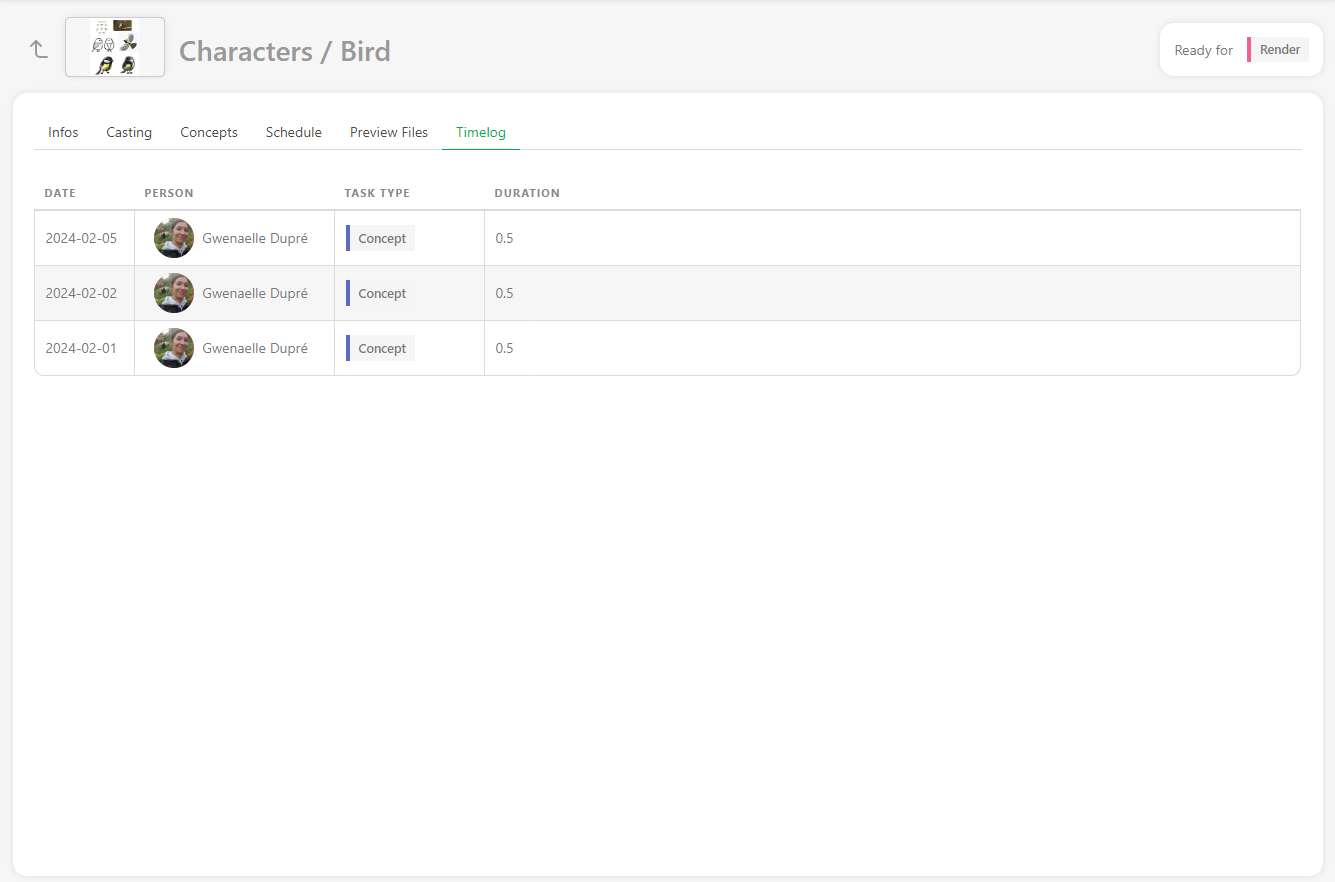
And the Timelog if people have filled out their timesheet on the tasks of this asset.
Add more tasks after creating the assets
If you realize after creating the assets that a task type is missing, you can still add them.
First, ensure the missing task type is added to the production's Settings page under the Task Type tab.
Then go back to your Assets page and click on the + Add tasks button.
Update your assets
You can update your assets at any point, change their name and asset type, modify their description, and add any custom information you added to the global page.
You can edit assets by going to the asset page, hovering over the asset you want to modify, and then clicking on the edit button  (1) on the right side of the line.
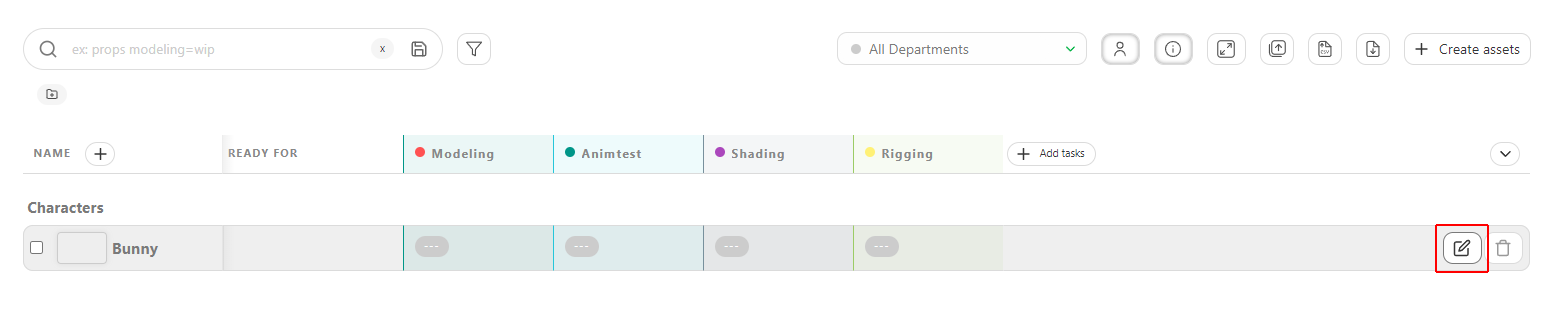
To extend the description on the main asset page, click on the first words (2), and a pop-up with the full description will open.
Update Assets with the CSV Import
You can use the CSV import to update your data quickly.
You can update the type of an asset, the Assignation, the Status of tasks, and add a Comment.
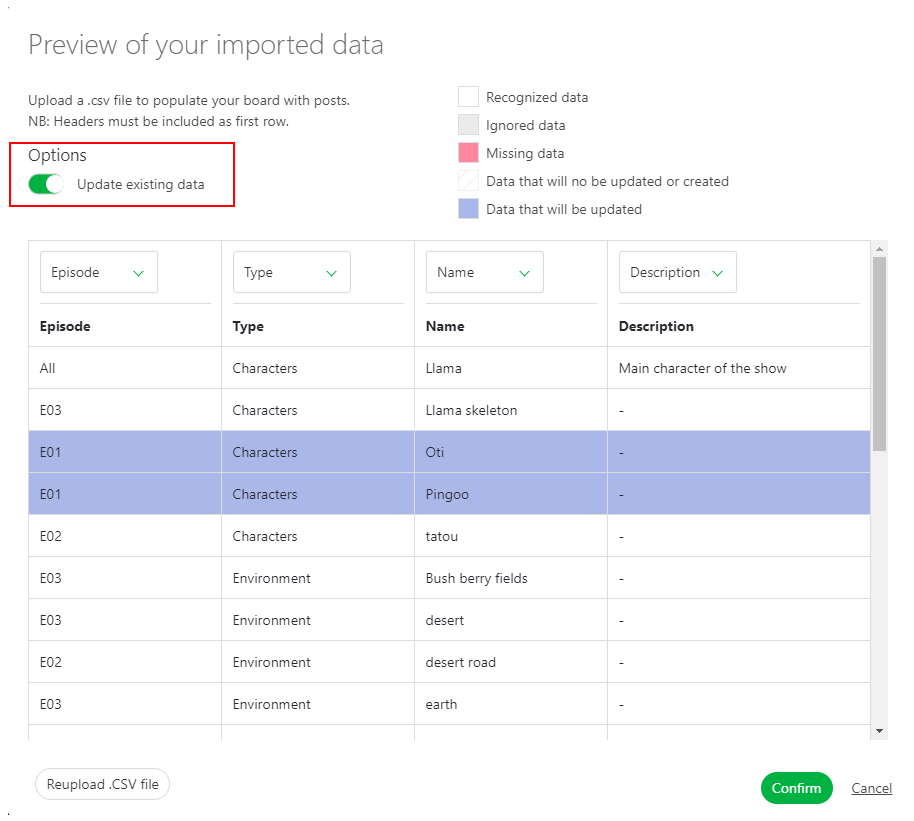
You need to switch on the option Update existing data. Then, the lines that will be updated will be highlighted in blue.
Update Assets by Copying / Pasting a Spreadsheet File
Open your spreadsheet, select your data, and copy them.
Then, go back to the asset page on Kitsu and click on the Import icon .
A pop-up window Import data from a CSV opens; click on the Paste a CSV data tab.
You can paste your previously selected data and see the result with the Preview button. You can check and adjust the name of the columns by previewing your data.
NB: the Episode column is only mandatory for a TV Show production. You need to switch on the option Update existing data. Then, the lines that will be updated will be highlighted in blue.
You have imported all your assets into Kitsu and created the task according to your Settings.
Asset Library
What is the Asset Library?
The Asset Library serves as a centralized repository for all assets used within Kitsu. Teams can import assets from any project into a shared library, making them accessible for future productions. With this functionality, assets like character models, props, environments, and more can be managed in one place and repurposed seamlessly in new projects.
How to Use the Asset Library
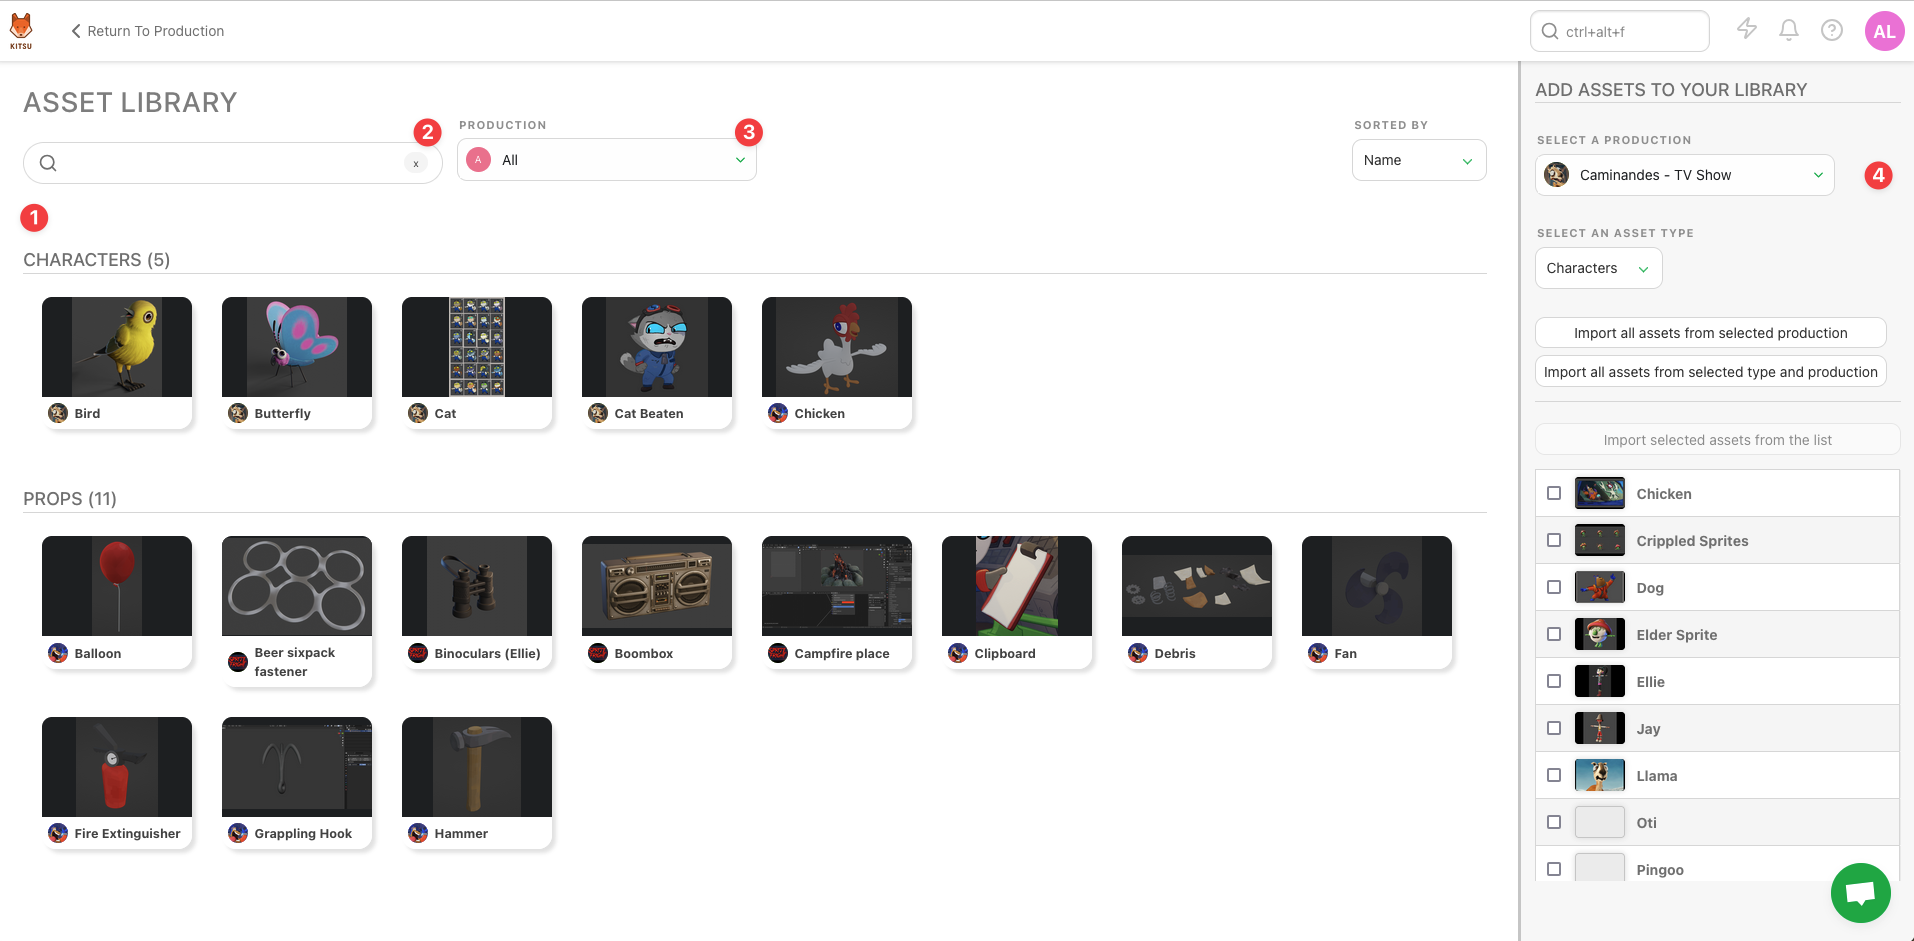
- You can access the Asset Library from the Studio section of the main Kitsu menu.
- The main Asset Library window displays all assets currently available in the library (1). Use the search (2) and filter (3) options to quickly find specific assets within the library.
- On the right-hand pane (4), you’ll find the import option for bringing in assets from other productions into the Asset Library.
Adding Assets to the Library
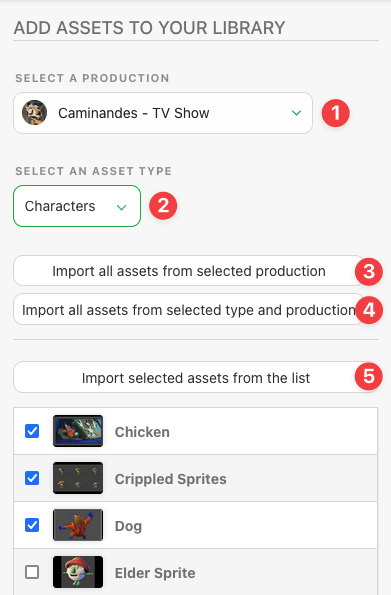
The right-hand pane is where you can add existing assets from other productions into the library. This action does not create a copy but simply references the original asset, allowing it to be used in other productions.
To import an asset:
- Select the production you wish to import the asset from (1).
- Choose the asset type you’d like to import (2).
There are three main ways to import assets:
- Import all assets from a specific production (3).
- Import assets by type from the selected production (4).
- Select individual assets for import (5).
Once imported, the asset will be available for use in breakdowns for other productions, allowing for efficient asset reuse across projects.
TIP
There are specific rules around who can import assets into the asset library, depending on the user’s permission group:
- Studio Manager: Can import any assets from any production.
- Production Manager: Can import assets only if they are part of the team.
- Supervisor and Artist: Cannot import assets into the library.
Remove Assets
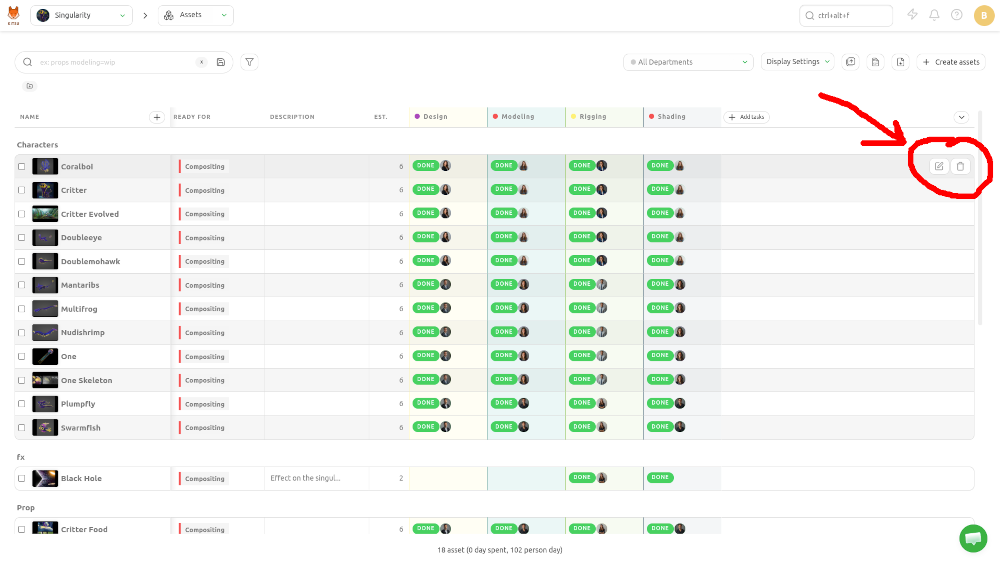
Hover over the asset you wish to remove in your production's asset list and click the Delete icon:
Using The "Ready For" Asset State
Most of the time, you don't need to wait for an asset's tasks to be approved to use it on a shot task.
For example, when an asset is approved at the Concept stage, it can be used for the Storyboard stage. Then, when it's approved at the Modeling stage, you can use it for the Layout stage and so on.
That's exactly what the asset state Ready For is doing: it lets you know the state of an asset's tasks and compares its usability for the shot tasks.
Now that we have filled out our breakdown, we know exactly which asset is used on every shot.
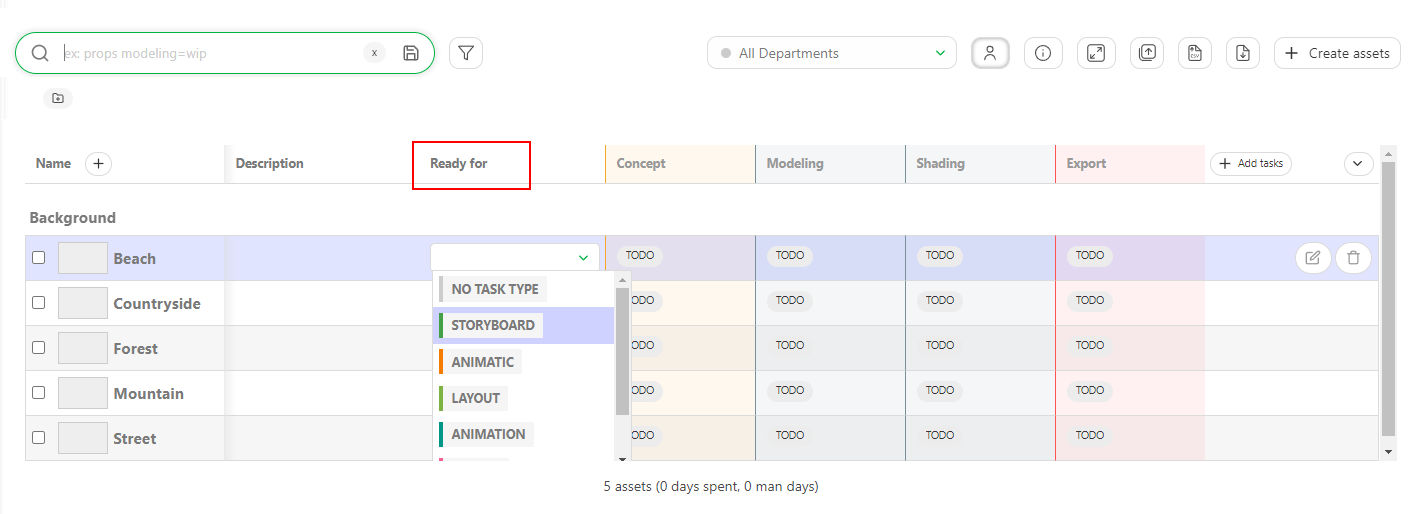
First, we need to define an asset's state relative to its task status. You can modify the Ready for by clicking on a cell. You will see a dropdown menu with the shot task.
TIP
You can use the automations to do the heavy lifting.
You can set automation with the ready for trigger.
We can see the result in the shot page now that we have changed some asset states Ready for.
You can notice that some white boxes are now Green: all the assets cast in this shot are ready for this specific task.
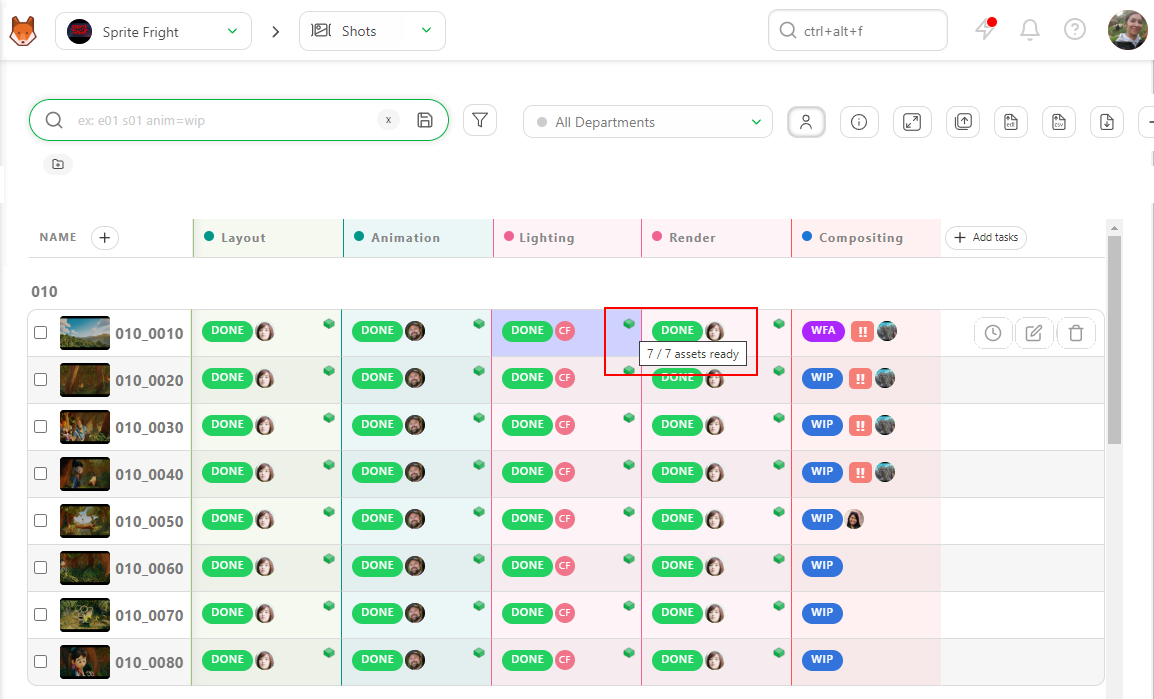
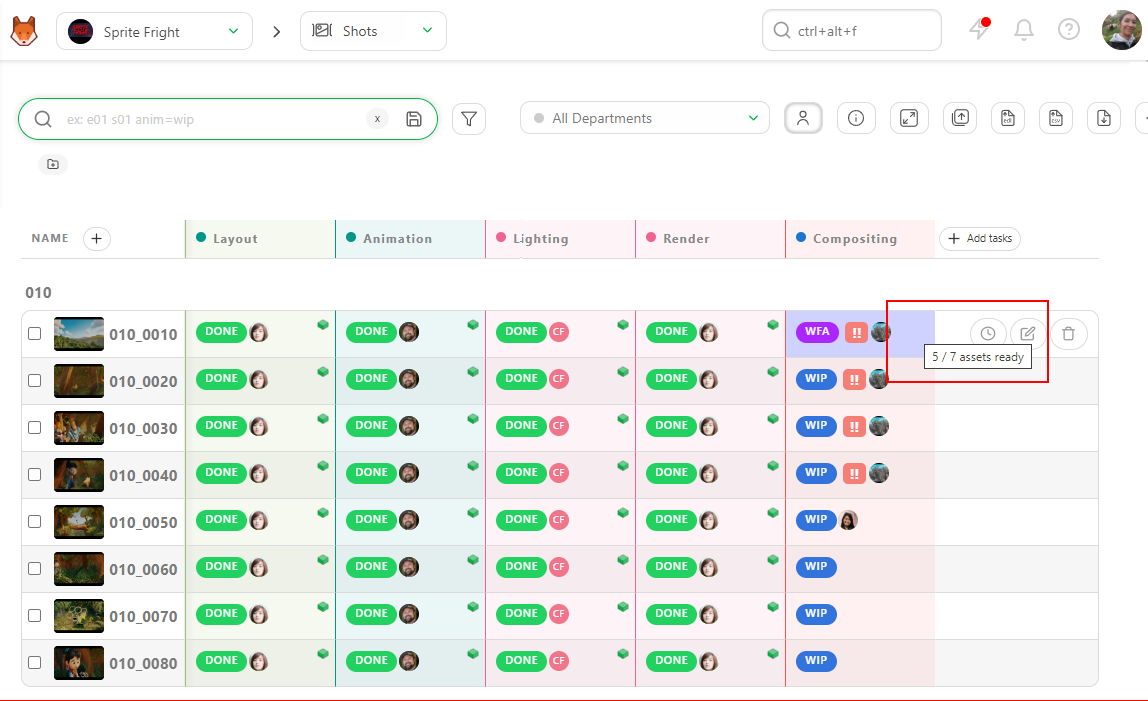
If you see the white box, Kitsu will display how many assets are ready for this task.
TIP
If you don't see any boxes, no assets are cast for this shot.
Then, you can click on the shot's name to go to its detail page. Then, you will see all the assets cast in this shot and their status.
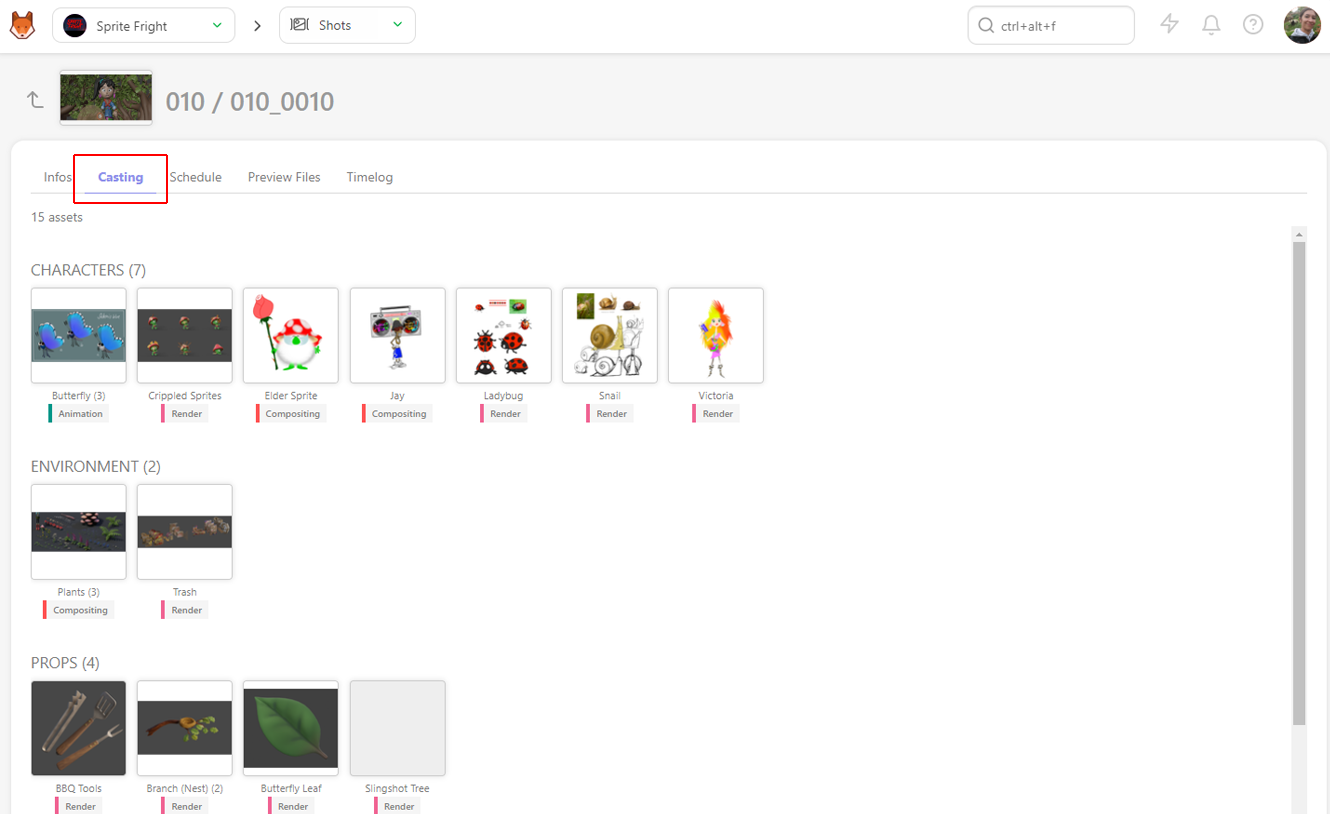
It's the fastest way to know if you can start a shot for a specific task.