Getting Started As A Client
This guide will help you get started and understand the Kitsu's key features as a client.
1. Initial Profile Setup & Customization
On your first connection, we encourage you to fill in your contact information into your profile. Setting this up helps your team recognize you and lets you tailor notifications and settings to fit your workflow.
Access Your Profile
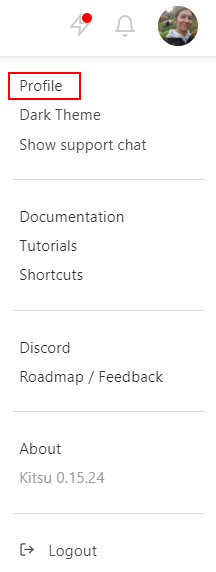
Click on your name/avatar on the top right of the screen (1), then on Profile (2).
NB: This menu also gives you quick access to helpful resources at any time: a link to this Documentation (4), our Tutorials, our Slack/Discord community (5), our YouTube channel, and our public Roadmap (6). You can also toggle the Dark Theme/Theme color (3) and show or hide the Support Chat widget from here.
Customize Your Details
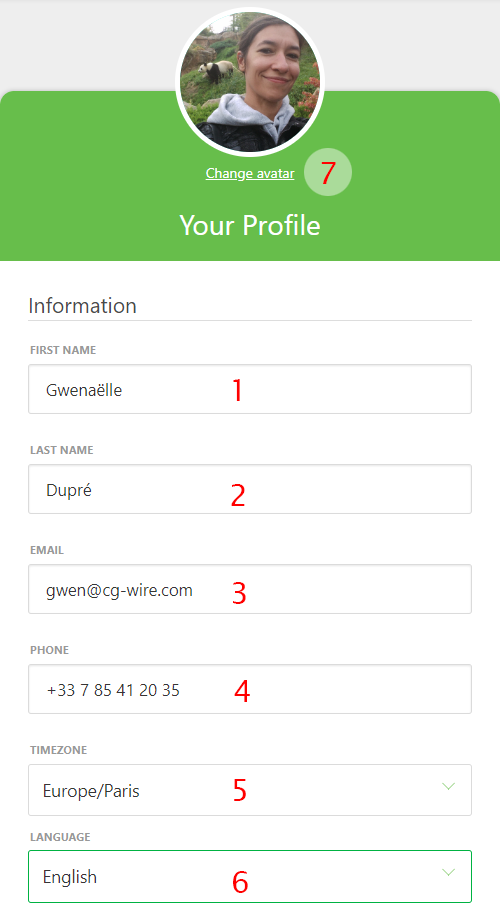
On this new page, you can check your name (1) (2) and email (3), fill in your phone number (4), change your timezone (5) and the language of the website (6), and post a pic of yourself as your avatar (7). It helps to recognize who is doing what!
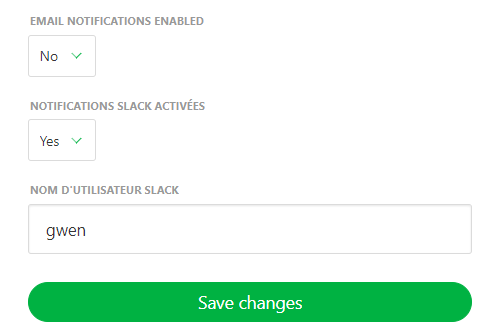
You can also define what kind of notification you want: email or Slack.
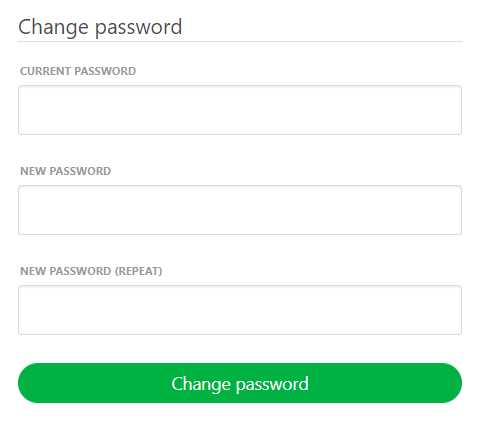
Change Your Password
If you keep scrolling, you can also change your password.
For security purposes, it's highly recommended to replace the default password with a strong and unique one of your own.
2. See your Playlists
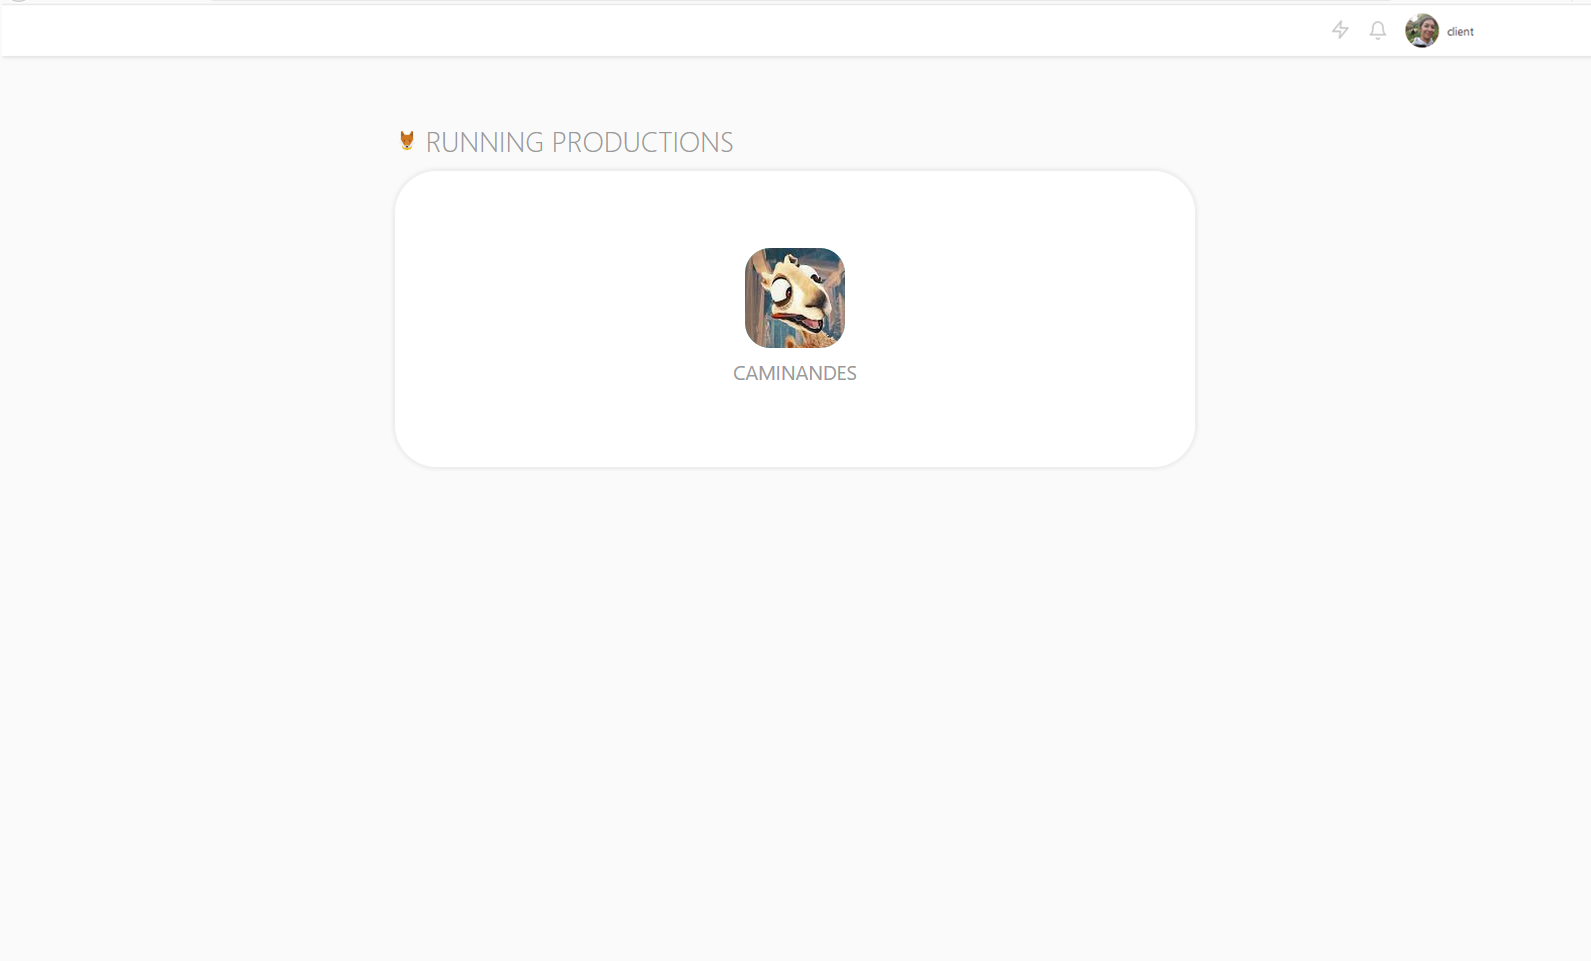
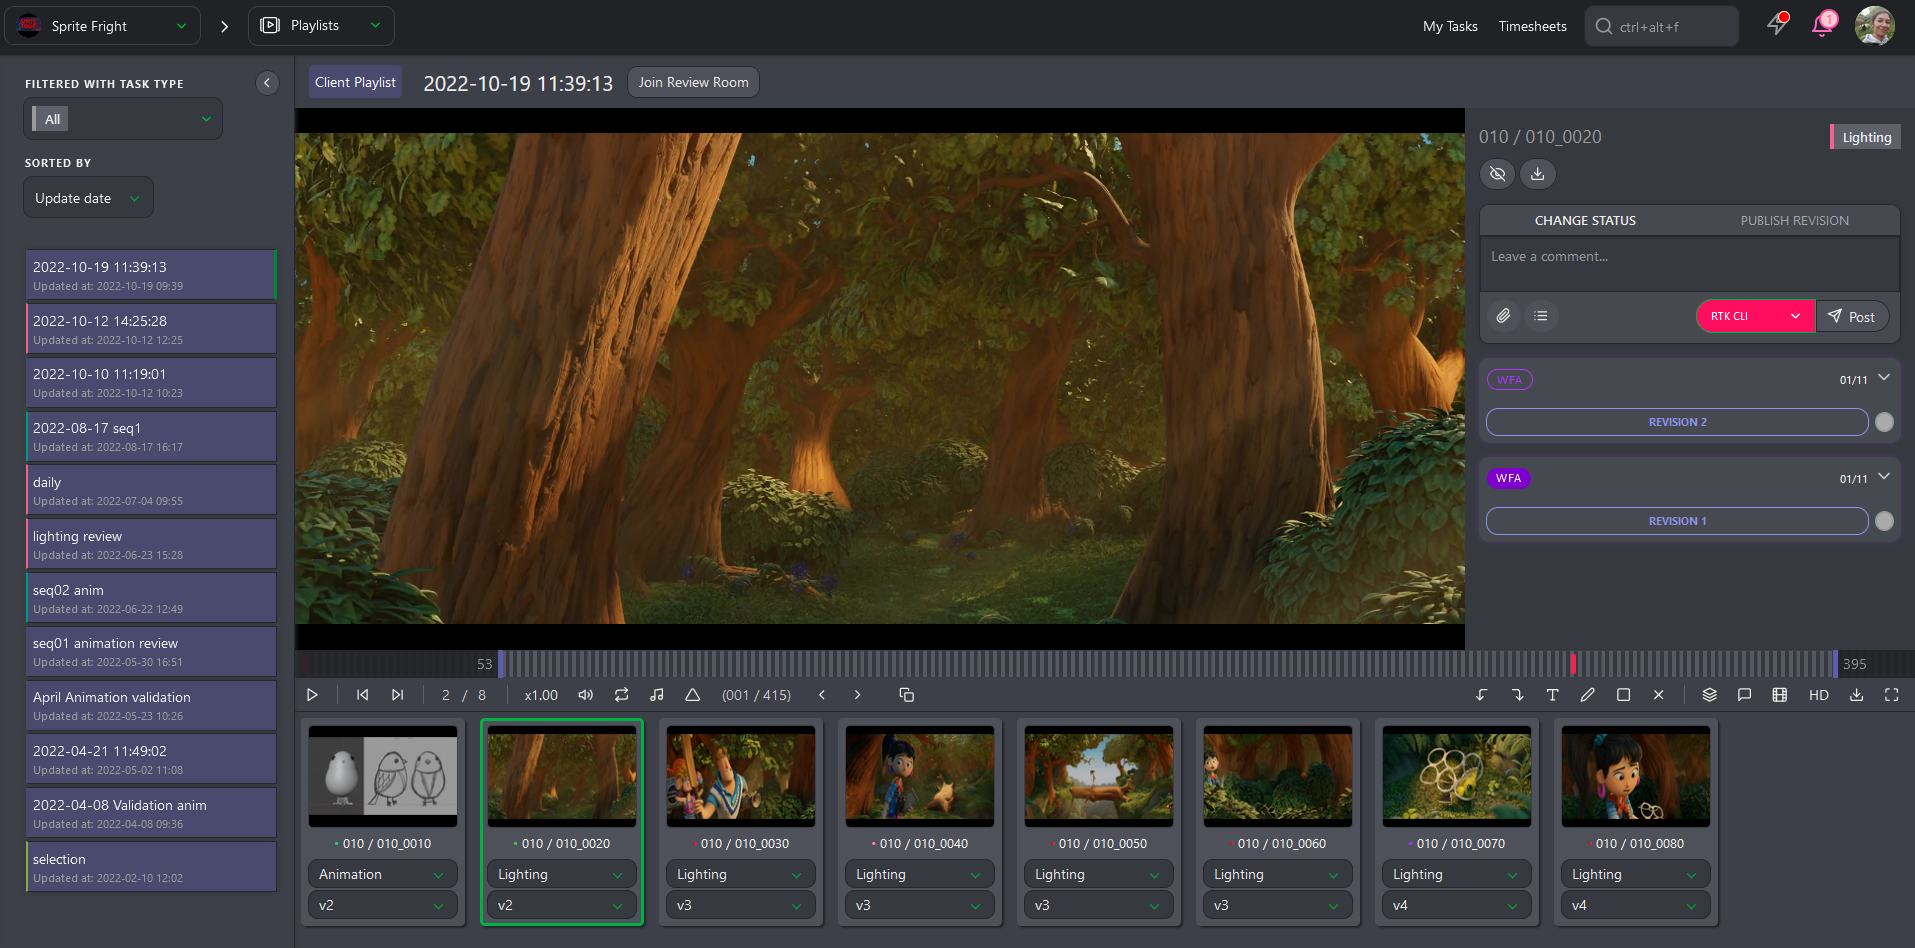
Clients access playlists differently: click on the production avatar to reach the Playlist page, which gathers all the assets and shots they have to comment on.
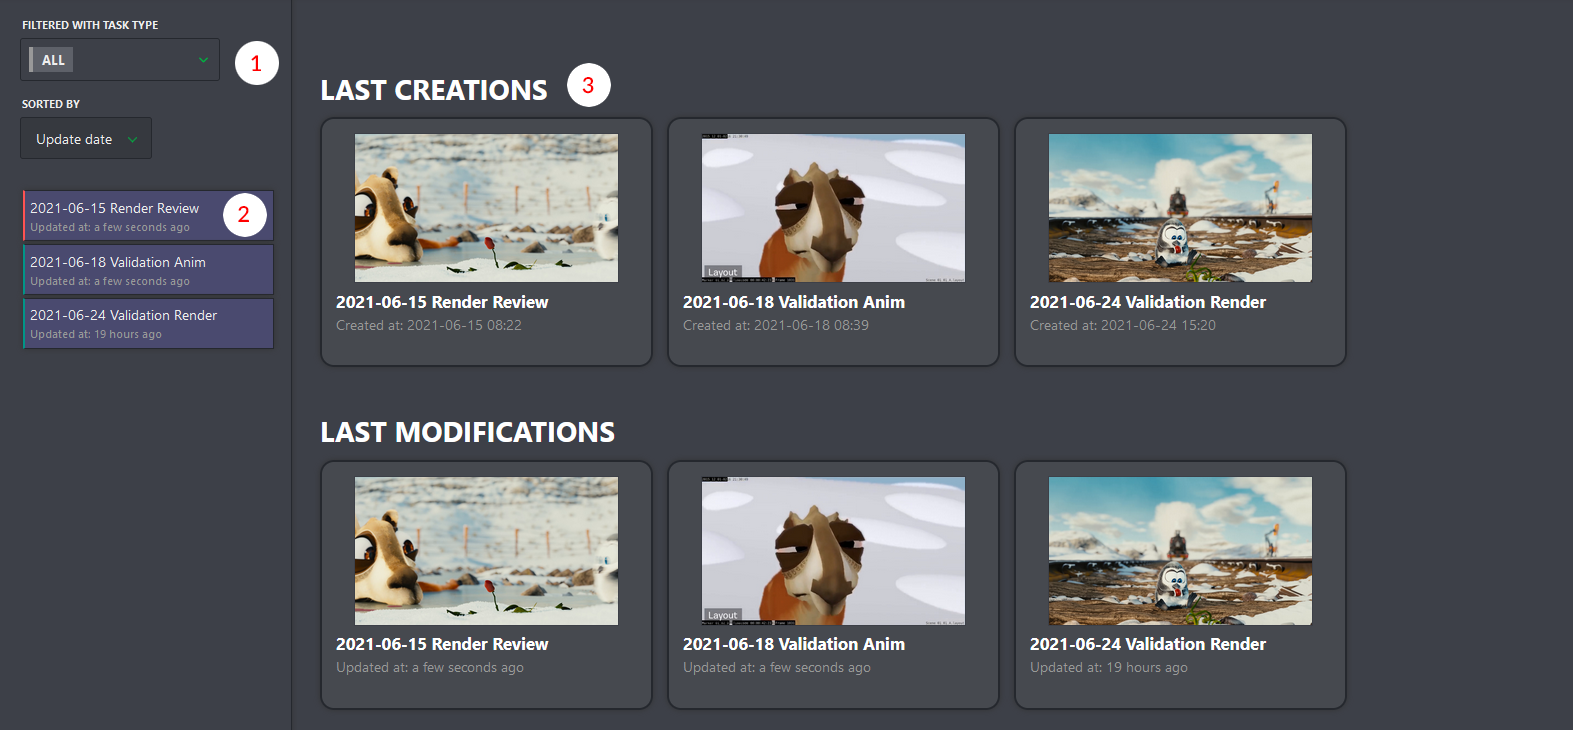
On the left, clients can sort the playlist per Task Type, date, or name (1), followed by the list of playlists created for them (2). The center part gives fast access to the recent playlists (3).
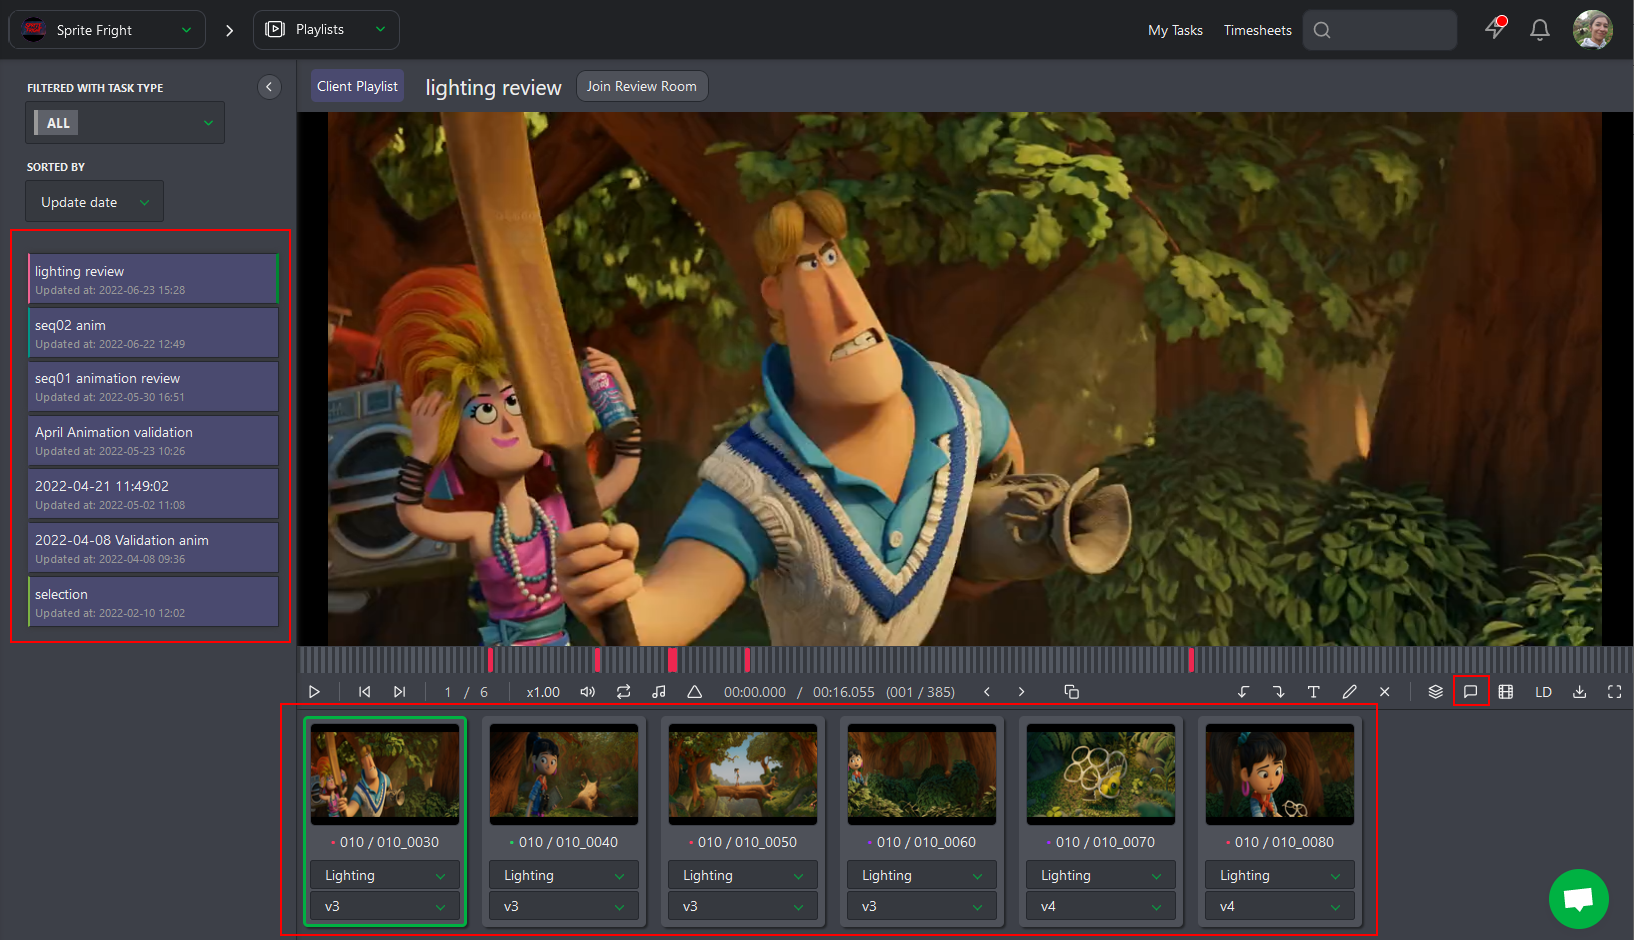
In the detail view, the left part keeps access to the different playlists, the center part shows the elements of the selected playlist (assets or shots), and the right part gives access to the comment section, where clients can write a comment to approve the preview.
3. Share your Comments
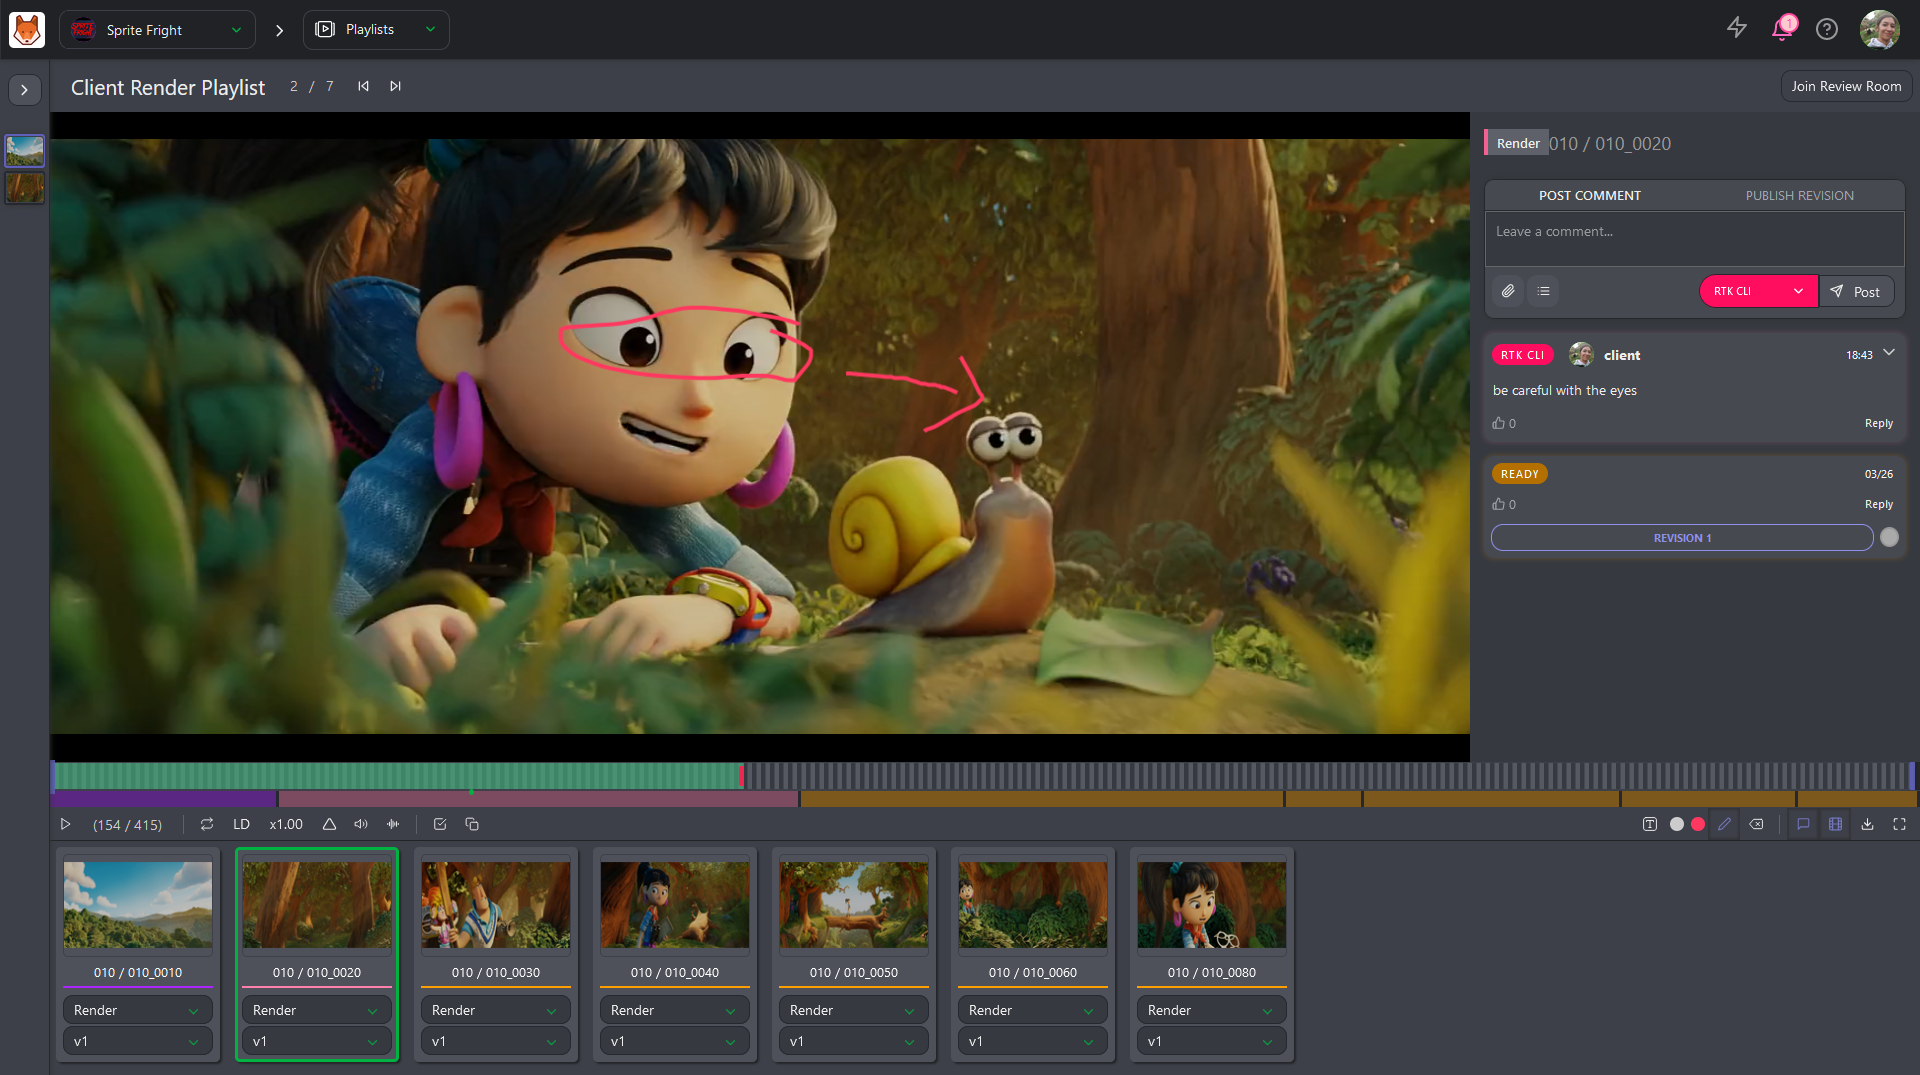
The primary purpose of the playlist is to help review the shots and assets. You can comment directly from the preview by clicking the comment button.
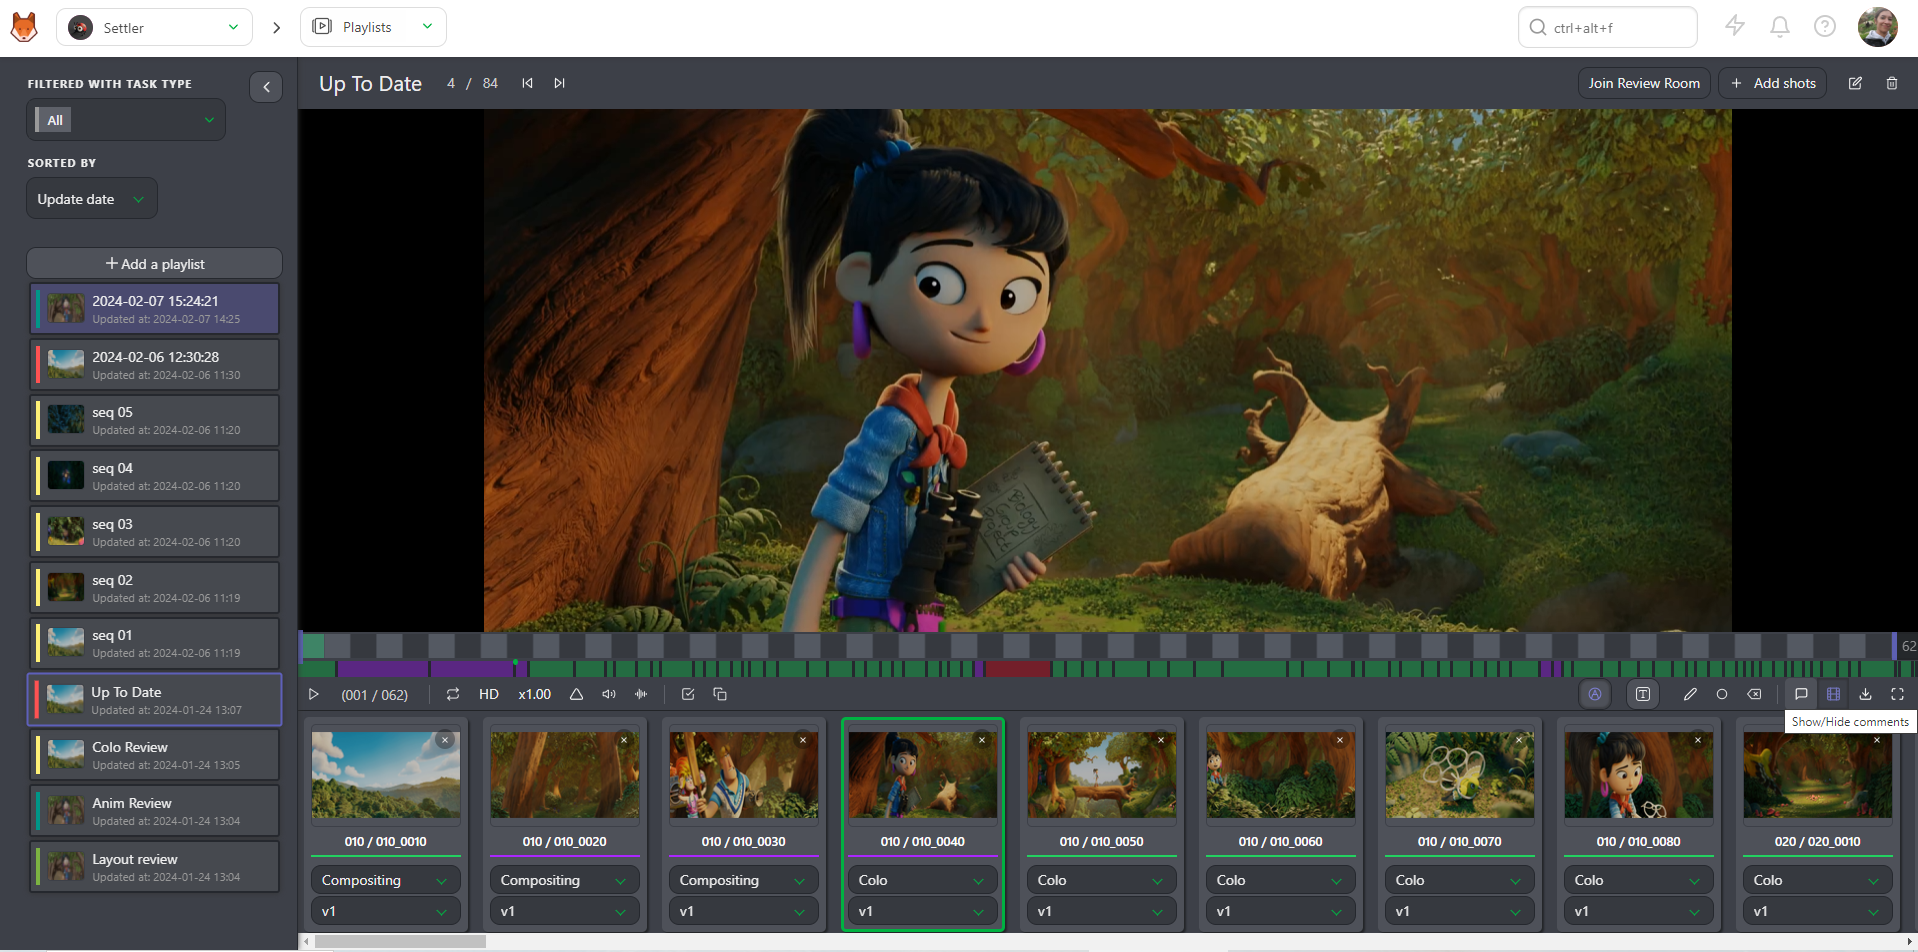
This opens the right panel, which shows a history of the comments and their status. You can see drawing comments on the video (the red dot below the timeline).
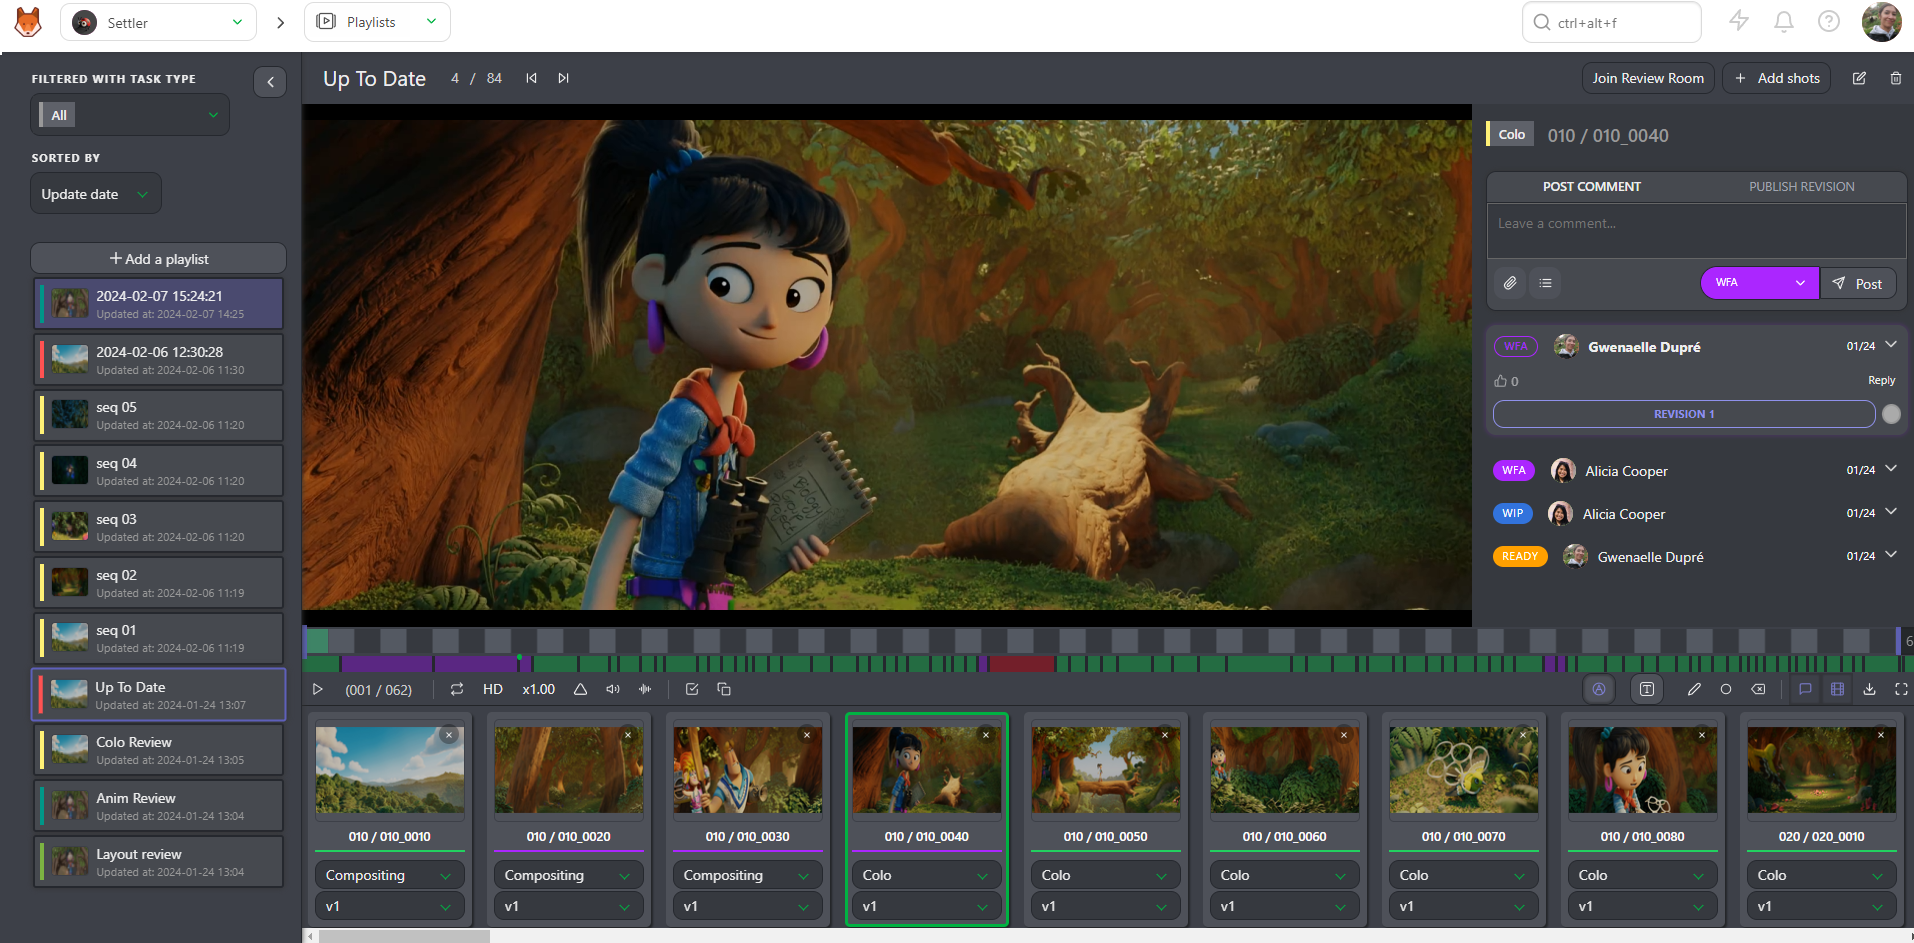
You can draw or type on the video with the draw button  (similar to Perform a review).
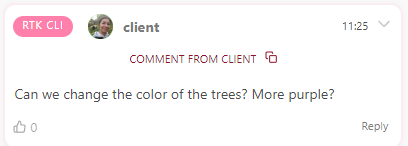
For clients, the comment button opens the same kind of panel, but showing only their own comments and status history, without access to internal comments or statuses.
WARNING
Only the supervisor and production manager can see the client's comments — artists will only see the status. The supervisor and production manager can copy the client's comments, modify them if necessary, and publish them for the team.
Share your Comments
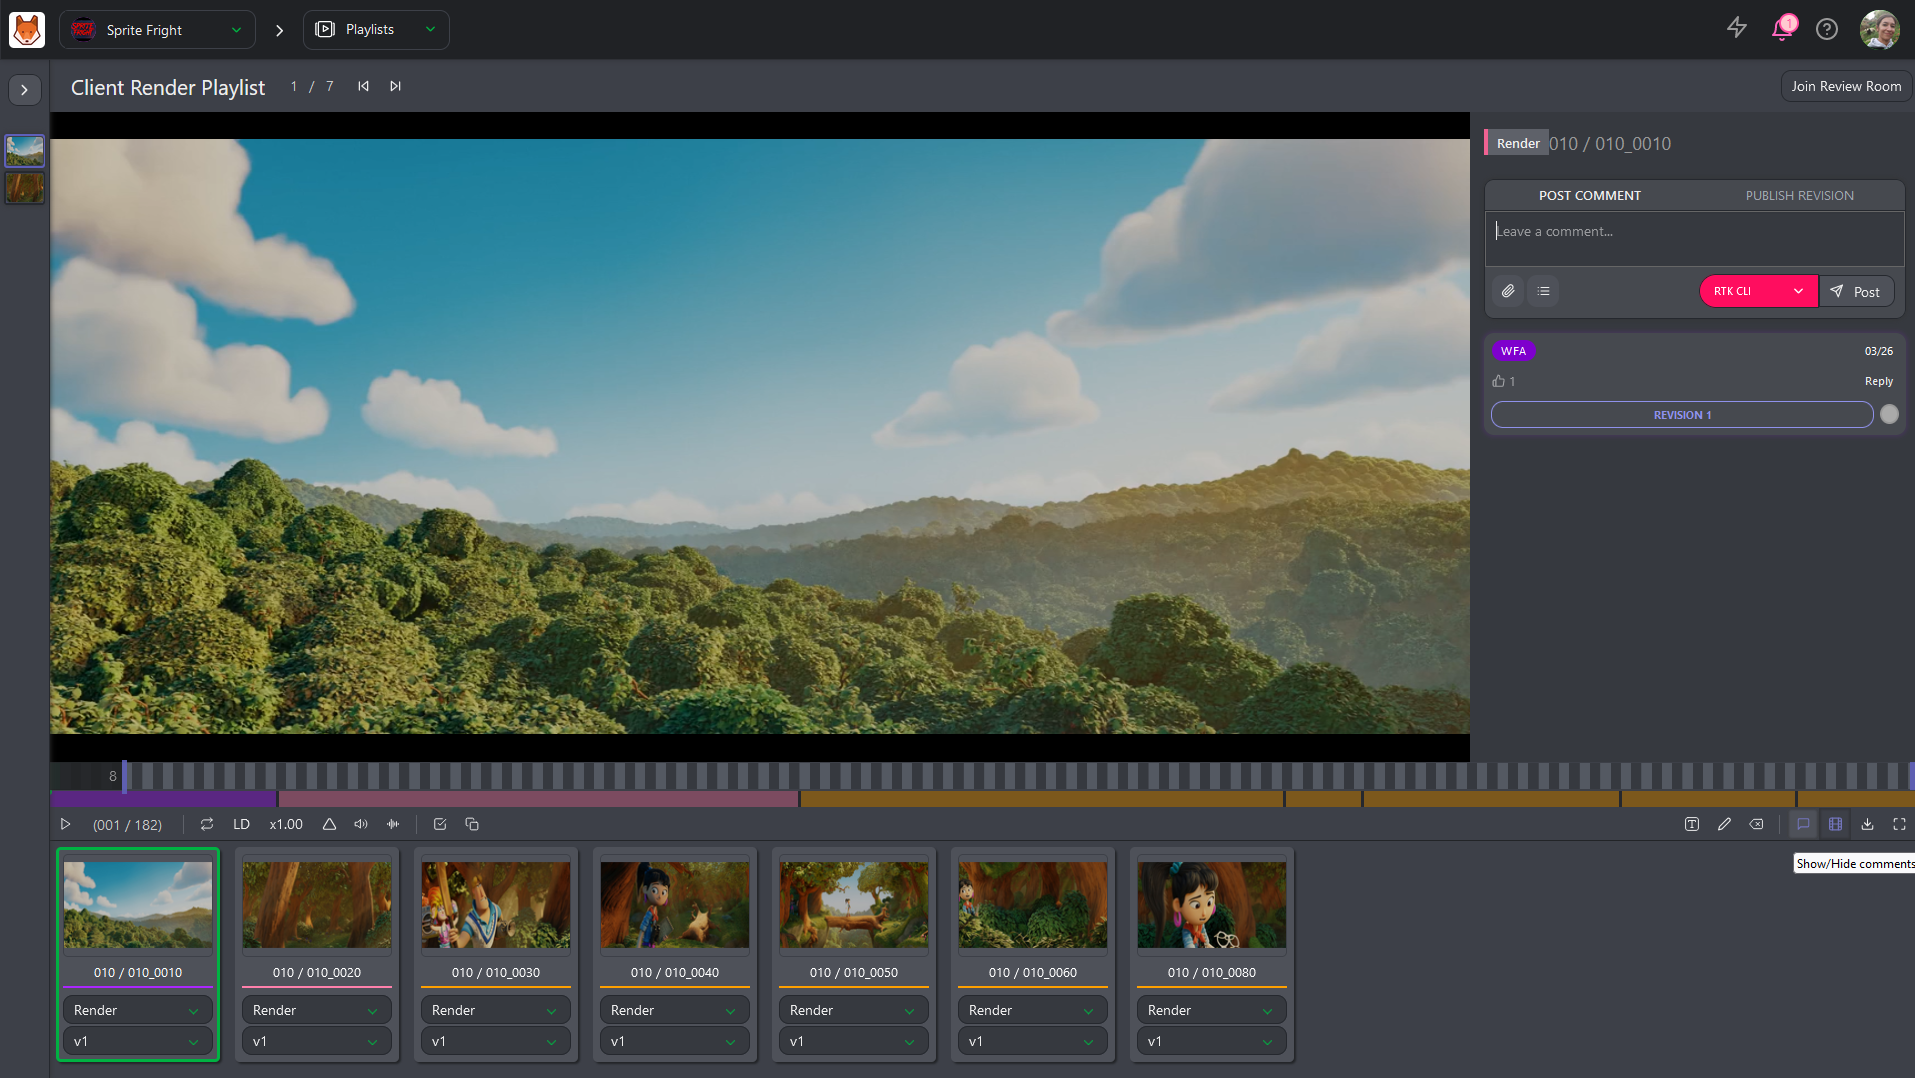
First open the comment section. 
From there, you can change the status to  if you want the artist to perform some changes.
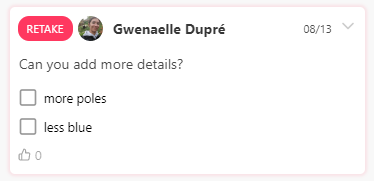
You can add a checklist to your comments. Click the Add checklist button, and the first item of the checklist appears.
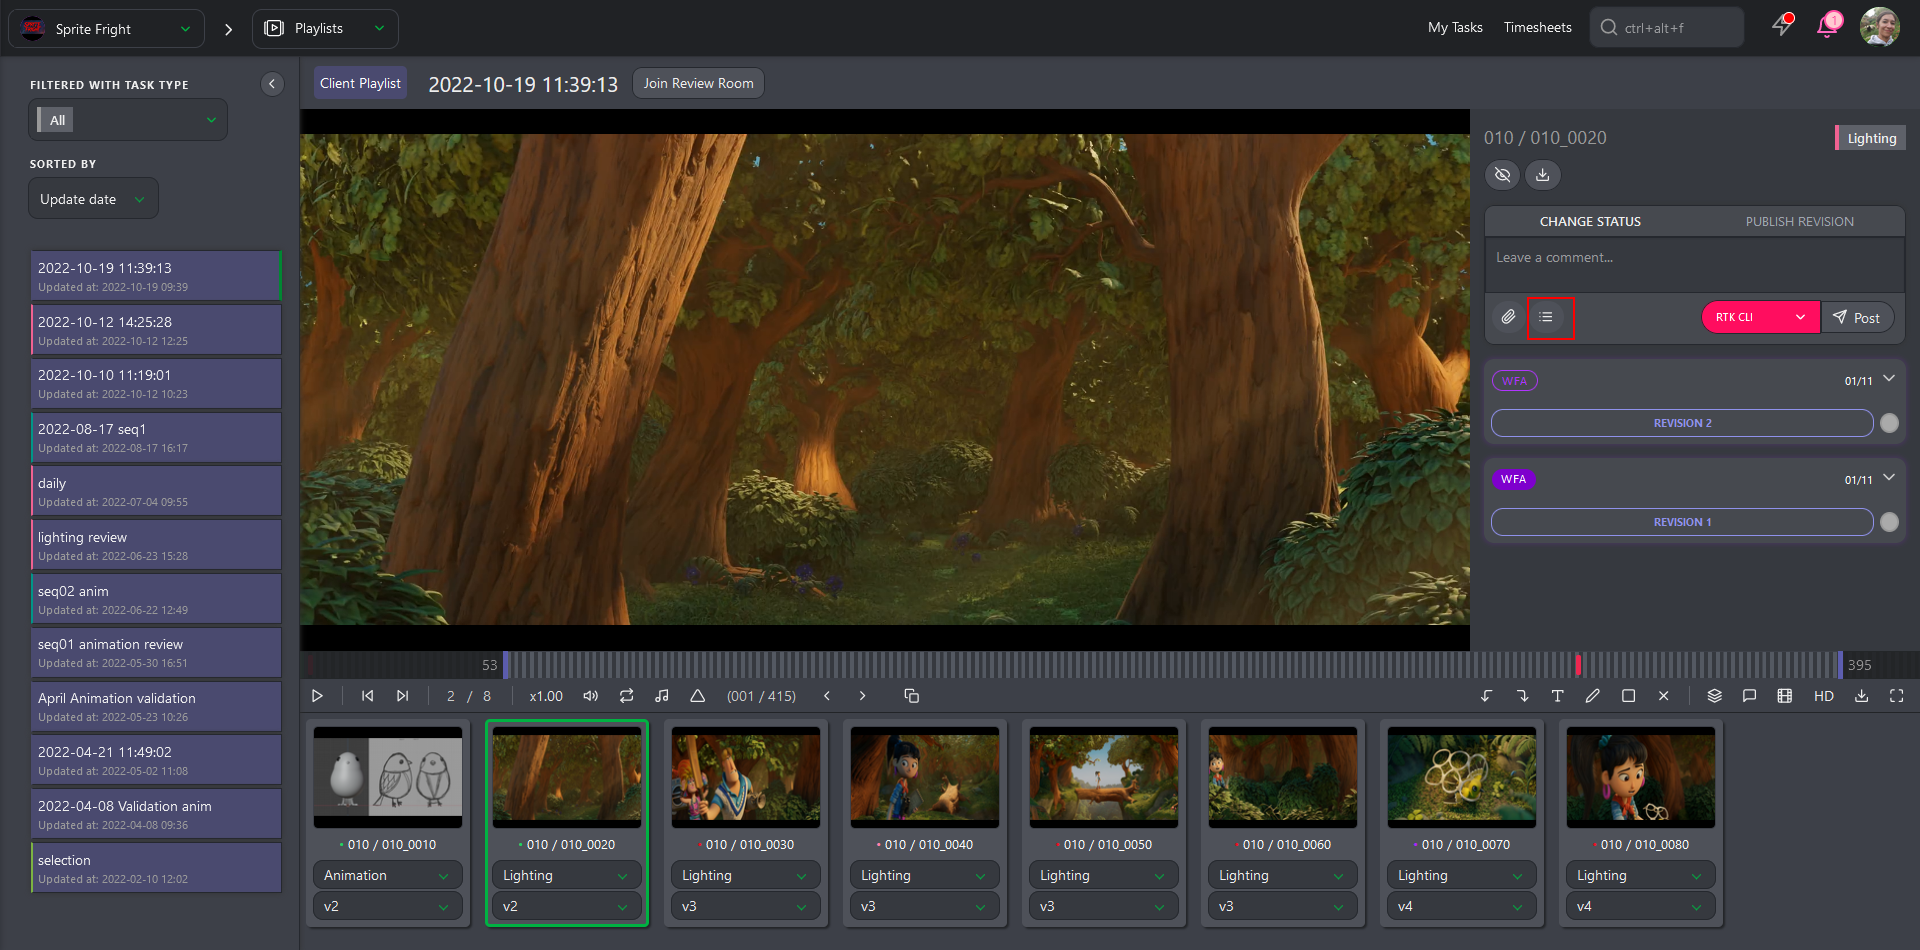
Type your comment, and hit Enter to add another line to your checklist, or click again on the Add Checklist button.
4. Global View of the Assets
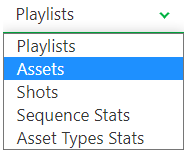
You can go to the Assets page using the dropdown menu on top of the screen:
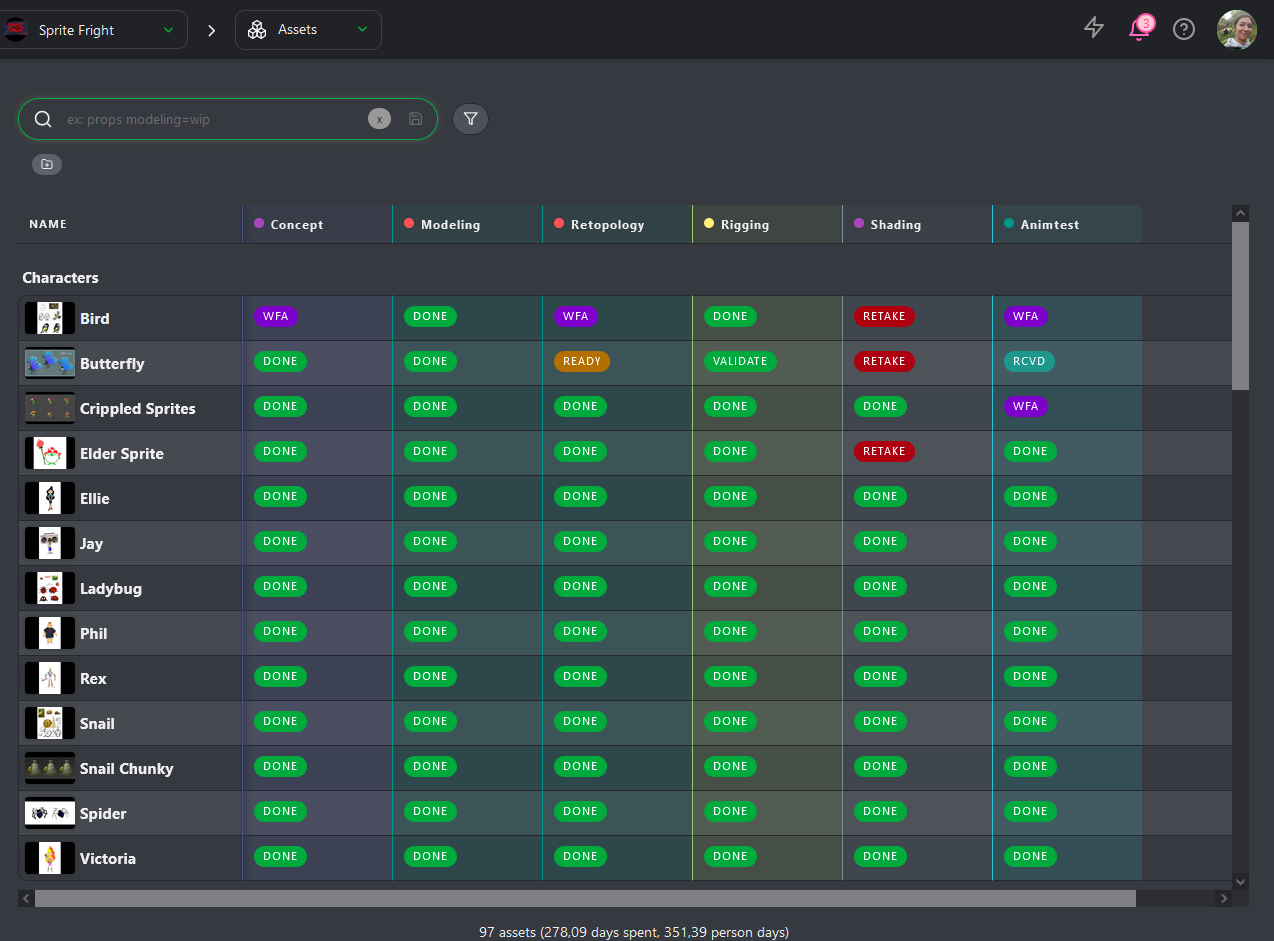
On the global page, you will be able to see all the statuses of the different steps of the assets.
5. Global View of the Shots
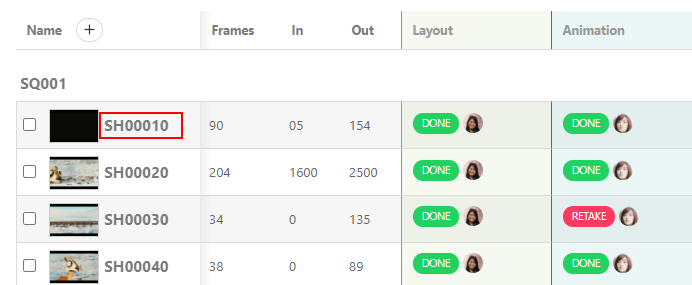
If you want to see the details of a shot, click on its name.
A new page opens with the list of the tasks, the assignation, and the status newsfeed on the right. You can navigate through each by clicking on the name of the tabs.
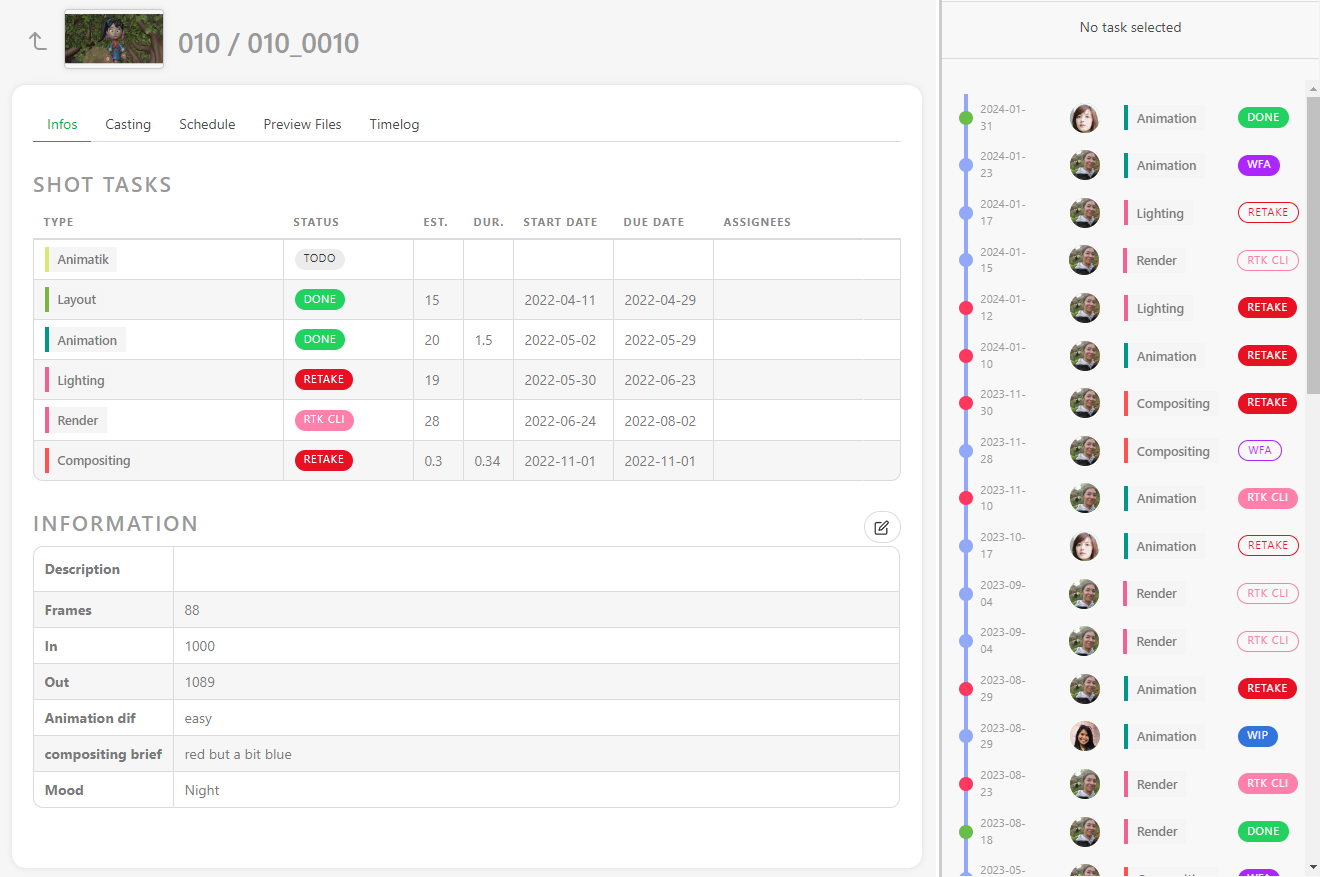
You can click on the status of each task to open the comment panel and see the history of the comments and the different versions.
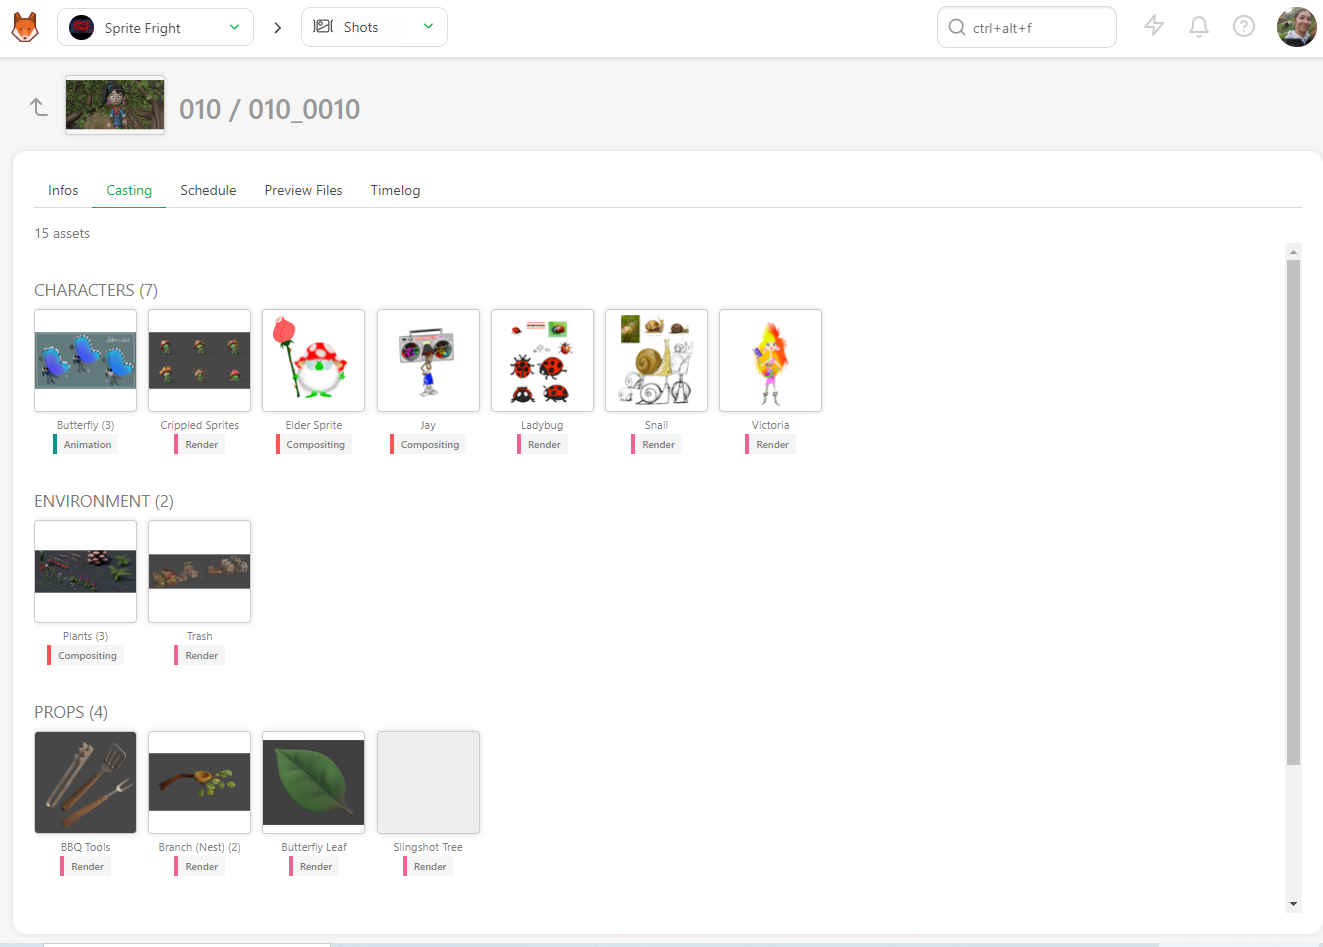
You can also access the Casting,
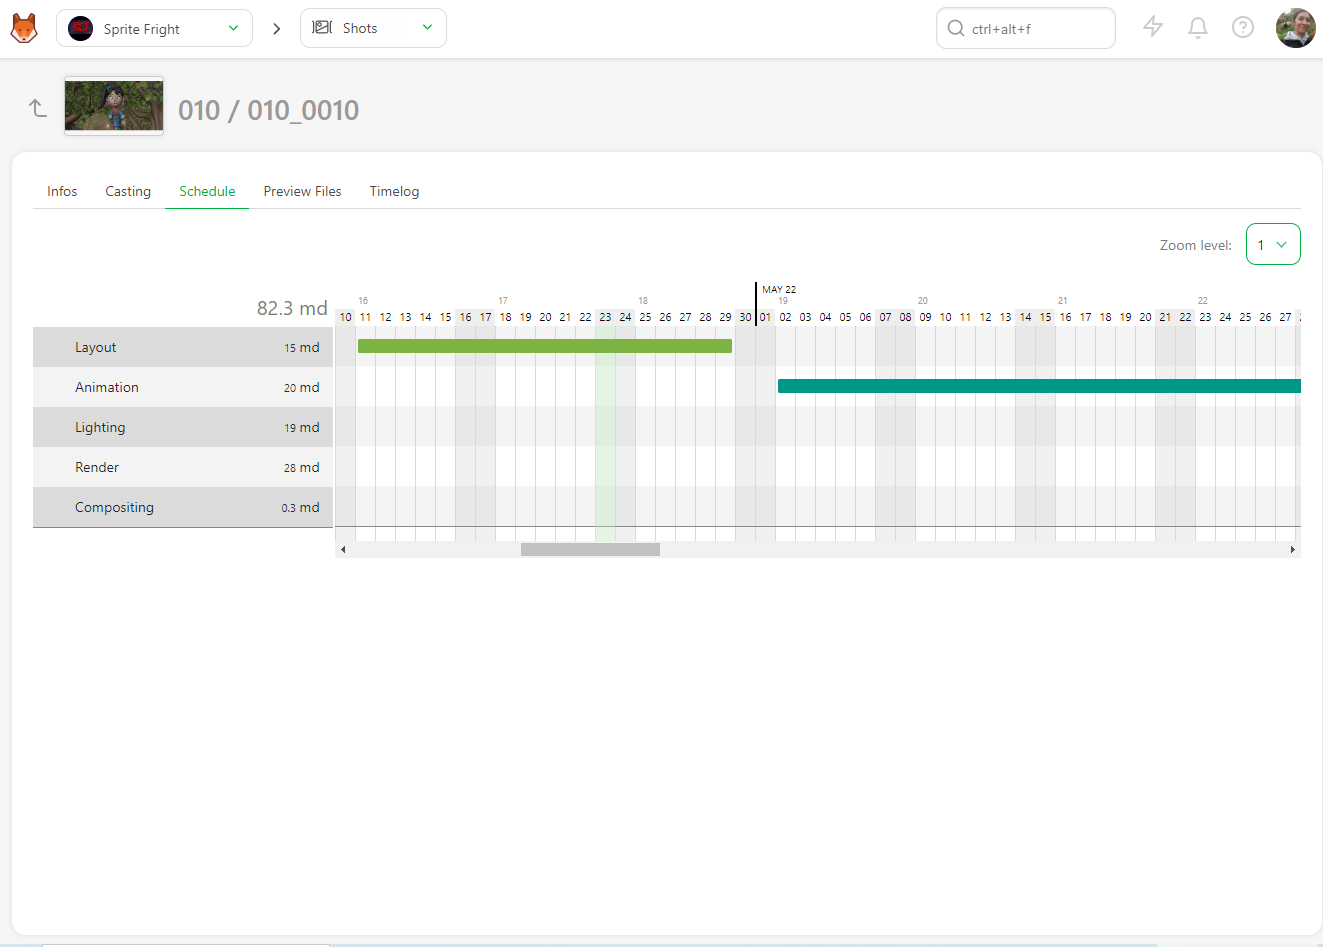
The Schedule is available if you have previously filled out the task type page data. If you have already filled out the data, you can modify them directly here.
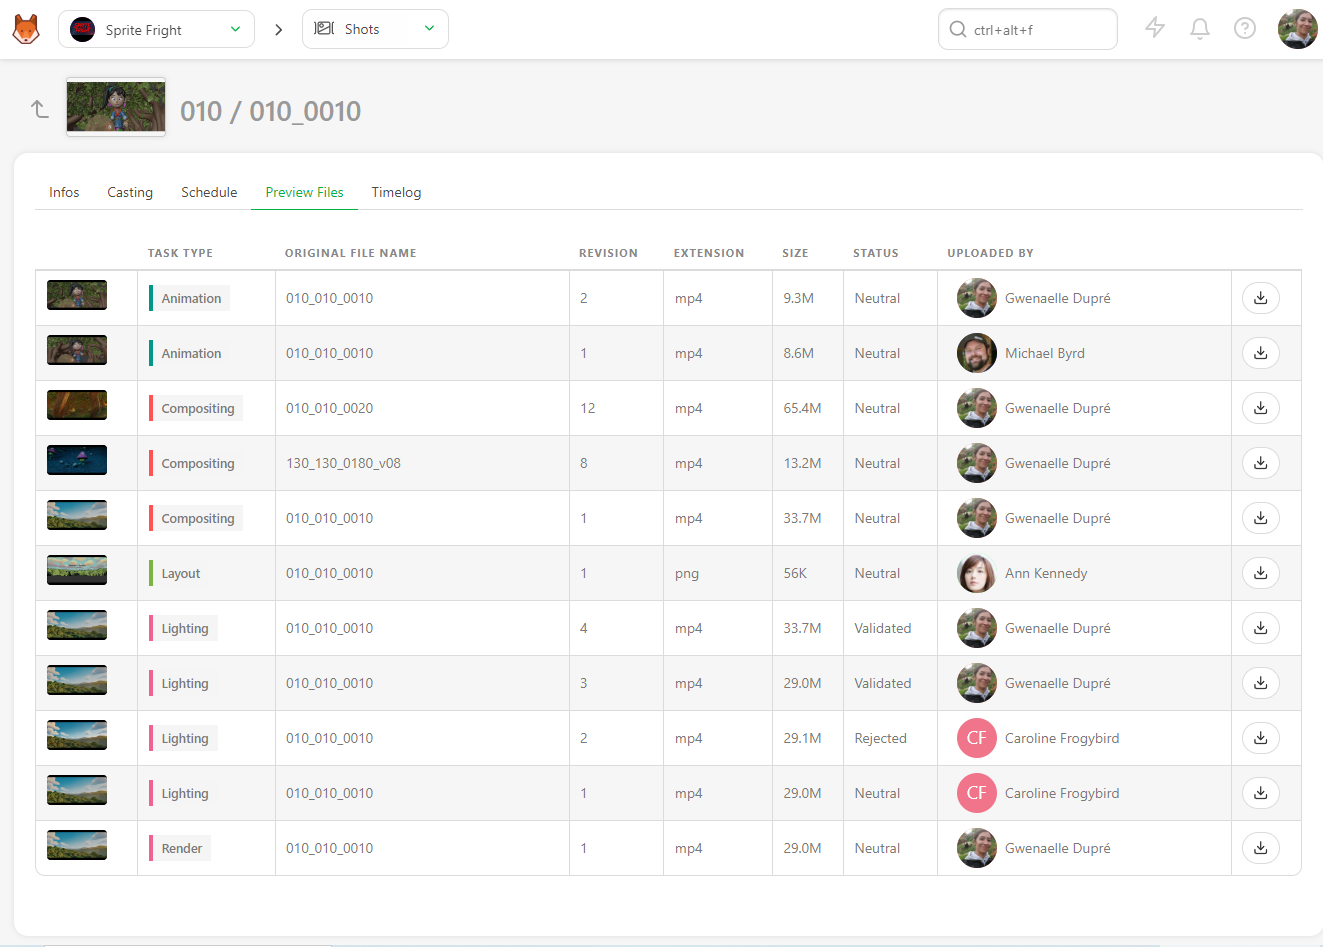
the Preview Files uploaded at various task types,
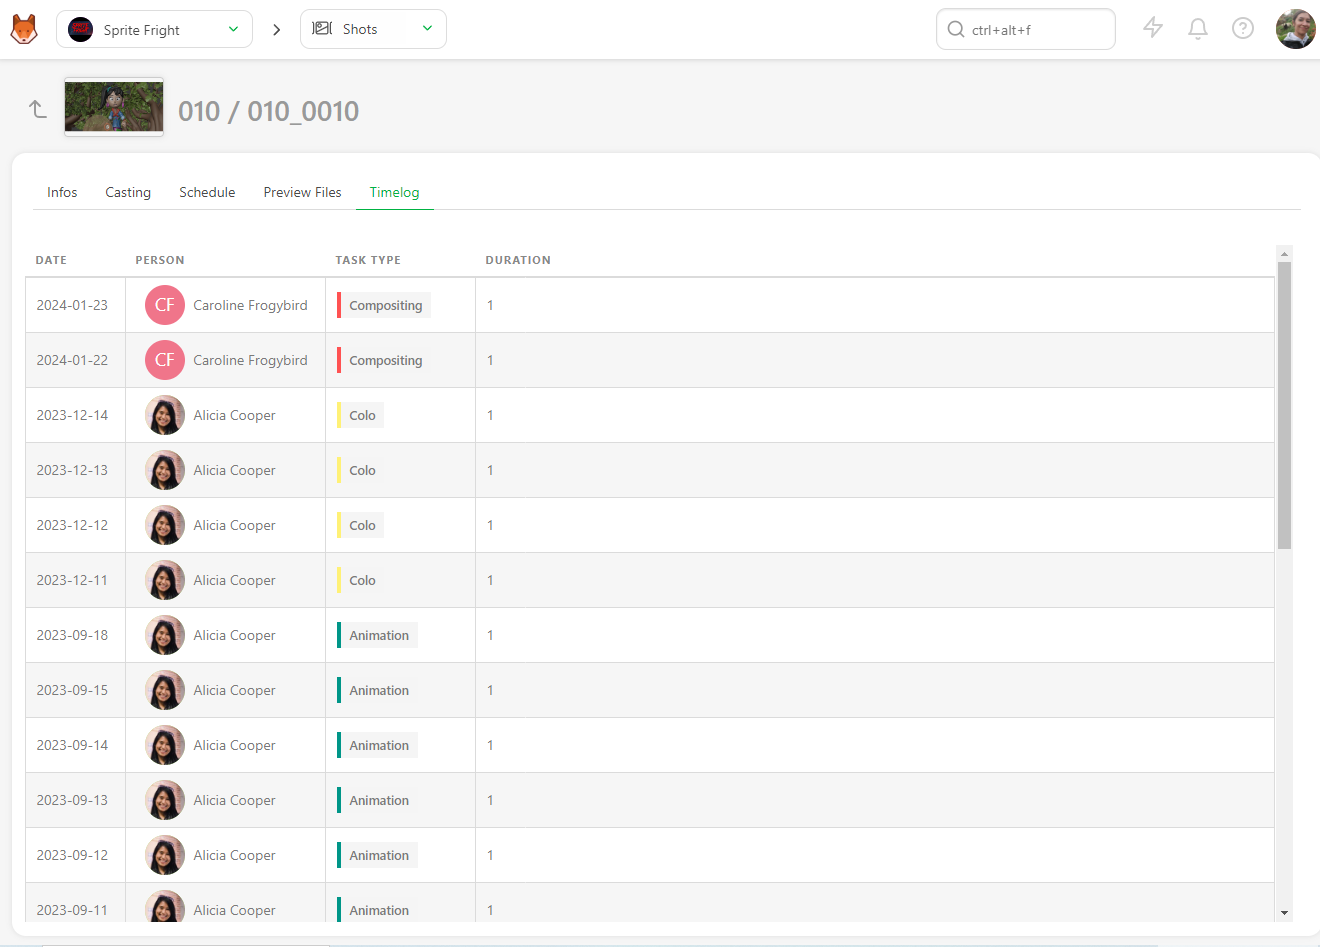
And the Timelog if people have filled out their timesheet on the tasks of this asset.
6. Production Report
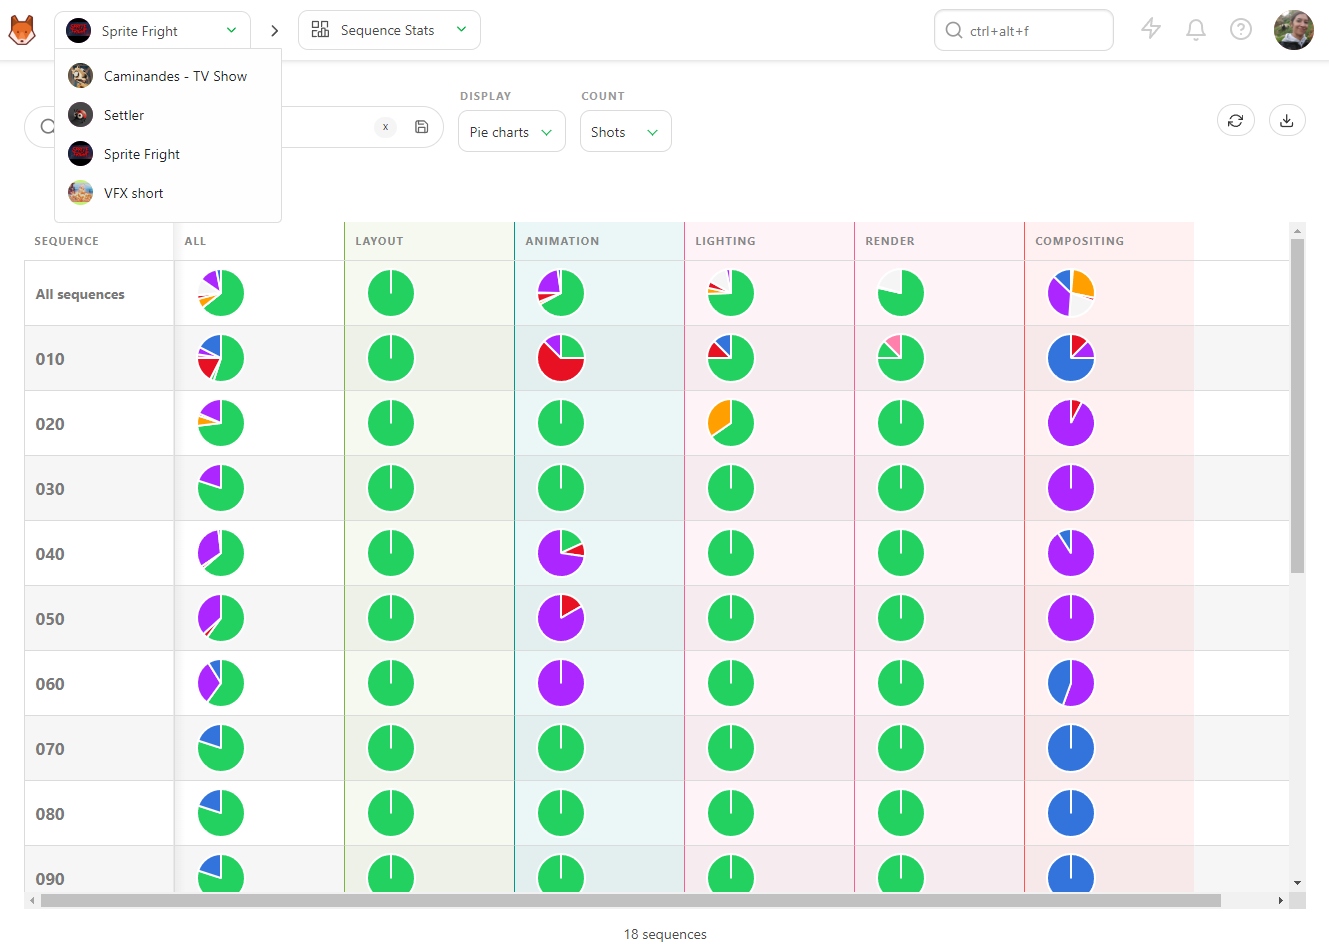
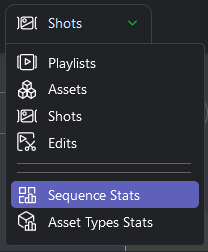
To ease the communication with the studio, you have direct access to a client-facing version of the production report, mirroring the Sequence Stats and Asset Types Stats pages described above, and updated in real-time. Every time you look at this page, you are sure to have updated information.
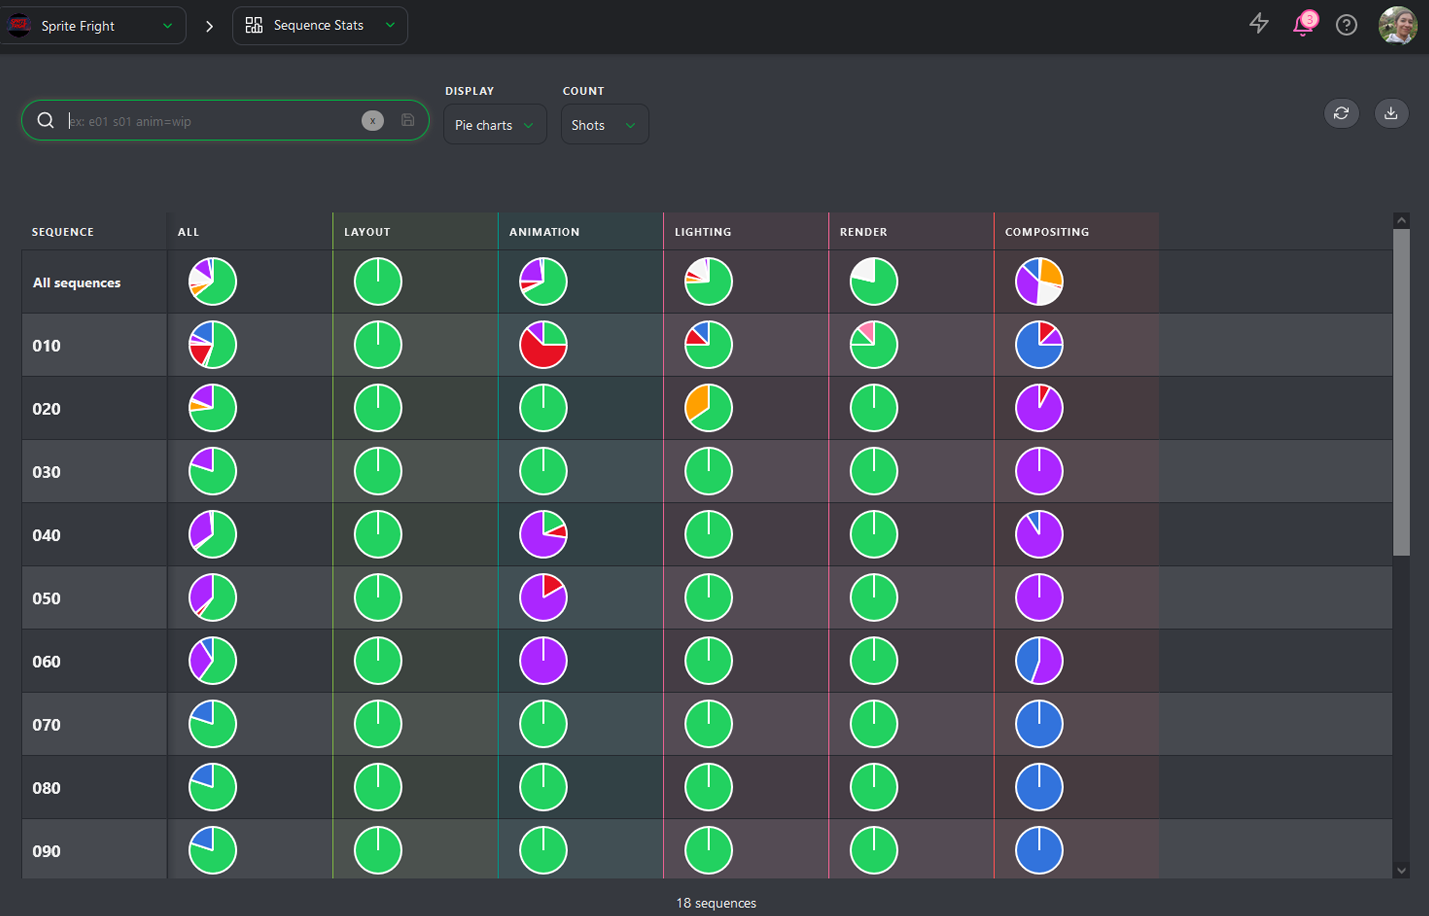
In this report, you can choose to display the stats per number of shots or number of frames, and switch the Display Mode between the Pie charts view and the Counts view, just as in the internal stats pages.
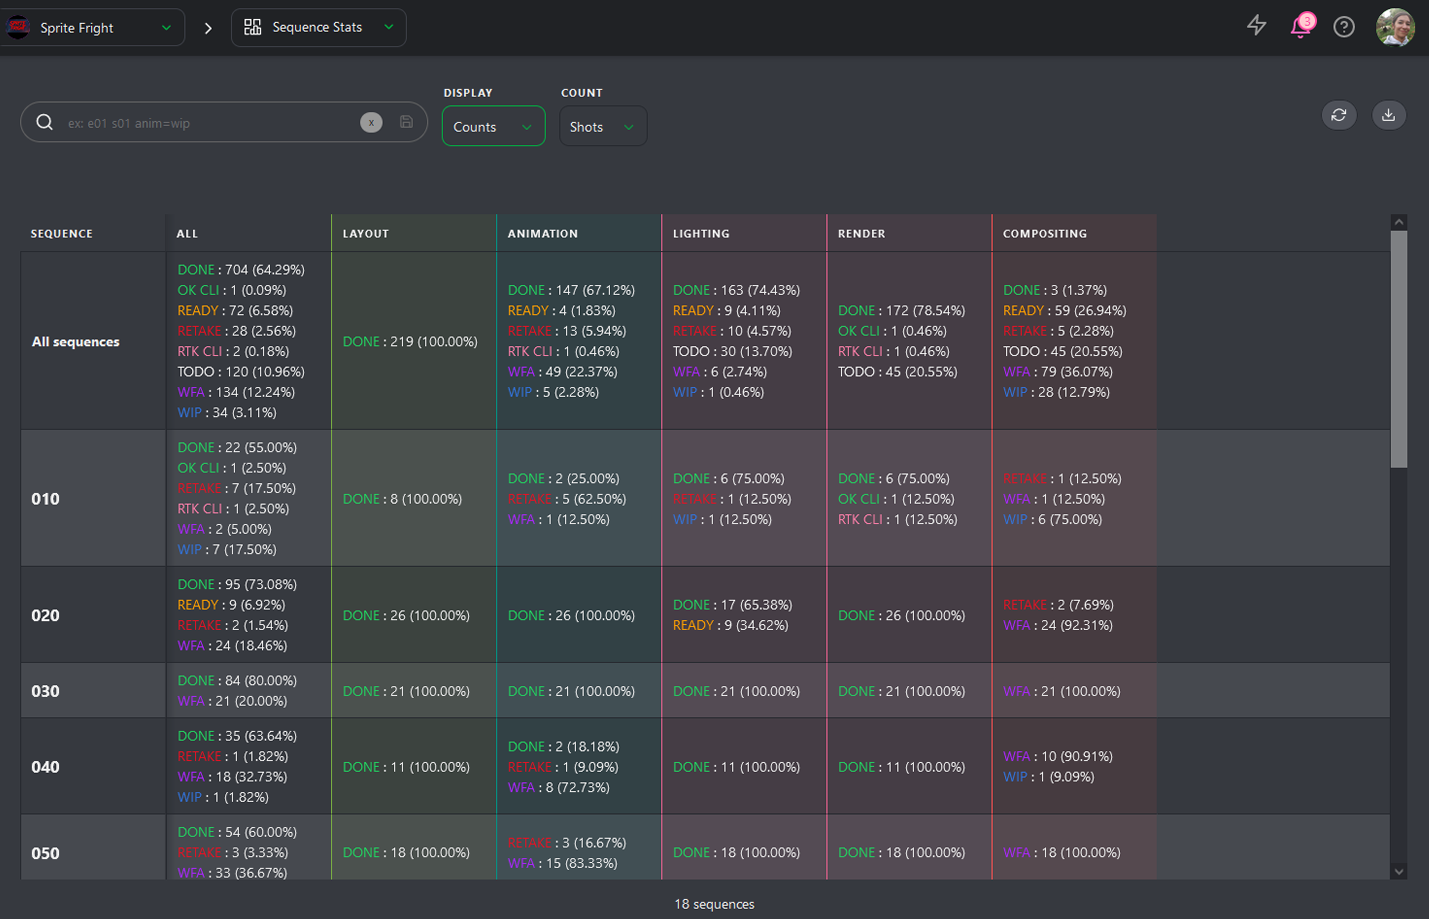
It's this presentation that you can download to keep track of the production progress.
As with the internal pages, you can export this page as a .csv text file to import it into spreadsheet software.
Navigate from production to production using the Navigation menu at the top of the screen. You will stay on the same page, allowing you to check all the production stats by selecting each production.