
Kitsu for TV Show Productions
[[Concept for production type page highlighting features for type-specific pipelines + shorter quickstart to reach aha moment https://mercury.com/blog/identifying-product-aha-moment]]
Quickstart
1. Create a new production
Click on the Create a new production button:
A dialog appears:
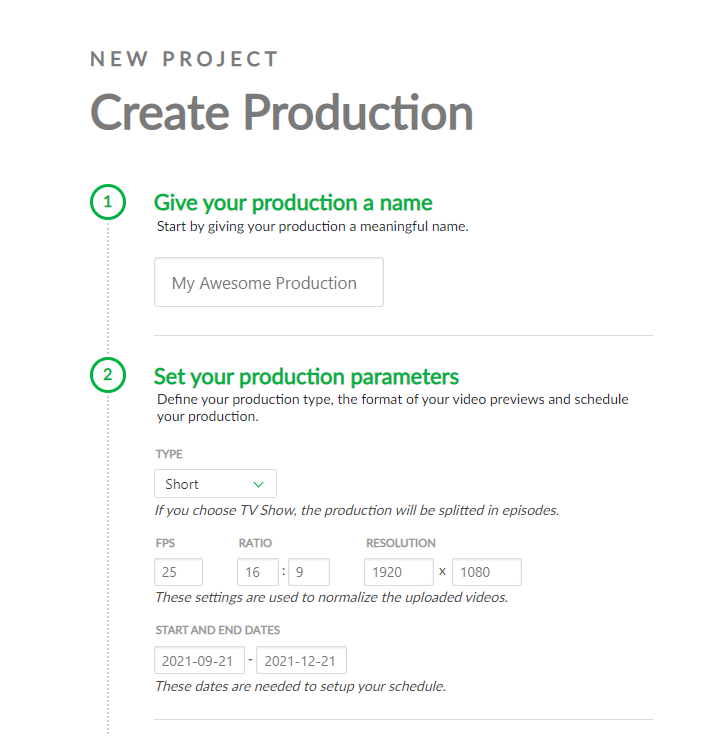
Enter your production name, choose a Production Type, and select your production style (2D, 3D).
Then, you must fill in technical information, such as the number of FPS, the Ration, and the Resolution.
All these data will be used when Kitsu re-encodes the video previews uploaded.
Then, you need to define your production's start and end dates.
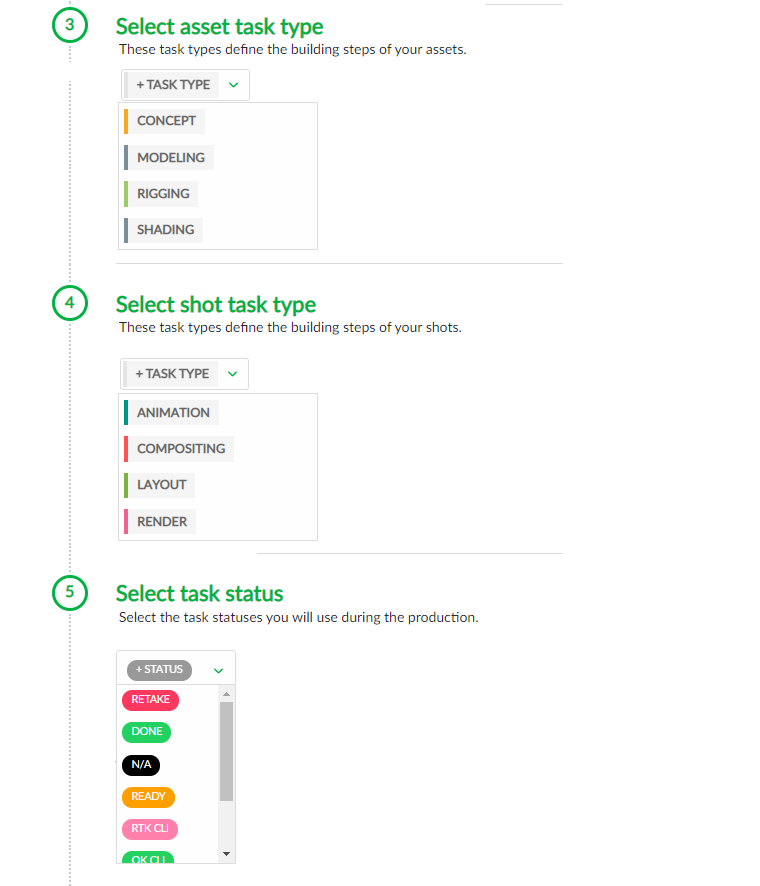
You can define your production workflow in the next part, 3 to 6.
You need to select your asset task type (3), shot task type (4), task status (5), and asset types (6).
TIP
To create your Production Workflow, you will select Task Types from the Global Library.
If you realize you missed some Task Types, you can create them later.
See the Studio Workflow section.
2. Create an Asset
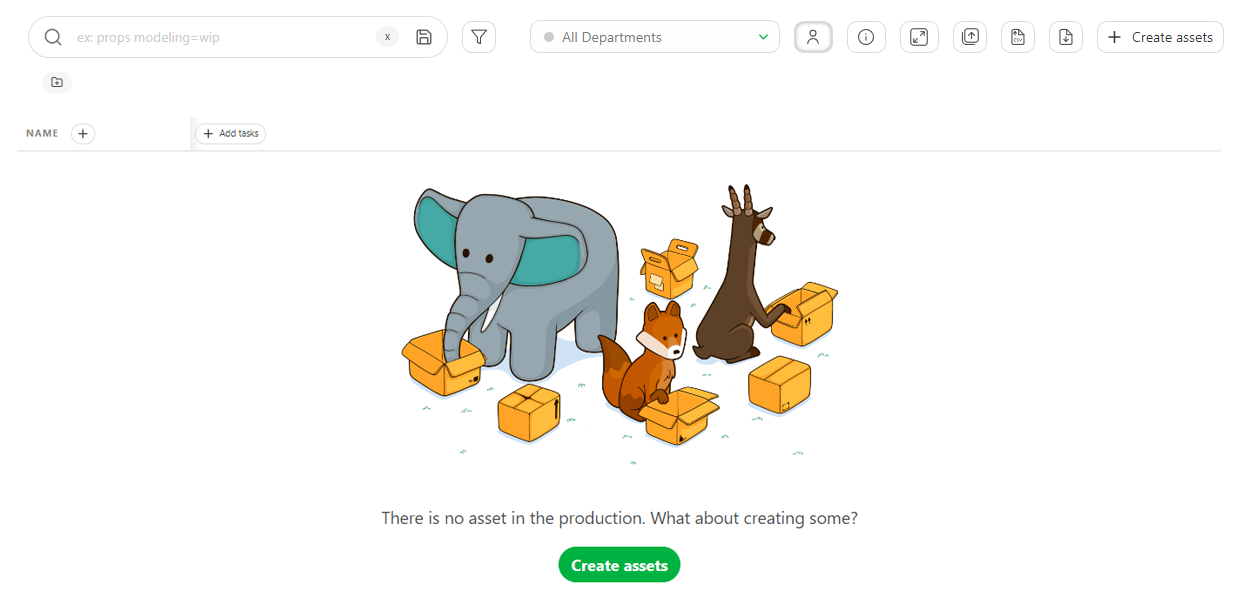
On the asset page, click on Add assets.
WARNING
When you create an asset, your task workflow will be applied, and all the tasks will be created simultaneously as the asset.
A pop-up window opens:
It asks you to choose the Asset Type (1). If you didn't add a new asset type, Kitsu will provide examples such as Characters, Environment, FX, Props, etc. Let's start with a character.
TIP
You can also customize the asset type list and the tasks pipeline. See the guide ( Customization of the workflow) for more details
We give it a Name (2) and enter a description that helps the Artist know what to do and quickly identify the asset.
Click on Confirm and stay if you have multiple assets to create.
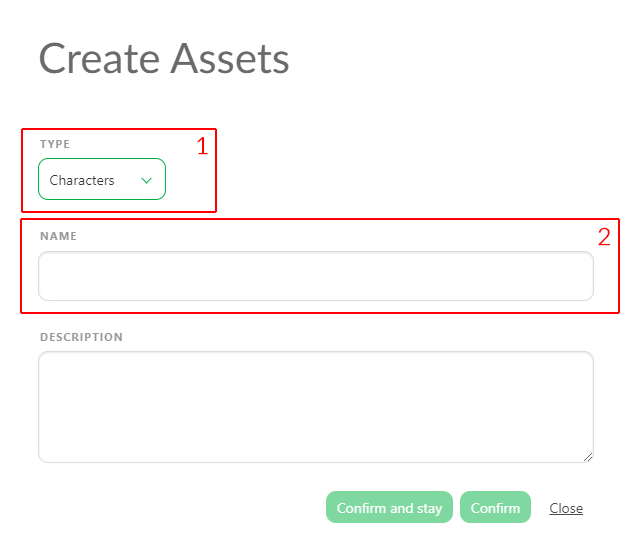
You can change the asset type and keep adding assets.
TIP
The newly created asset appears in the background whenever you click on Confirm and stay.
After adding your last asset, click on Confirm. It will create the asset and close the window.
TIP
If you click on **Confirm and stay, ** realize you don't have more assets to add, and click on **Close, ** the window will be canceled.
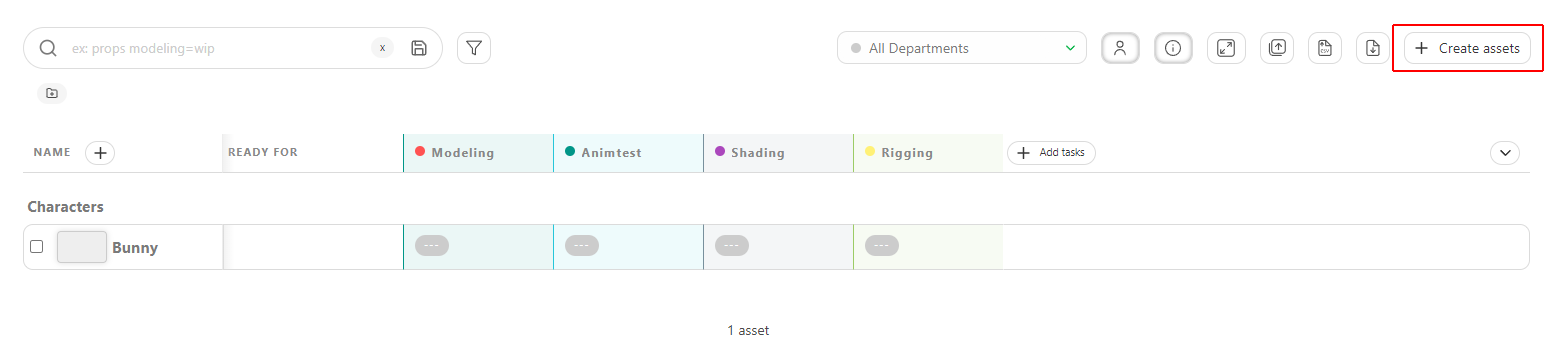
You will also see the tasks that are selected for your assets workflow are created at the same time.
If you need to add more Assets, click the + Create assets button.
3. Create an Episode
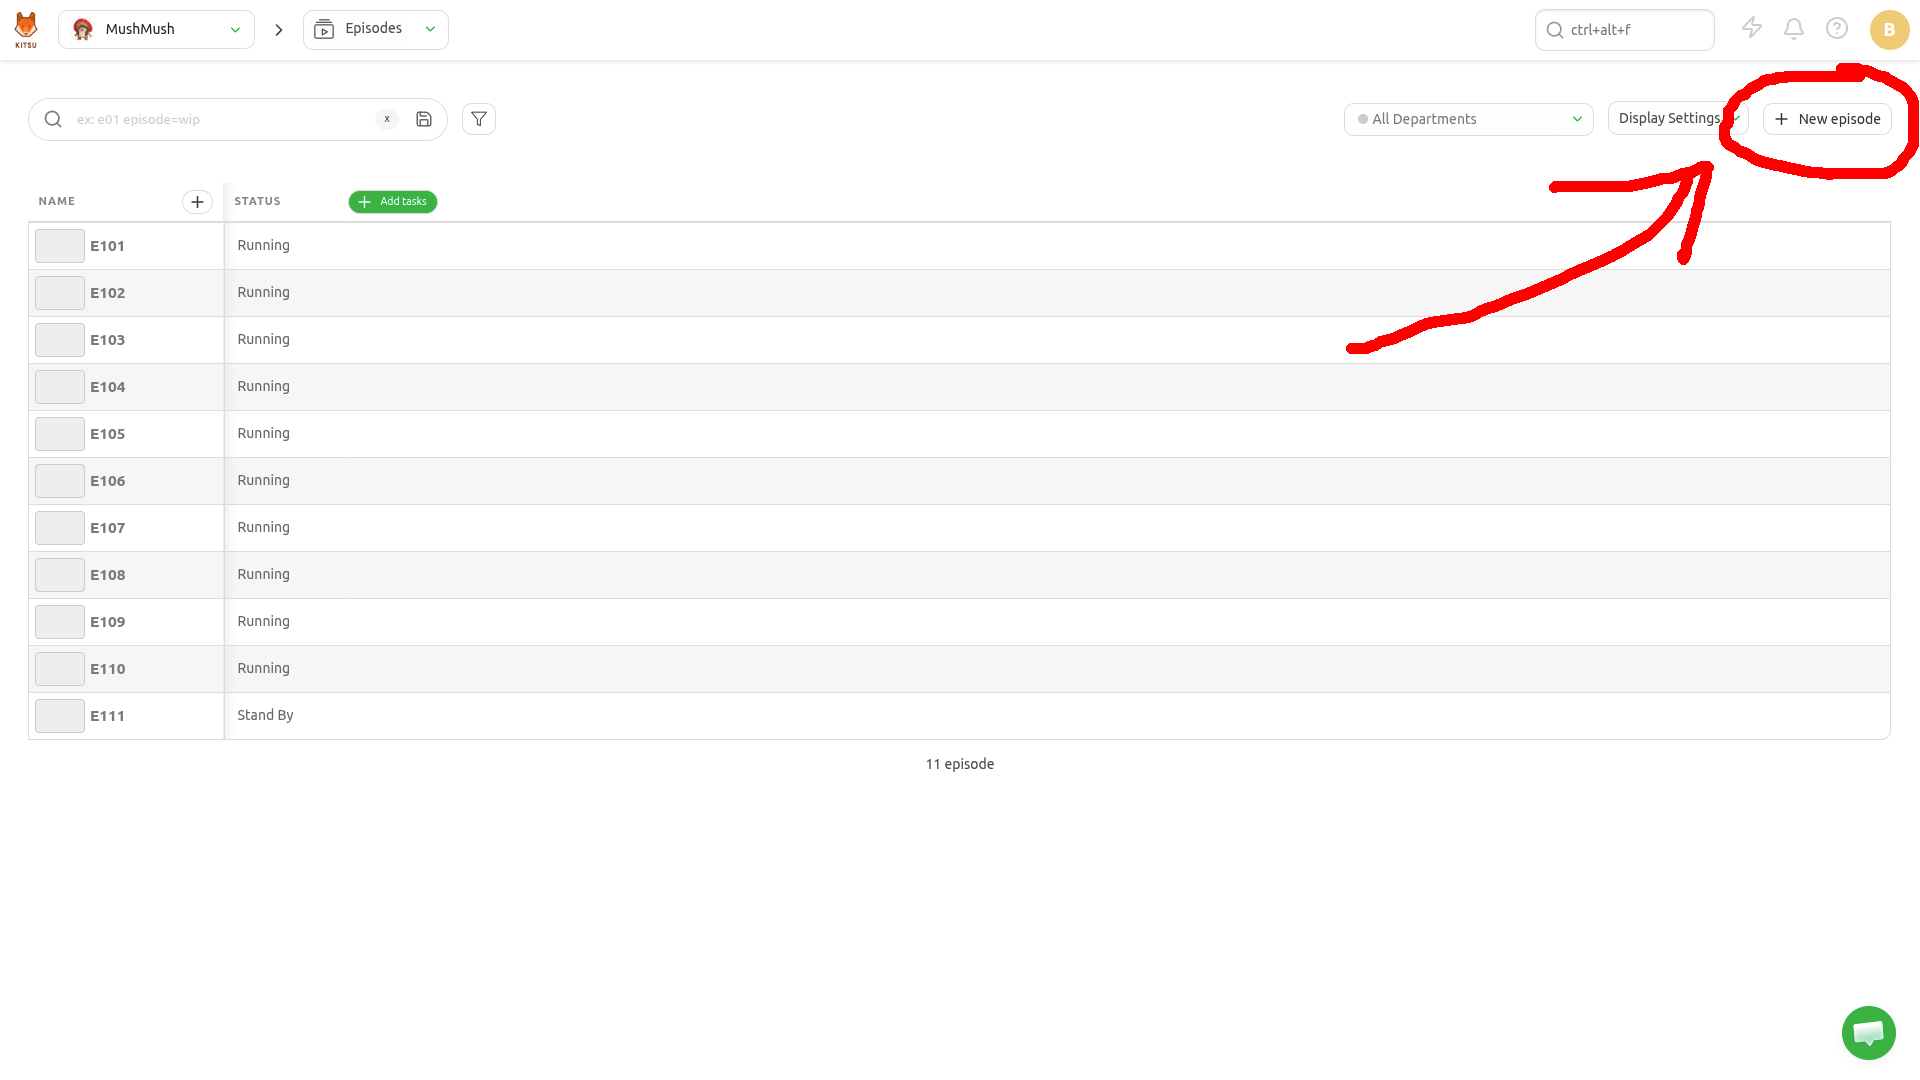
In the Episodes page, click New episode in the top right corner:
A modal appears. Fill the form and click Confirm:
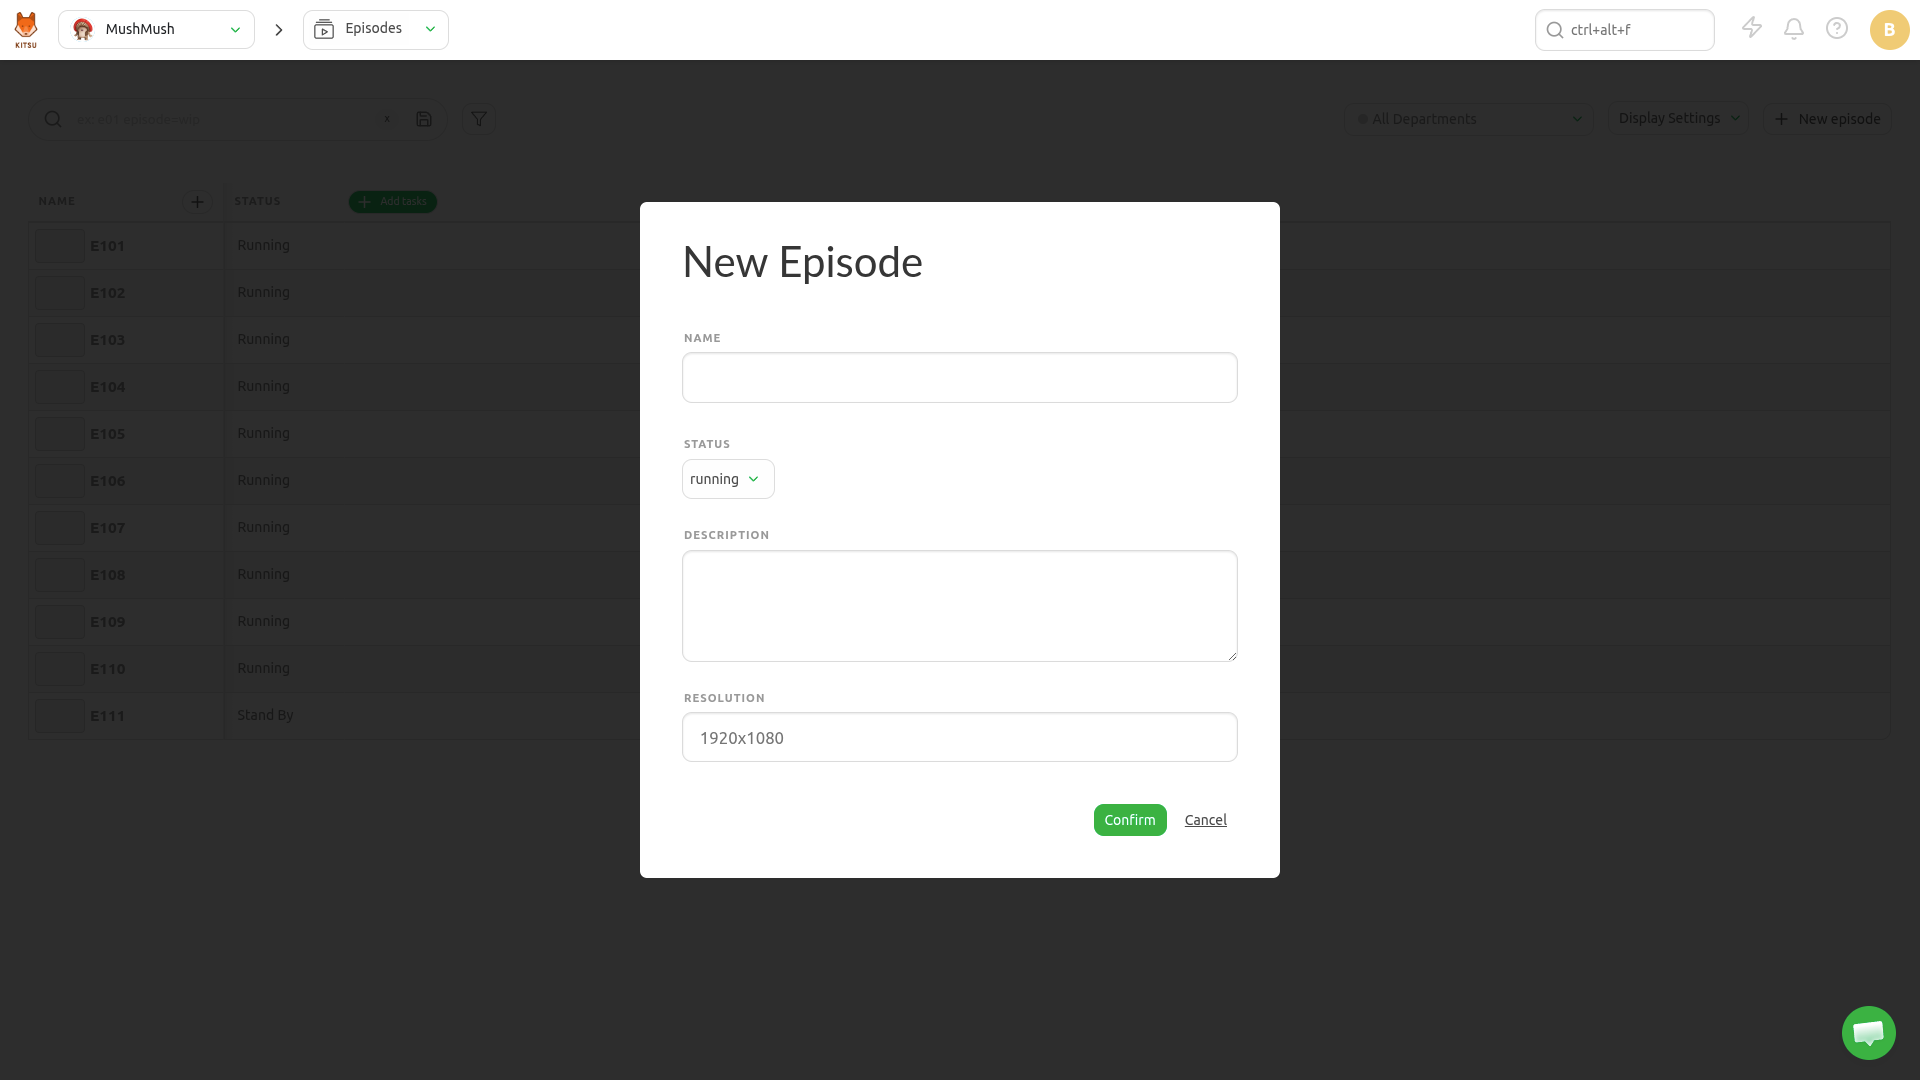
- Name: the episode name
- Status: the production status of the episode (canceled, complete, running, standby)
- Description: a short description of what the episode is about
- Resolution: the episode resolution e.g "1920x1080", "4K", etc.
4. Create a Shot
It's time to create shots for your production.
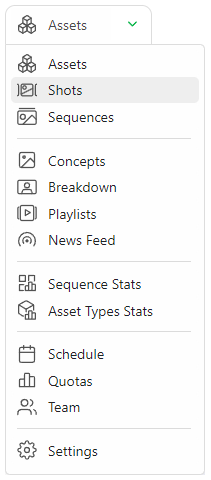
You need to go to the Shots page: you can use the dropdown menu and click on the SHOTS.
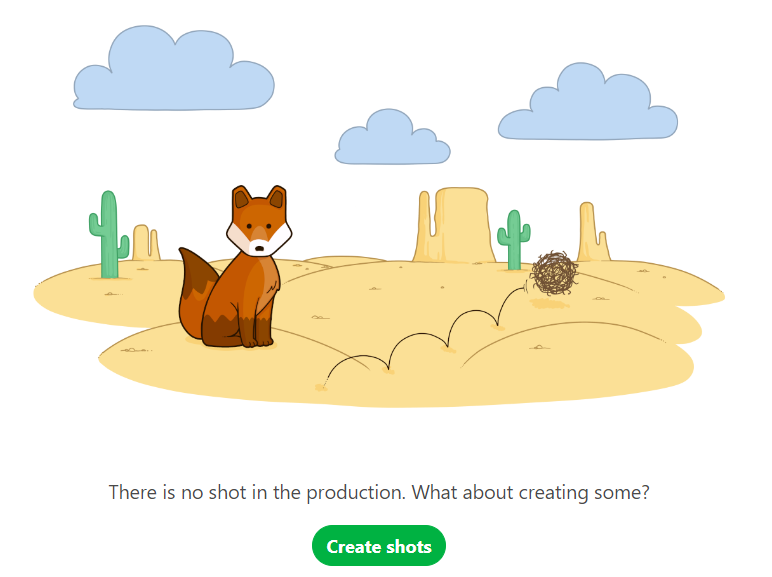
Click on the Add shots button to start with the shot creation.
WARNING
When you create a shot, the task workflow you have designed will be applied, and all the tasks will be created at the same time as the shot.
A new pop-up opens for the creation of the shots. You can now add sequences and corresponding shots:
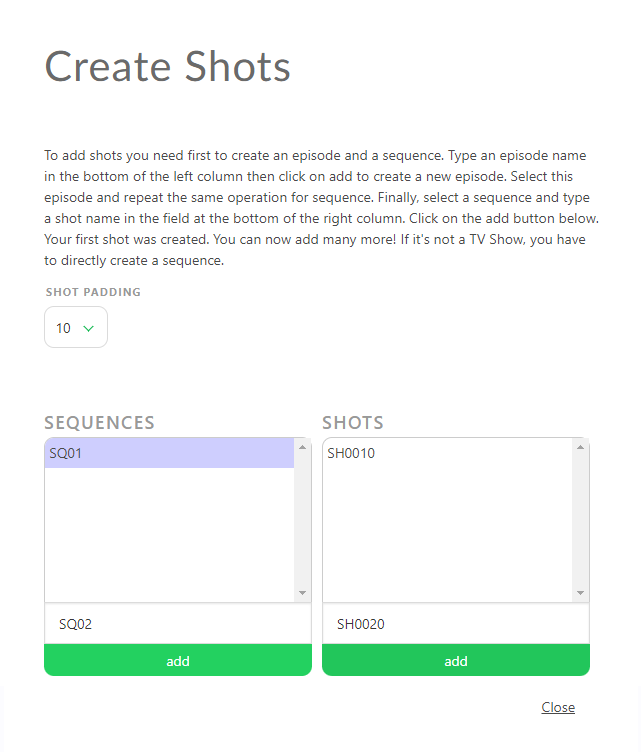
Enter the first sequence, for instance, SQ01, then click add.
To add shots to this sequence, select it and type a name in the input field of the shots column (e.g SH0020), then again click add.
TIP
You can also define padding for your shots instead of doing it manually.
If you want to name your shots ten on ten as SH0010, SH0020, SH0030, etc, set the Shot Padding to 10.
You can now see that new shots are listed and linked by their sequence: you just created the first shot of the first sequence!
Now, let's add more shots.
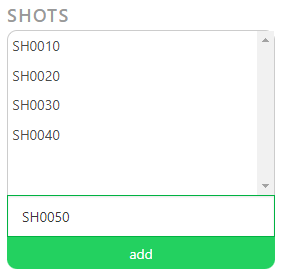
The input field already pre-writes an incremented name code based on your padding, so you just have to keep clicking on add to create more shots:
To add more sequences, go to the left part, type the name of your new sequence, and then click on add.
Your second sequence is selected, and you can now add shots.
TIP
If a shot is misplaced on a sequence, you have to edit the shot in its dedicated Shot page to change the sequence. Look at the section Update your shots for more information.
5. Next Steps
TV Show Features
Episode as a structural entity
Only TV Show productions get episodes as a distinct organizational layer. Shots and assets are separated by episode, and navigation dropdowns let you switch between production, episode, or entity. In a Feature Film production there's no episode layer — just sequences/shots.
Mandatory Episode field on CSV import
When bulk-importing shots or assets, the Episode column is mandatory only for TV Show productions — it's not required when importing for a feature film.
Episode-scoped progress views and playlists
The progress dashboards and review playlists are scoped to episodes rather than sequences: producers get an overview of progress across all episodes, and can run full episode reviews through a single playlist with external collaborators. (The equivalent feature-film page describes the same mechanism but scoped to sequences instead — so it's the same underlying tool, just organized around the episode unit.)